
Hello and welcome back to my blog 🙂
Spring 2025 is now days away! The blossom on the ornamental cherry tree that I planted out recently in The Wild Borders is getting closer to blooming every day:

You can read more about this tree in this post: The Wild Borders March 2025 update: new structure and planting
Over the last few months, I’ve spent some time in The Suntrap creating a hydrangea tree and today’s post provides a compilation of that process. Enjoy 🙂
Table of contents
The hydrangea shrub
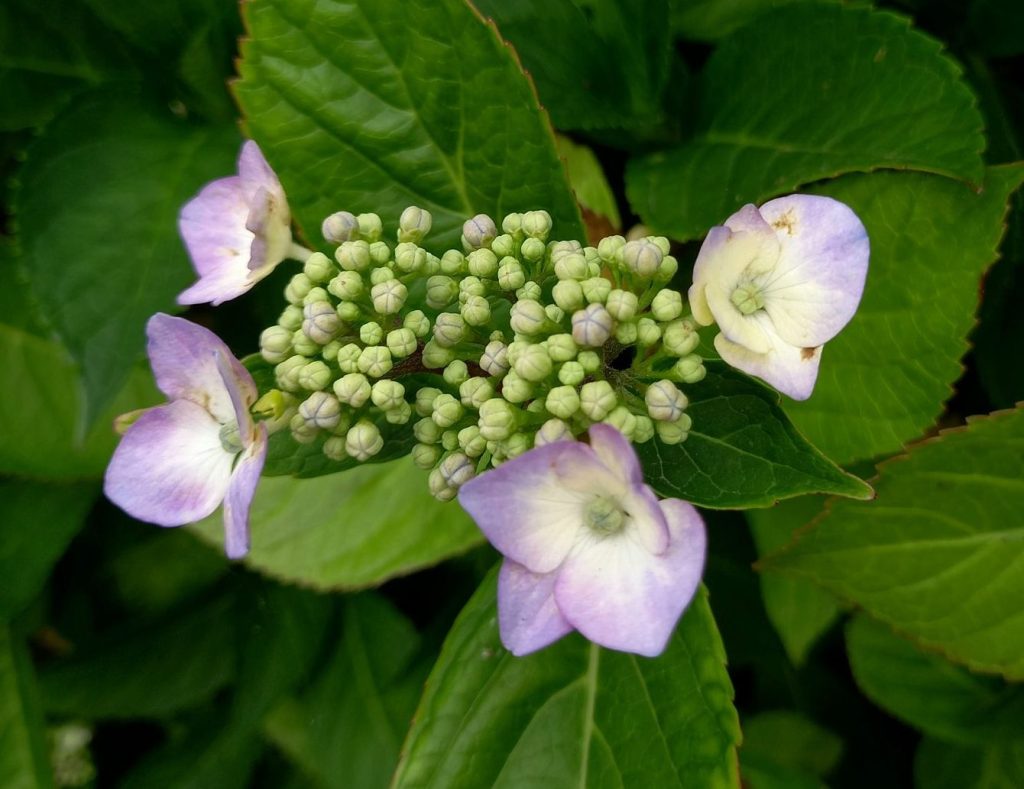
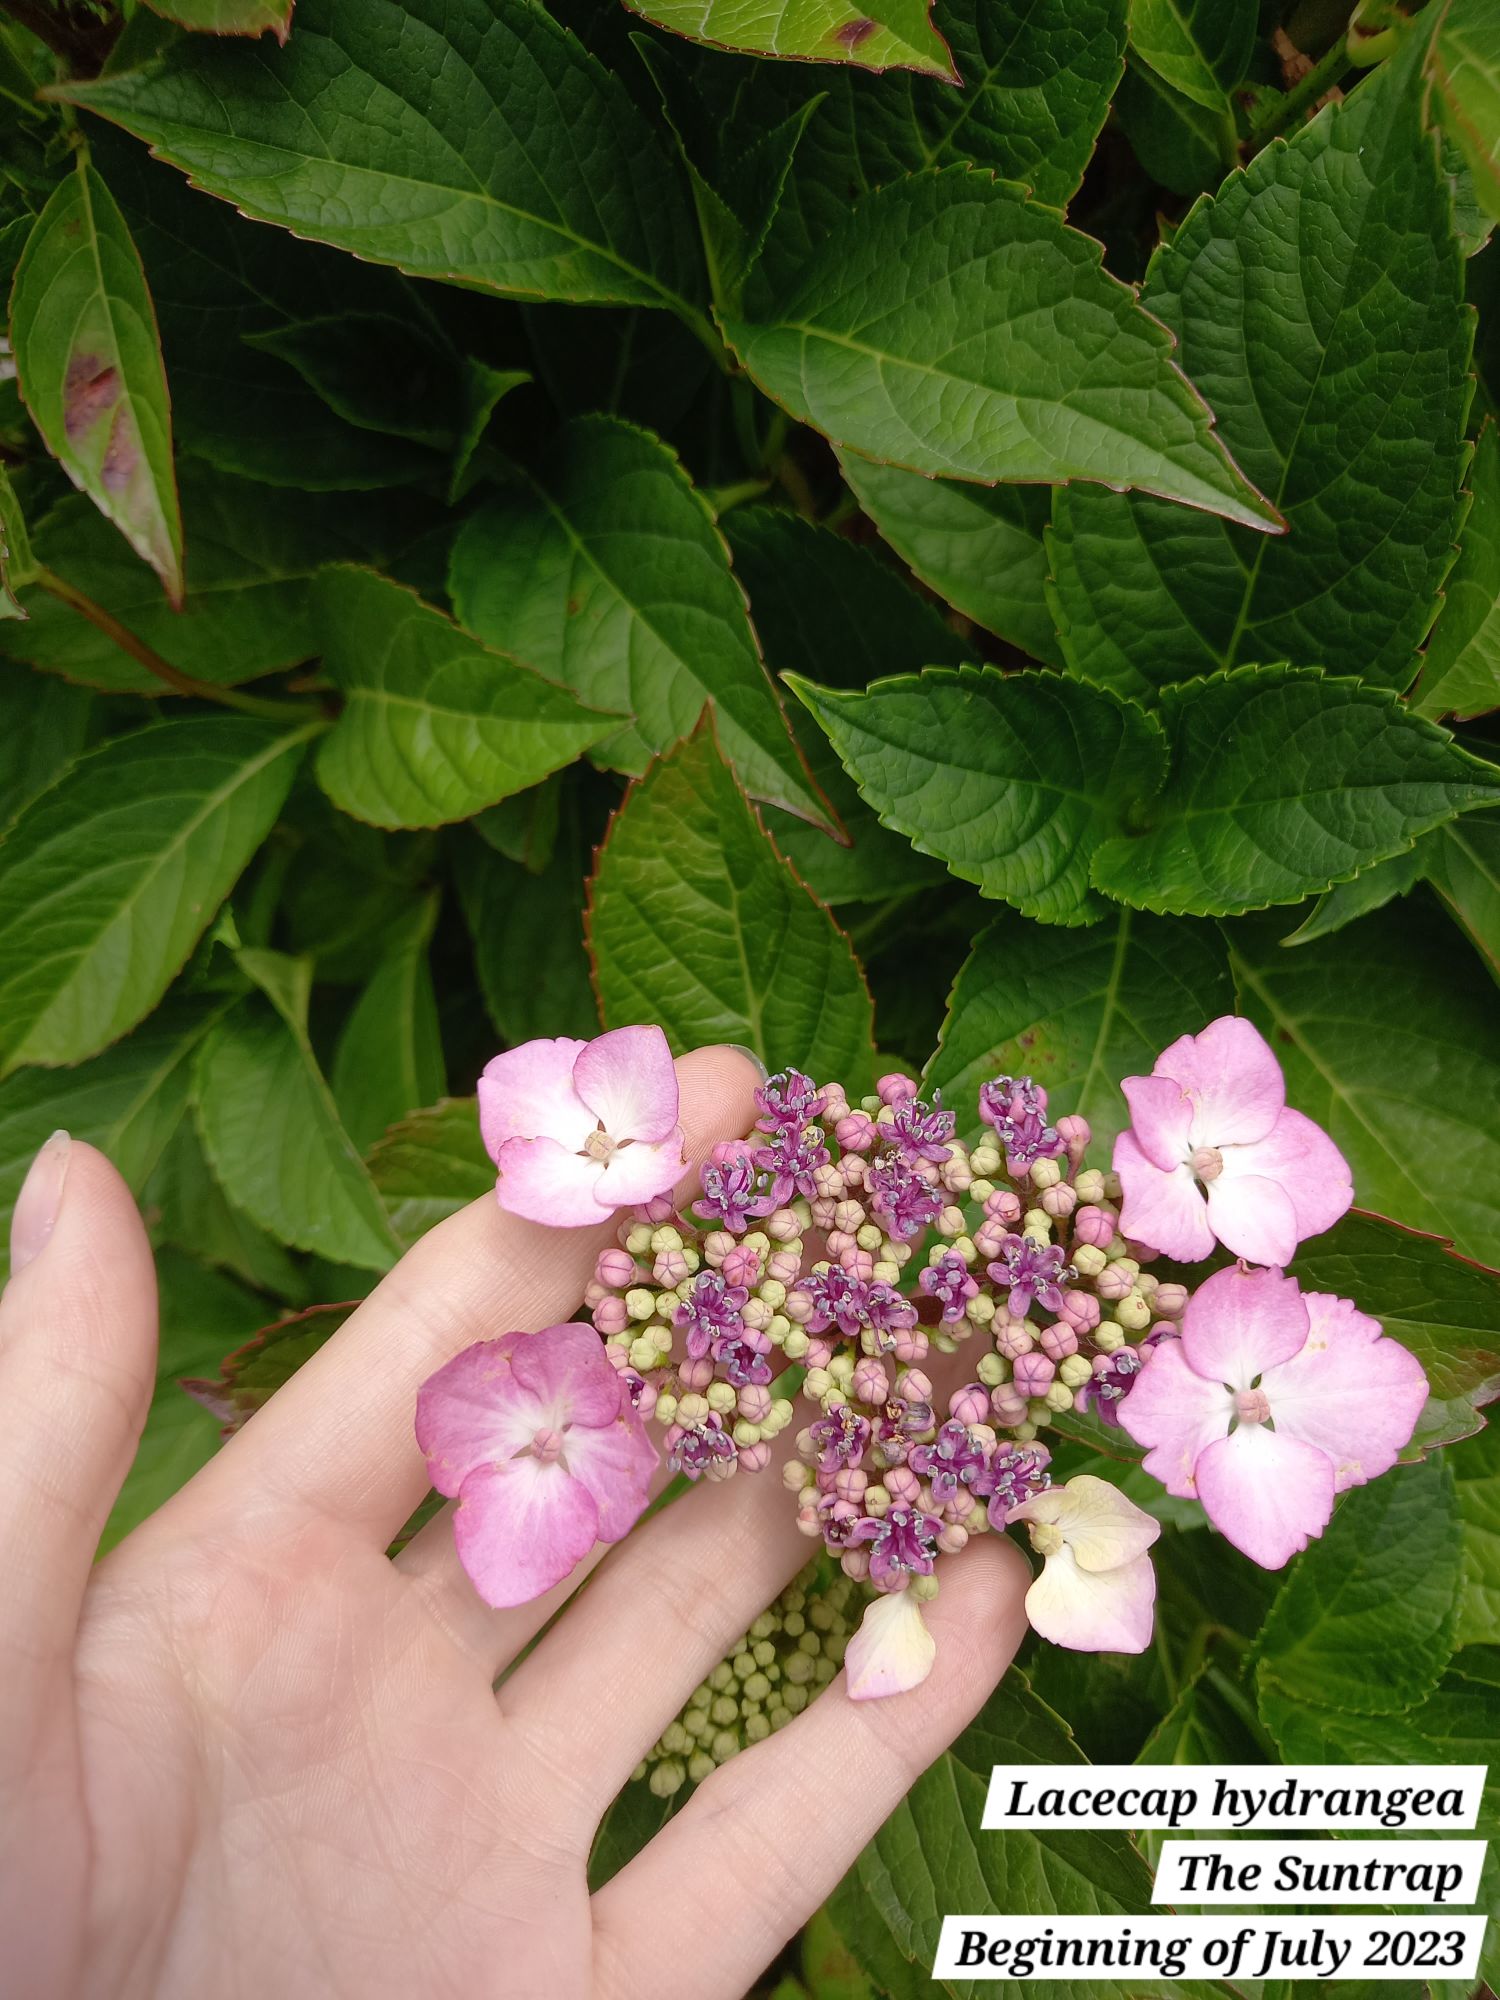
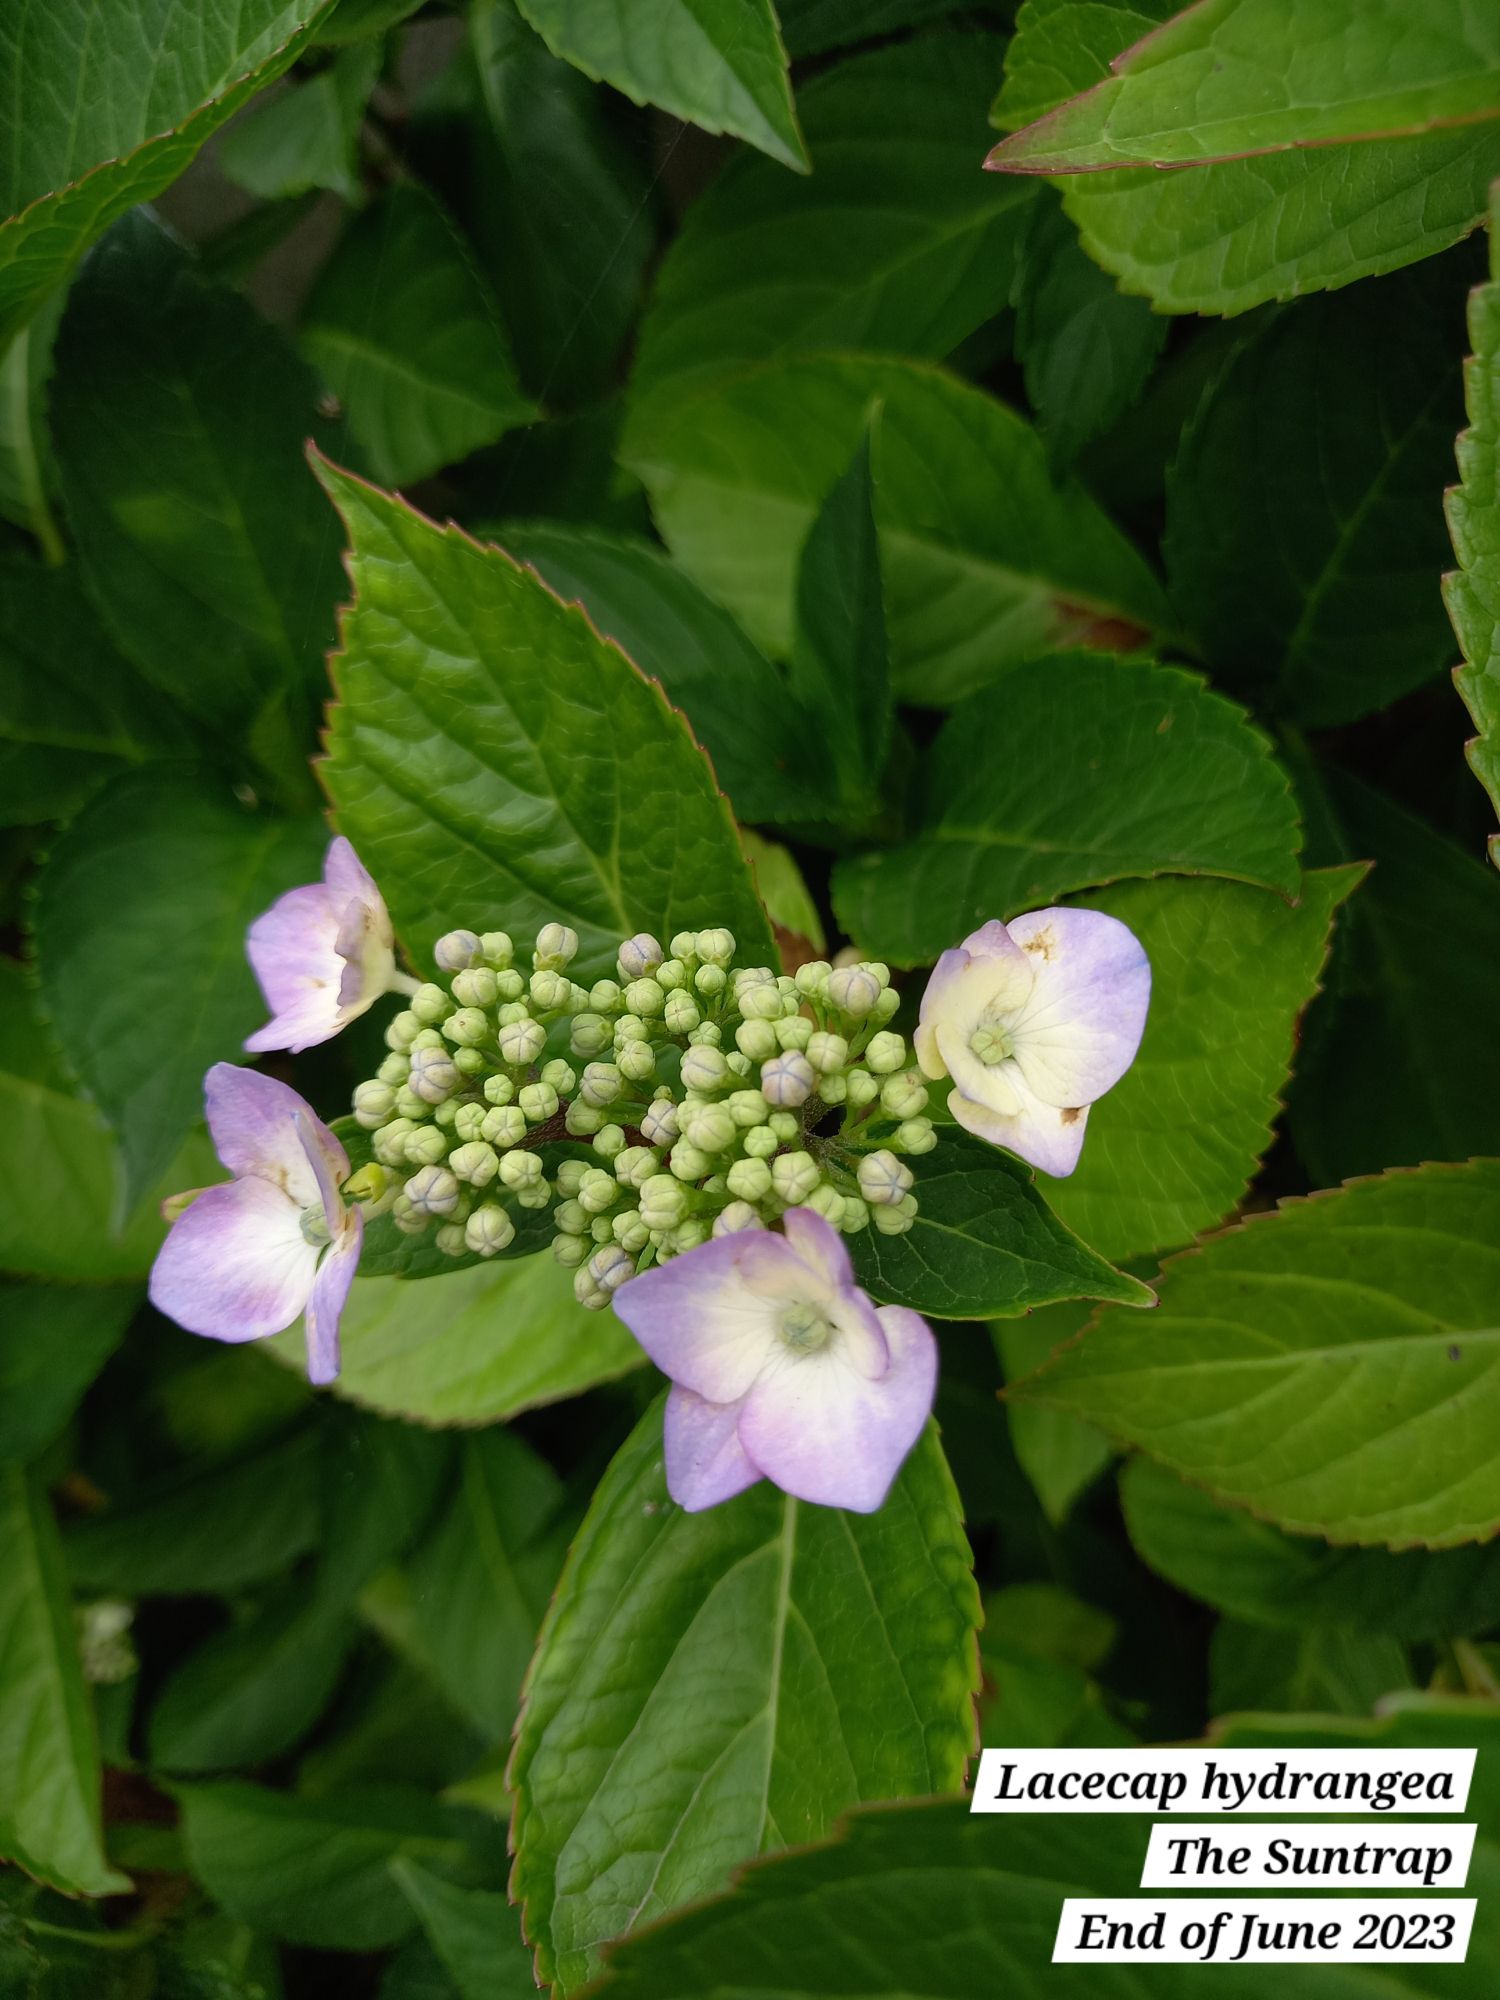
In The Suntrap, we have inherited a mature and beautiful lacecap hydrangea.
Every year it has given us a wonderful display of blooms for weeks on end:
However, the hydrangea has always been slightly too large for the space.
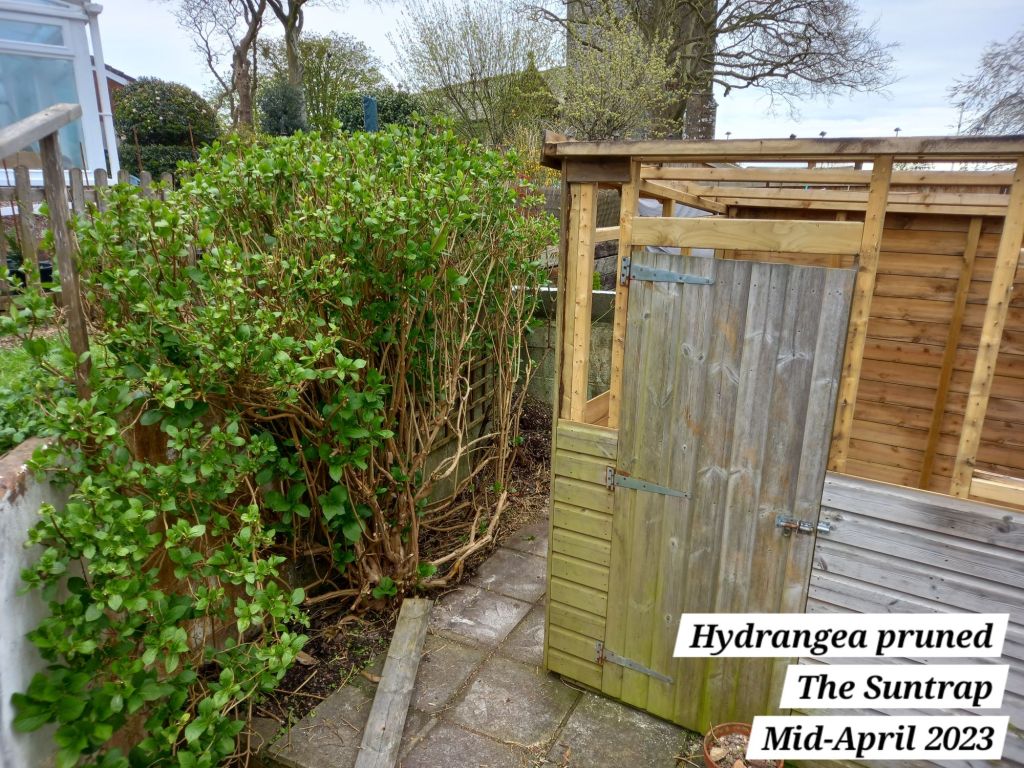
First, it jostled for space, squeezed against an old shed that sat in The Suntrap:
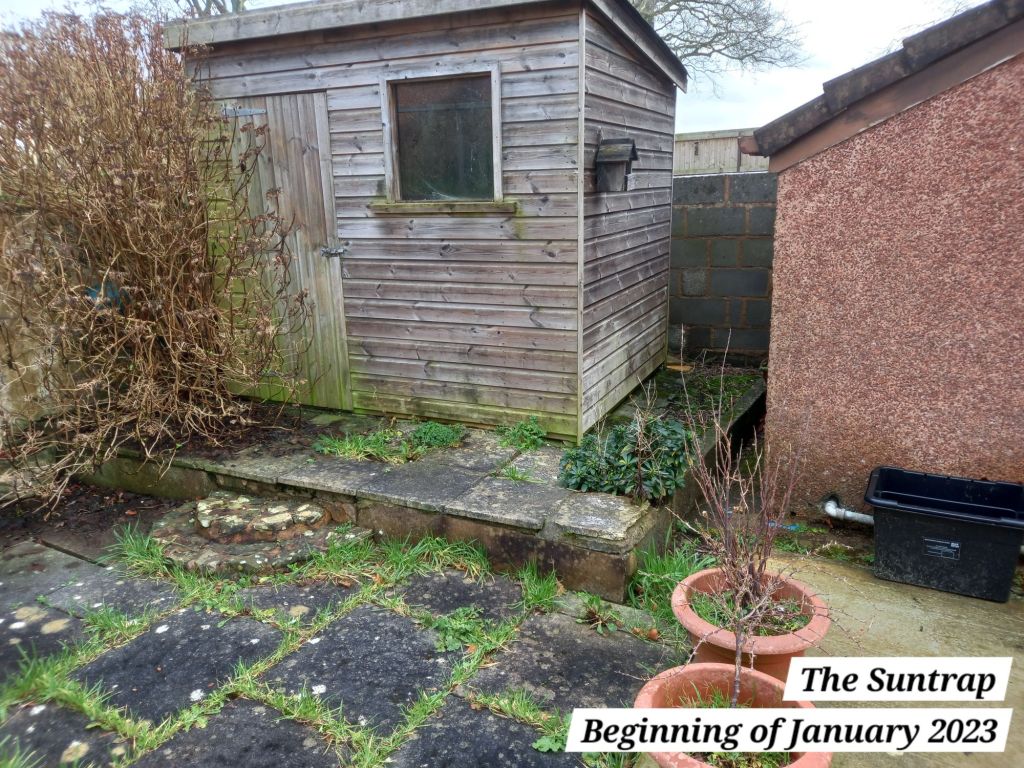
I then pruned the hydrangea back in 2023, to allow access down the side of the shed:
We eventually took the shed apart entirely and I rebuilt a new shed in another area of the garden, recycling the materials from the old shed (post upcoming for that soon).
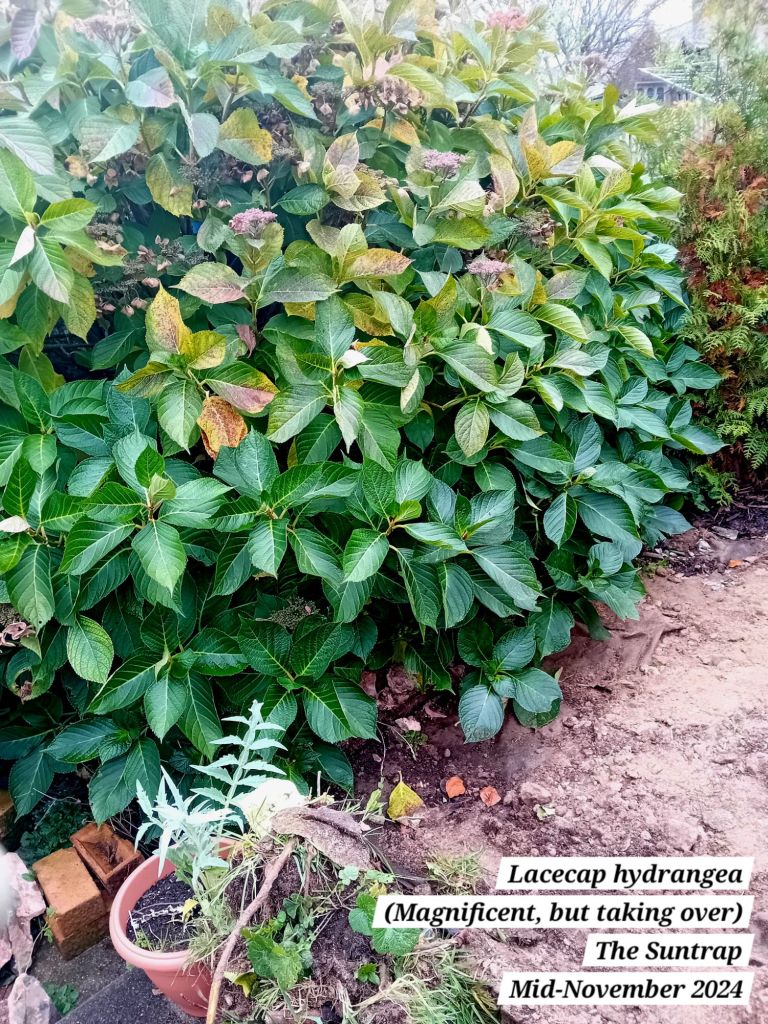
After the shed had been removed, it almost seemed like the hydrangea breathed a sigh of relief and spread out even more!

Last year, it was magnificent and I loved how much privacy and maturity to the planting it provided in The Suntrap, but we found that we were squeezed into The Suntrap space when we used it for relaxing and lounging.
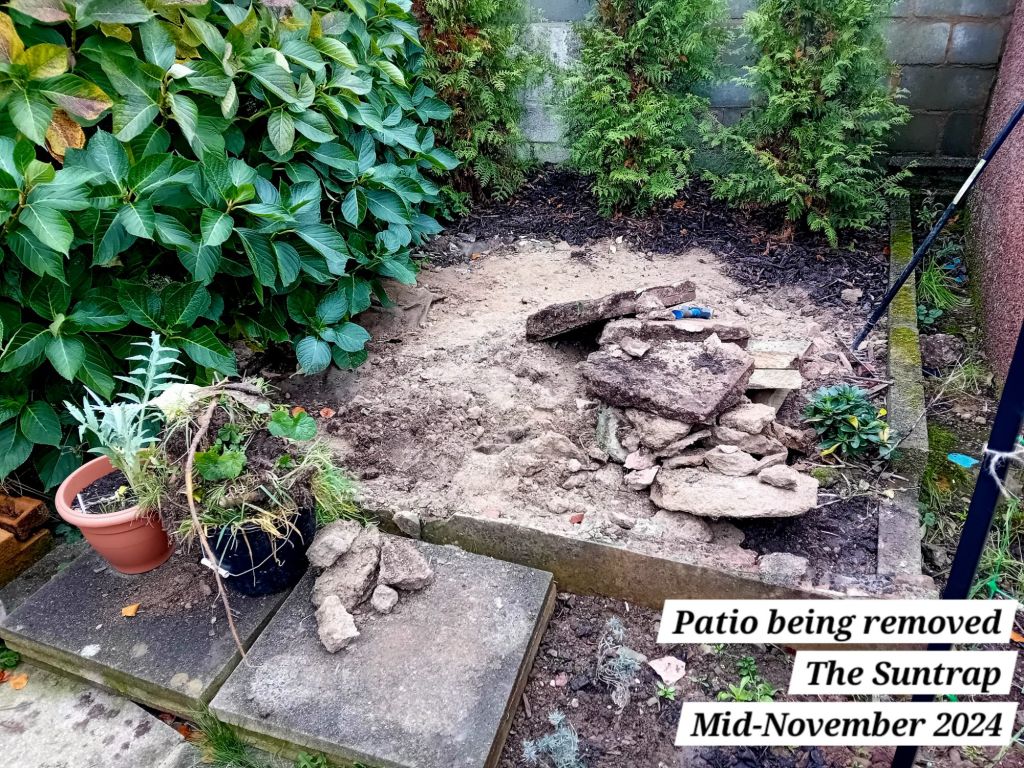
It was also in November 2024 that the old, crumbling patio was removed in The Suntrap:

That patio actually stretched for another two rows underneath the hydrangea and they were only removed later on when they were accessible…
I therefore knew that I wanted to keep the hydrangea for its beauty, but that it would need to be kept much smaller, so that we could properly use The Suntrap area for relaxing.
The problem was, I already pruned it very hard in 2023 and it responded by becoming ginormous. Yes, I could go for a lighter touch and possibly even do a twice yearly prune, but I decided instead that it was an opportunity to try something different: a hydrangea tree!
Let the (further) pruning… begin!
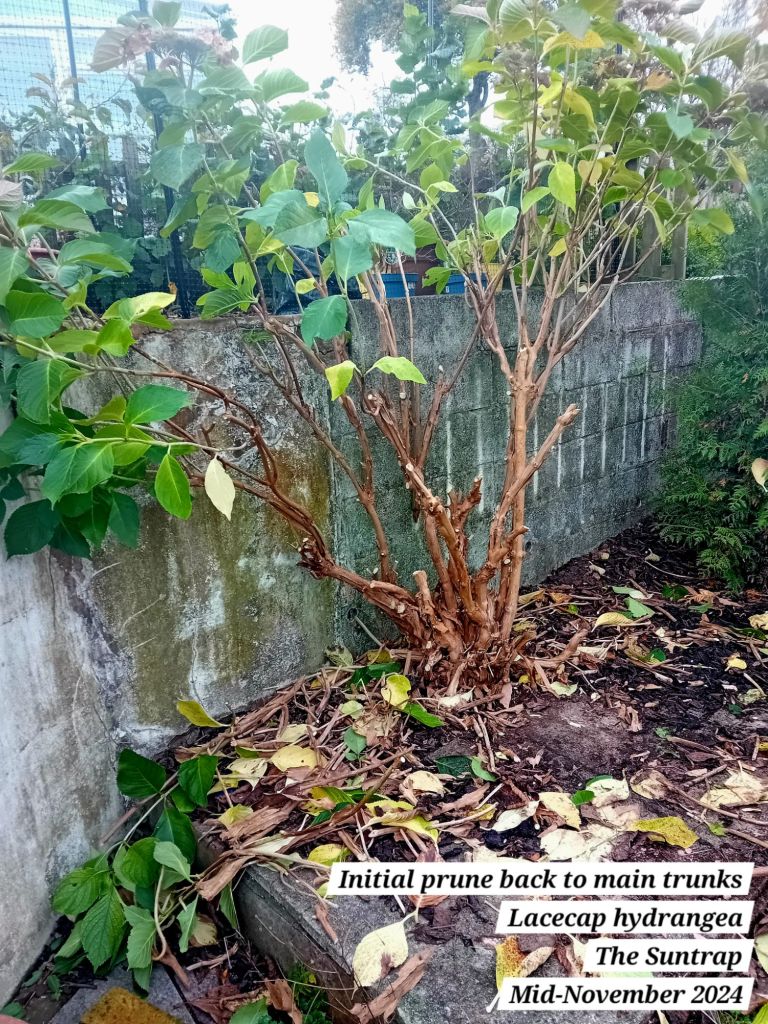
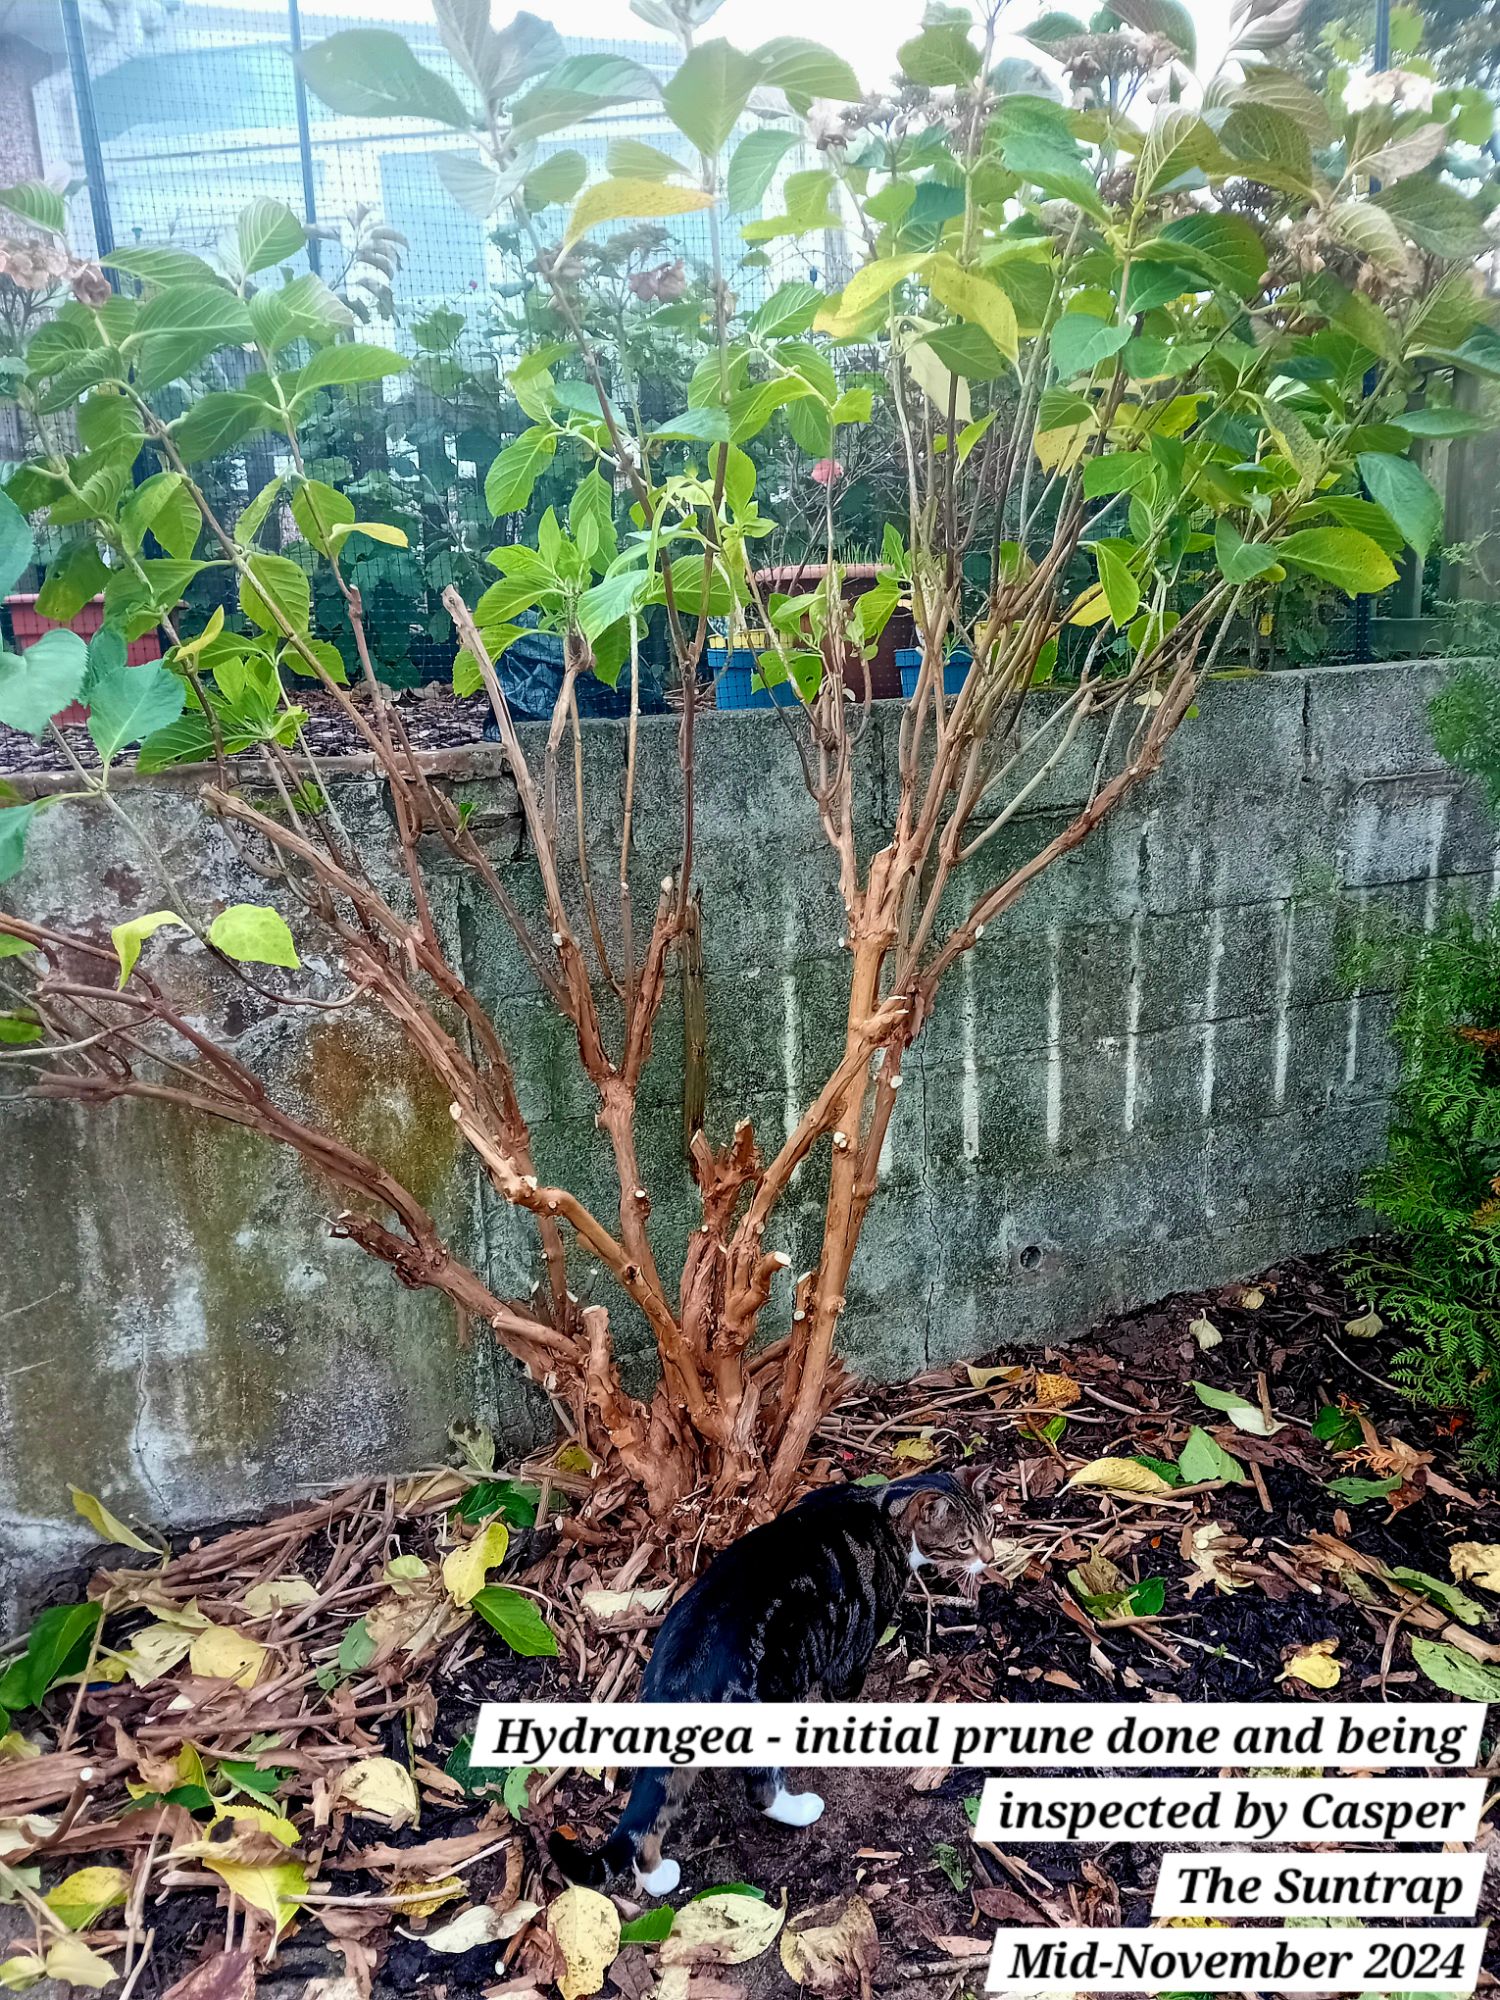
In mid-November 2024, I set about one day with my pruners and lopped a great deal off the hydrangea:
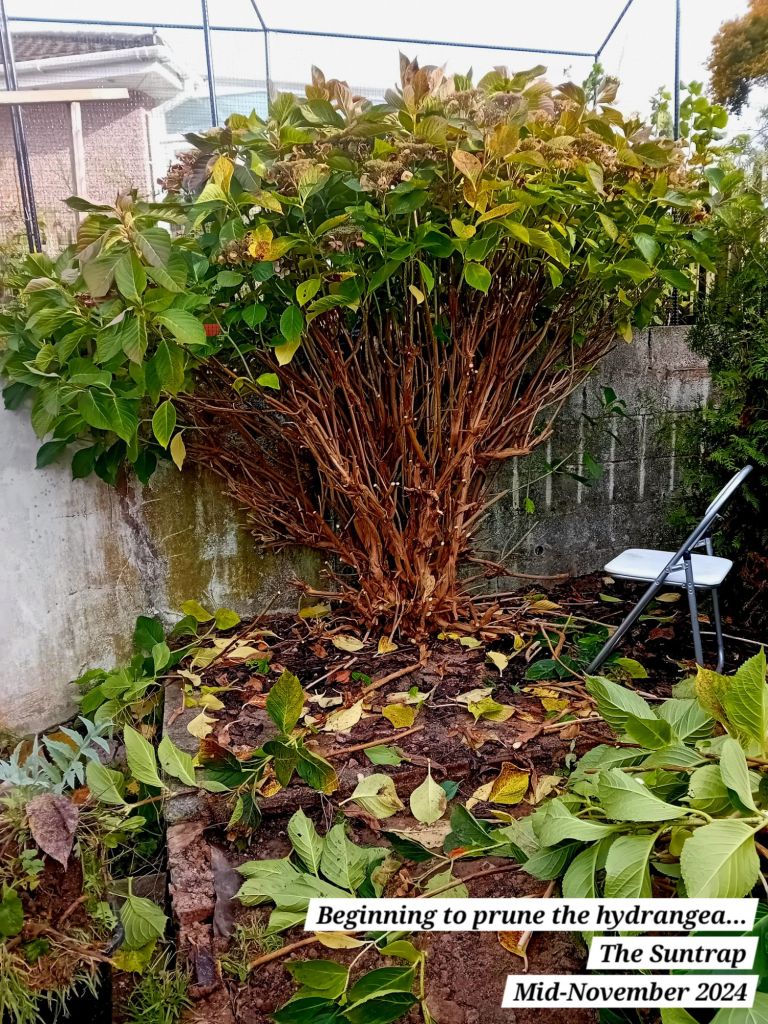
You can just see the additional two rows of patio slabs in the above photo – these were later removed as mentioned earlier, but the photo helps to show just how much the hydrangea encroached into the space!
After the initial prune, I then inspected the stems of this mature hydrangea and saw that there were a number of thicker stems that could serve as the ‘trunks’ of the tree.
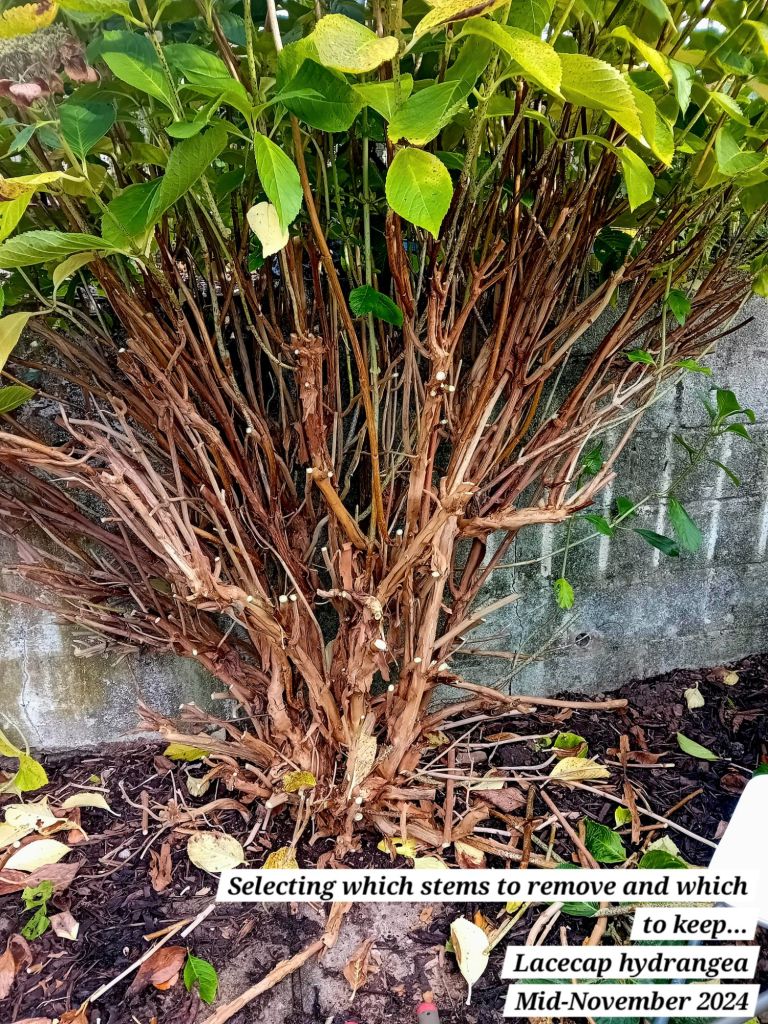
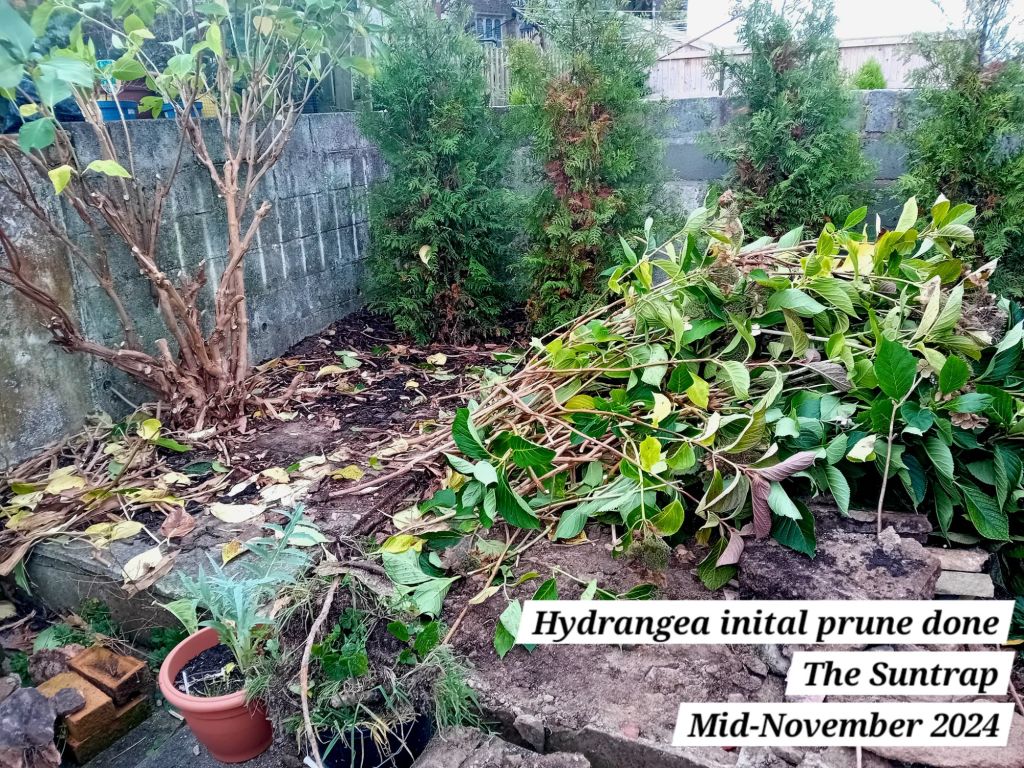
I then started thinning out the weaker stems, to build a solid framework of thick trunks, to create a multi-stemmed hydrangea tree:
Although it probably looks fairly brutal and odd at this stage, after that initial prune, I was fairly happy with what I saw: the new hydrangea tree should still give us some privacy and blooms at the top, whilst growing up rather than out into the space – perfect!

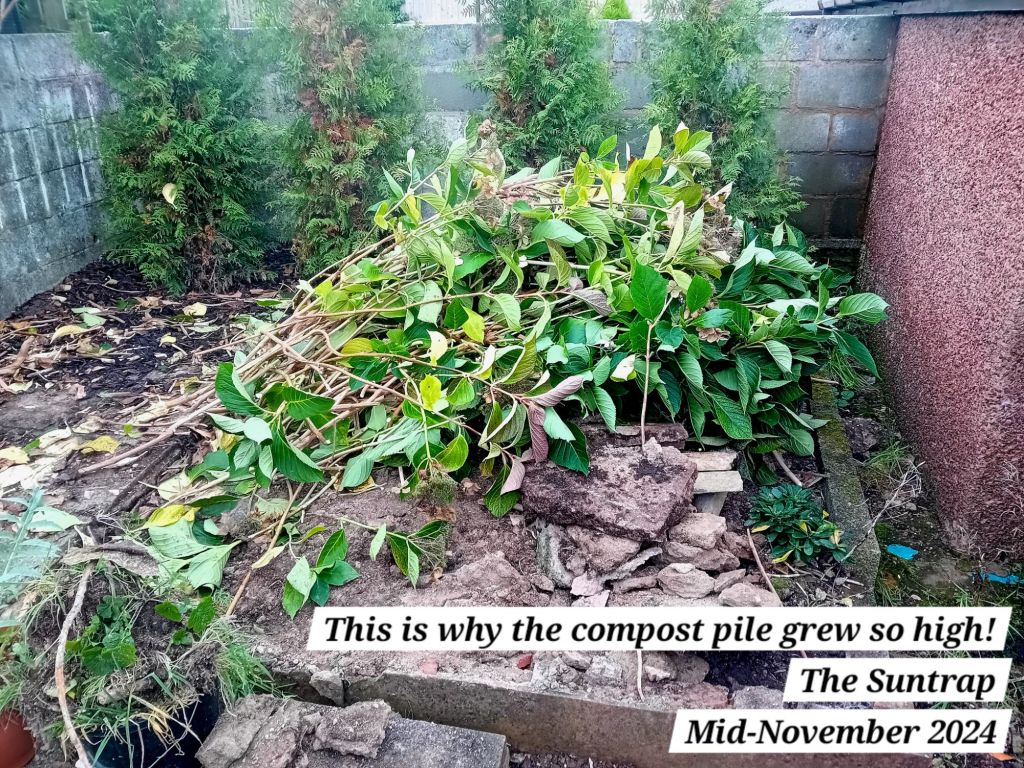
I left the hydrangea there at that point in November 2024, as I was rather exhausted! I had also acquired a huge amount of material to put on our compost heap, which explains why it grew so huge at that point…
A hydrangea tree emerges
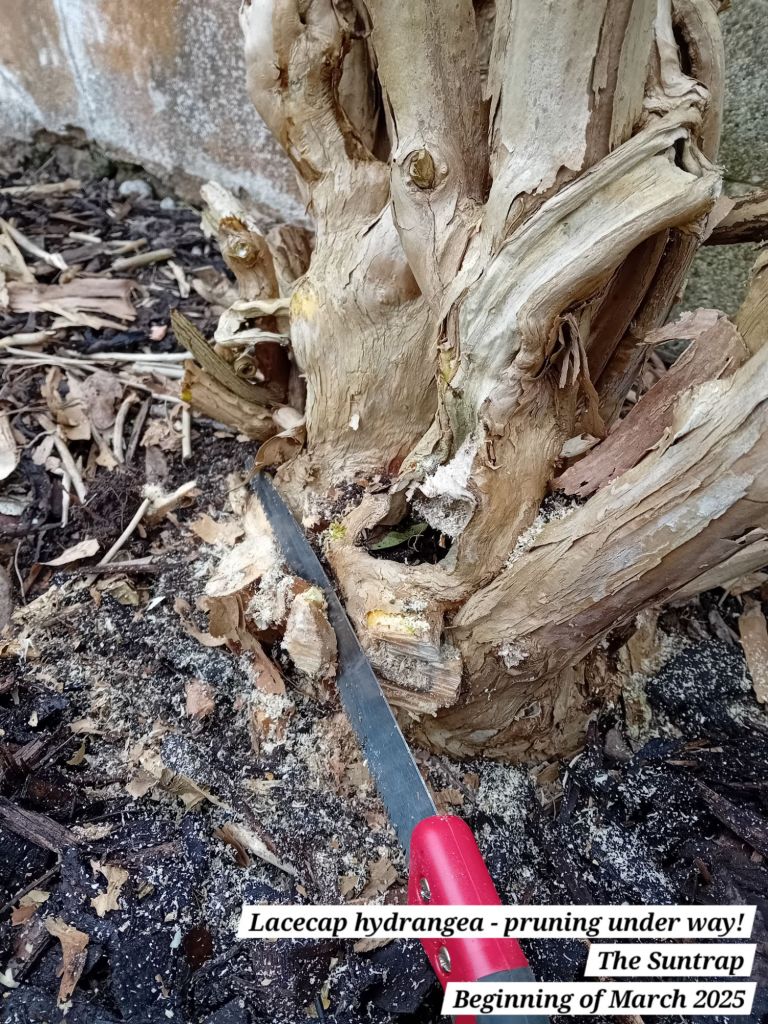
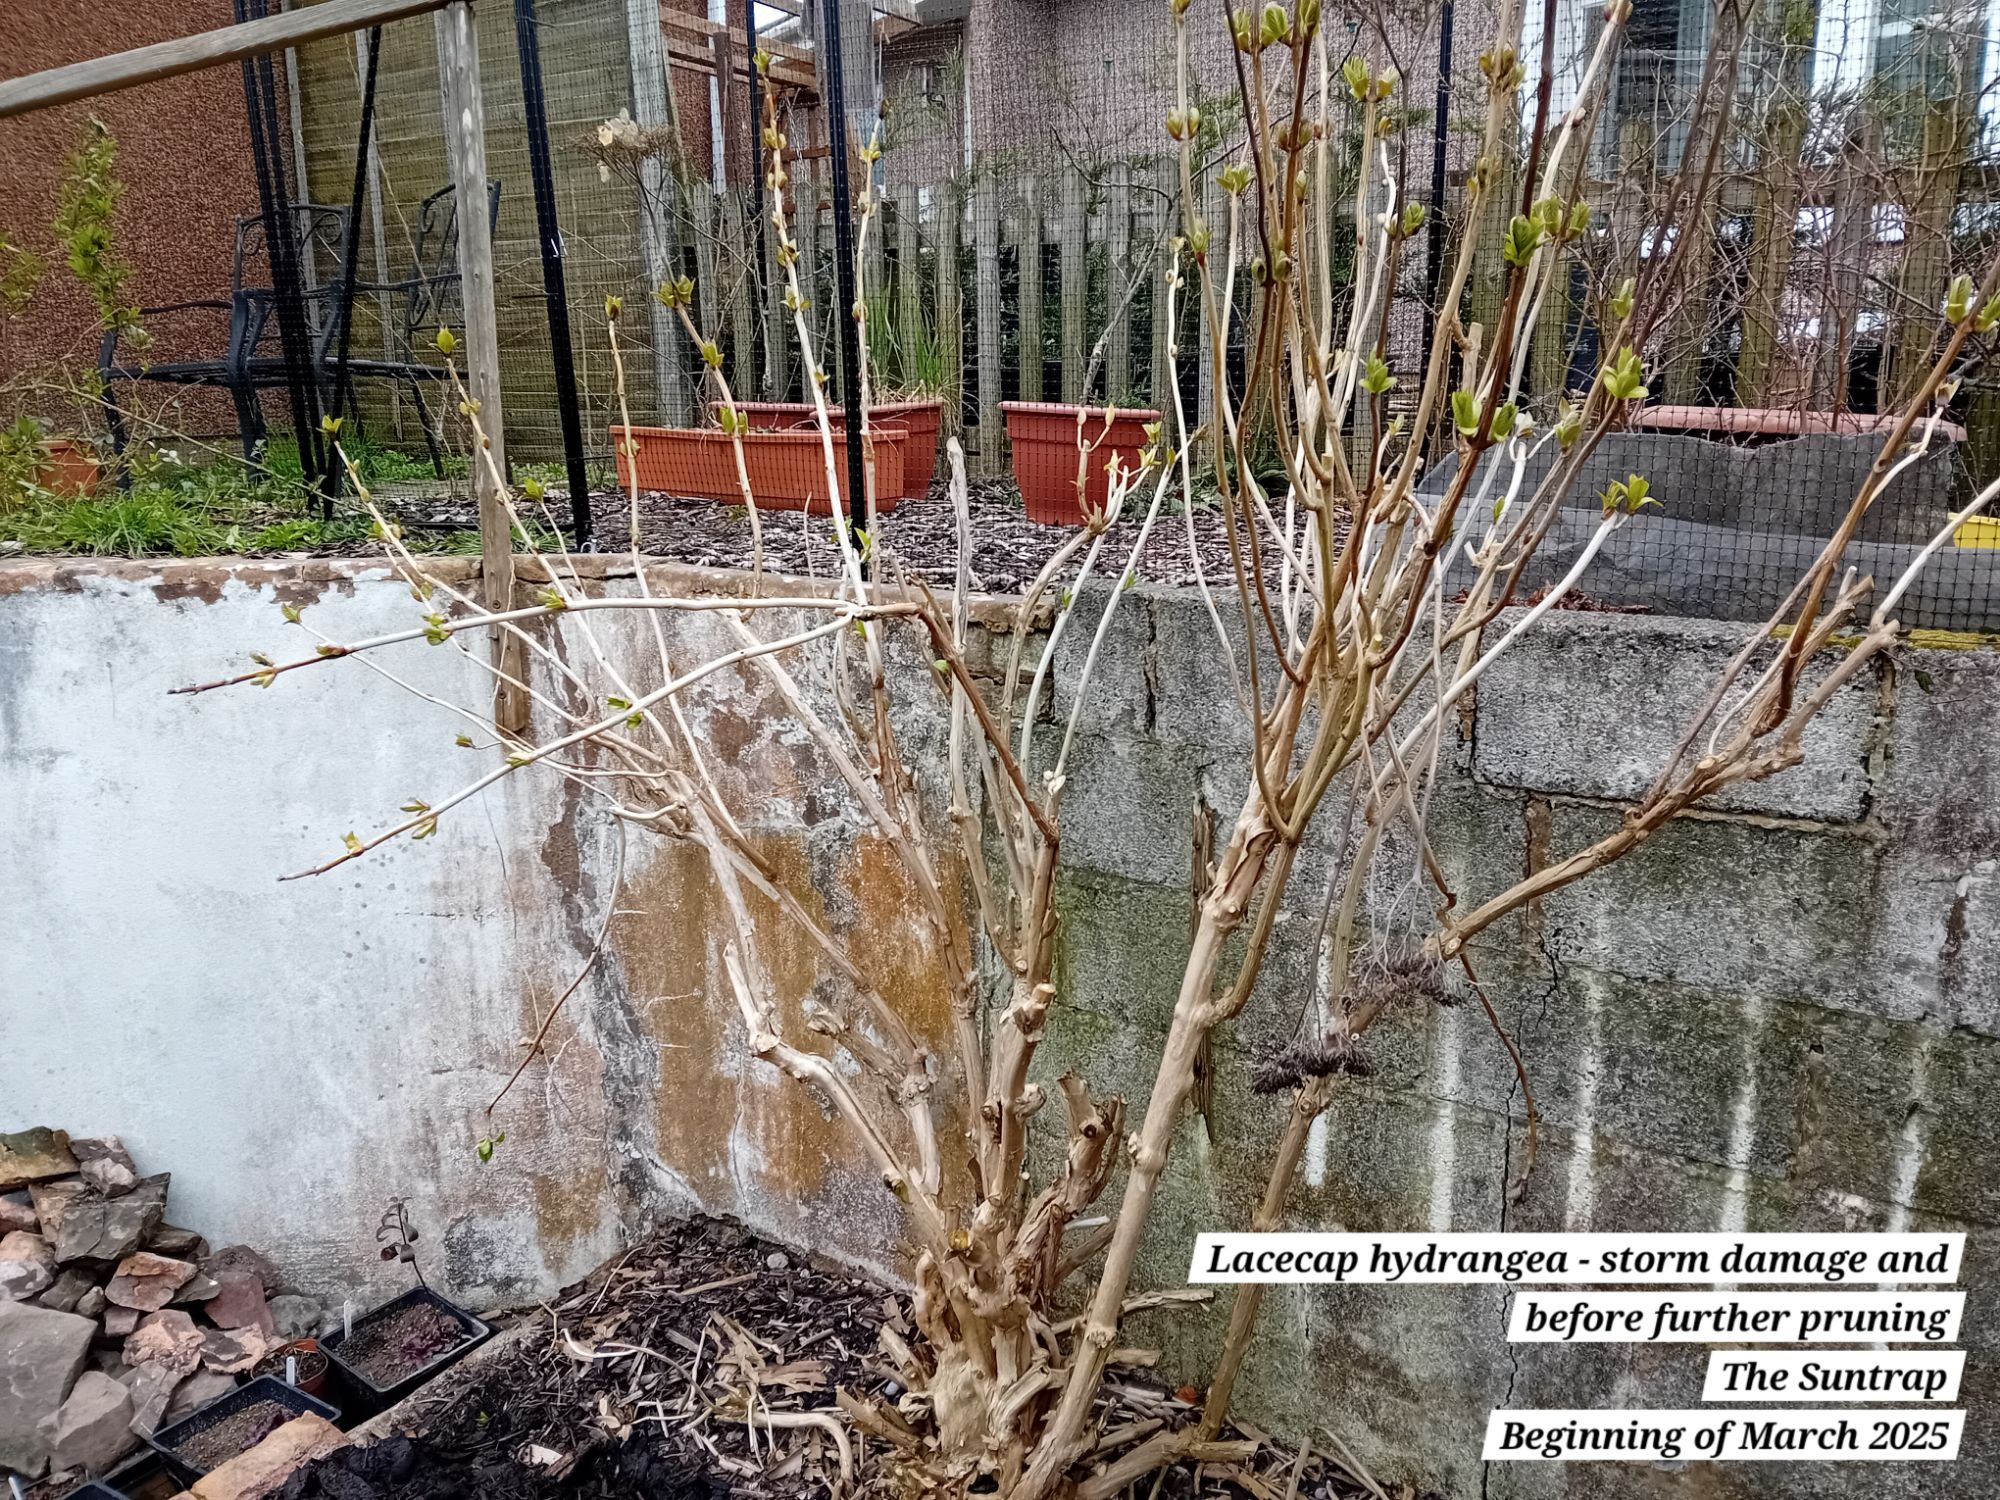
I then set to work in the last week pruning the hydrangea back further, ready for Spring 2025 and to finesse the framework I had created. I used a pruning saw for this job rather than loppers, to give neat cuts:
Before
This is how the framework was looking before further pruning:

During
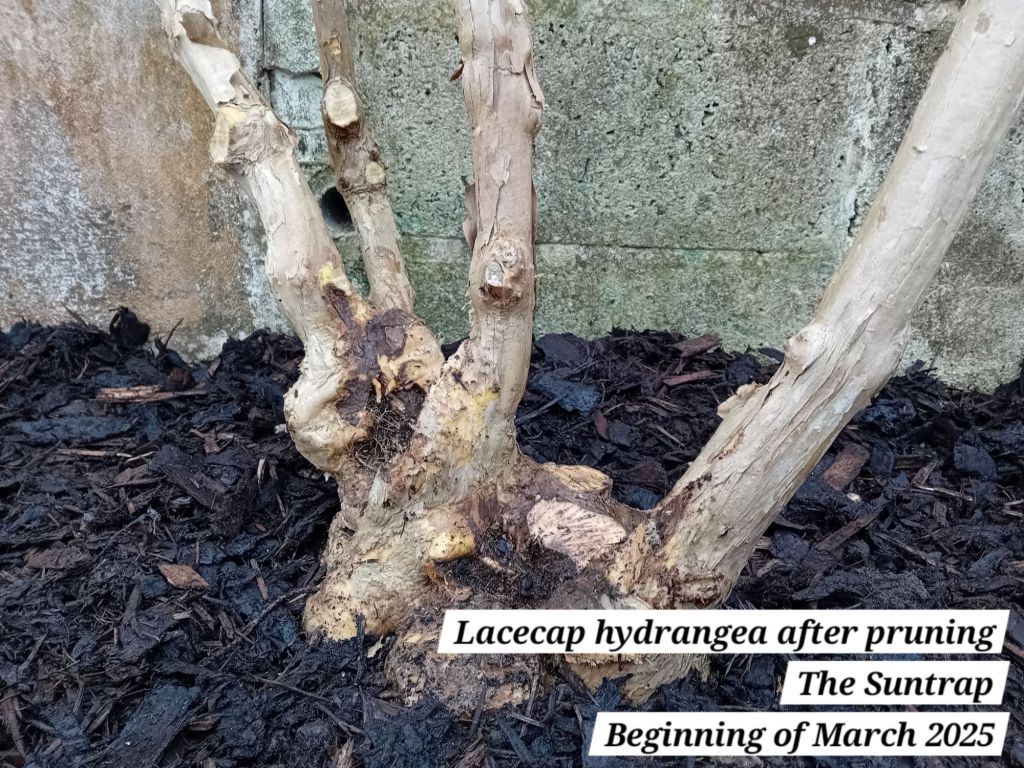
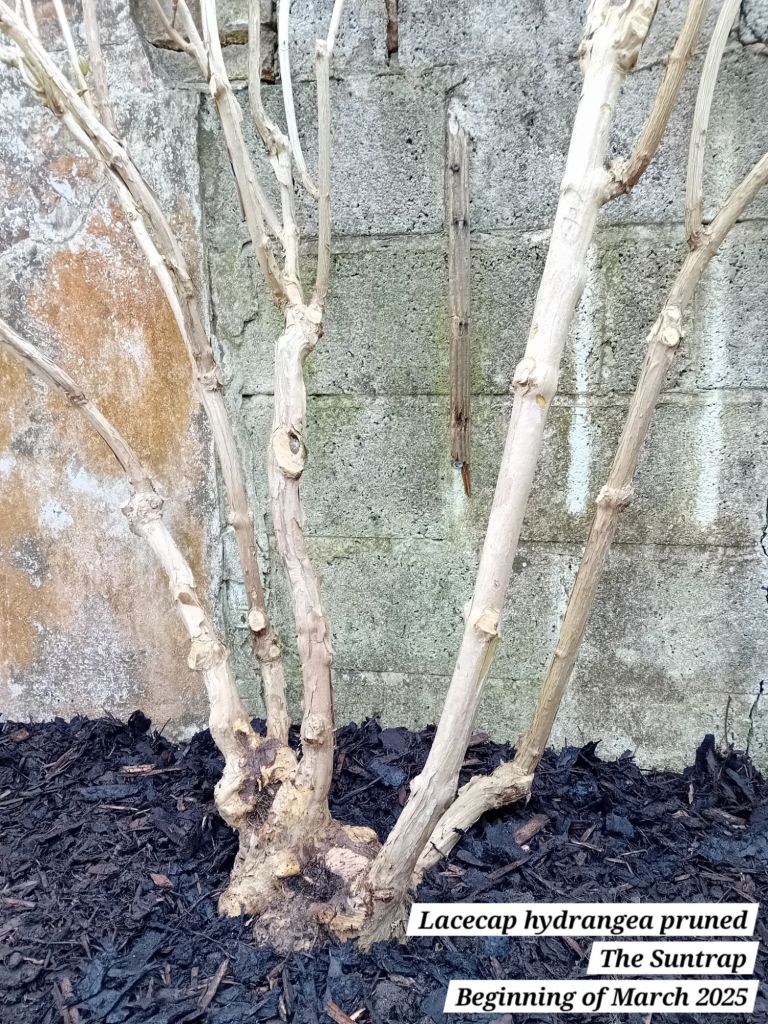
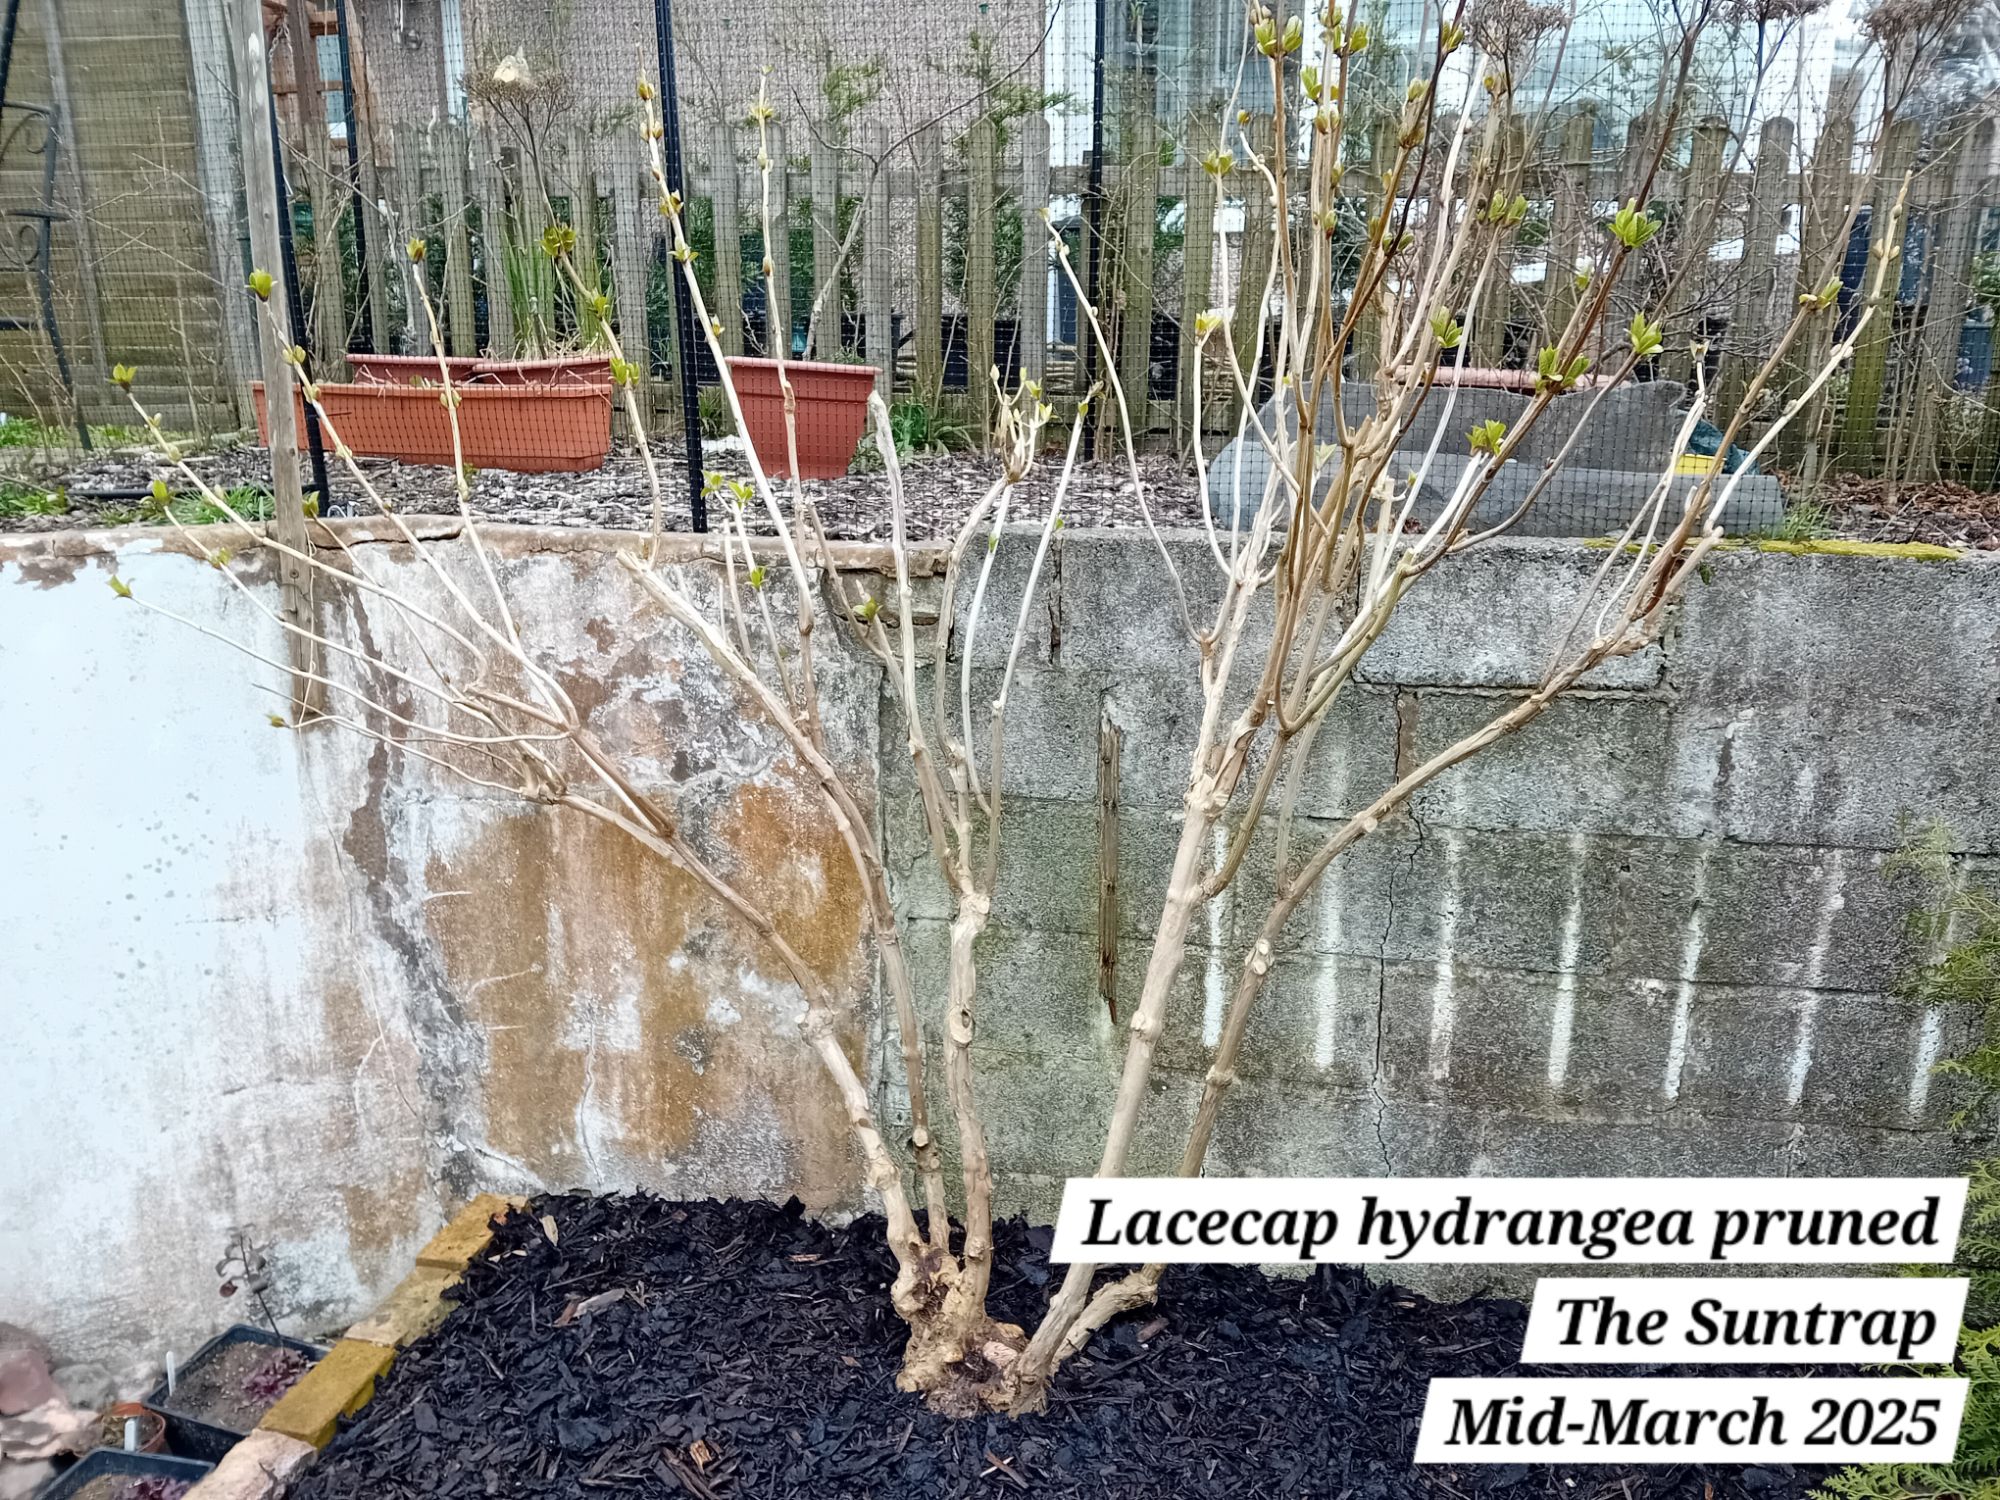
After
After more pruning, the shape of the hydrangea tree finally emerged. It is amazing what a difference cleaning up all of the trunks did for achieving a striking shape. You’ll notice that the bark of this hydrangea also peels, which will add seasonal interest.


Before and after – side by side overview


I am really happy with how the framework for the hydrangea tree is looking so far, and I can’t wait to see how it grows this year! This is a completely new experiment for me and it goes against all the usual advice given for pruning hydrangeas, so time will tell how it does 🙂 I will be removing any growth that tries to break from the main trunks lower down and I will be pruning the old flower heads off to the first node once we are no longer going down to freezing at night, which has been happening recently.
There are other changes to come in this area, including painting the back wall and planting new climbers to grow up the wall… I was majorly inspired by a beautiful garden that I saw at the Chelsea Flower Show in 2024 and I will be applying some of those same design ideas in my styling for The Suntrap. I think it is going to be quite a major transformation! I’ll be sharing the photos of that beautiful inspiration and further planting very, very soon. Stay tuned for those updates!
Until next time, happy gardening 🙂


Leave a comment