

Hello again and welcome back to my blog!
Today’s post follows on from my recent post introducing the first of our front gardens, The Woodland Garden. If you are a new reader, you can read that post here: Introducing: The Woodland Garden
This post introduces the final two front gardens: The Welcome Patch and The Cherry Tree Avenue.
I will now also be increasing my posts to twice a week: Wednesdays at 10am and Sundays at 10am. I might also put up posts in addition to that, depending on what I have been doing that week. Don’t forget to subscribe so that you receive updates – the subscribe section is available further down this page.
The post coming on Wednesday 5th February will show you some major changes in The Wild Borders and some new borders I have been digging out called ‘The Window Boxes’. Come back on Wednesday morning to see that!
I hope you enjoy this post. It is another longer post, so you may like to grab a cup of tea or coffee before you sit down to read 🙂
The Welcome Patch
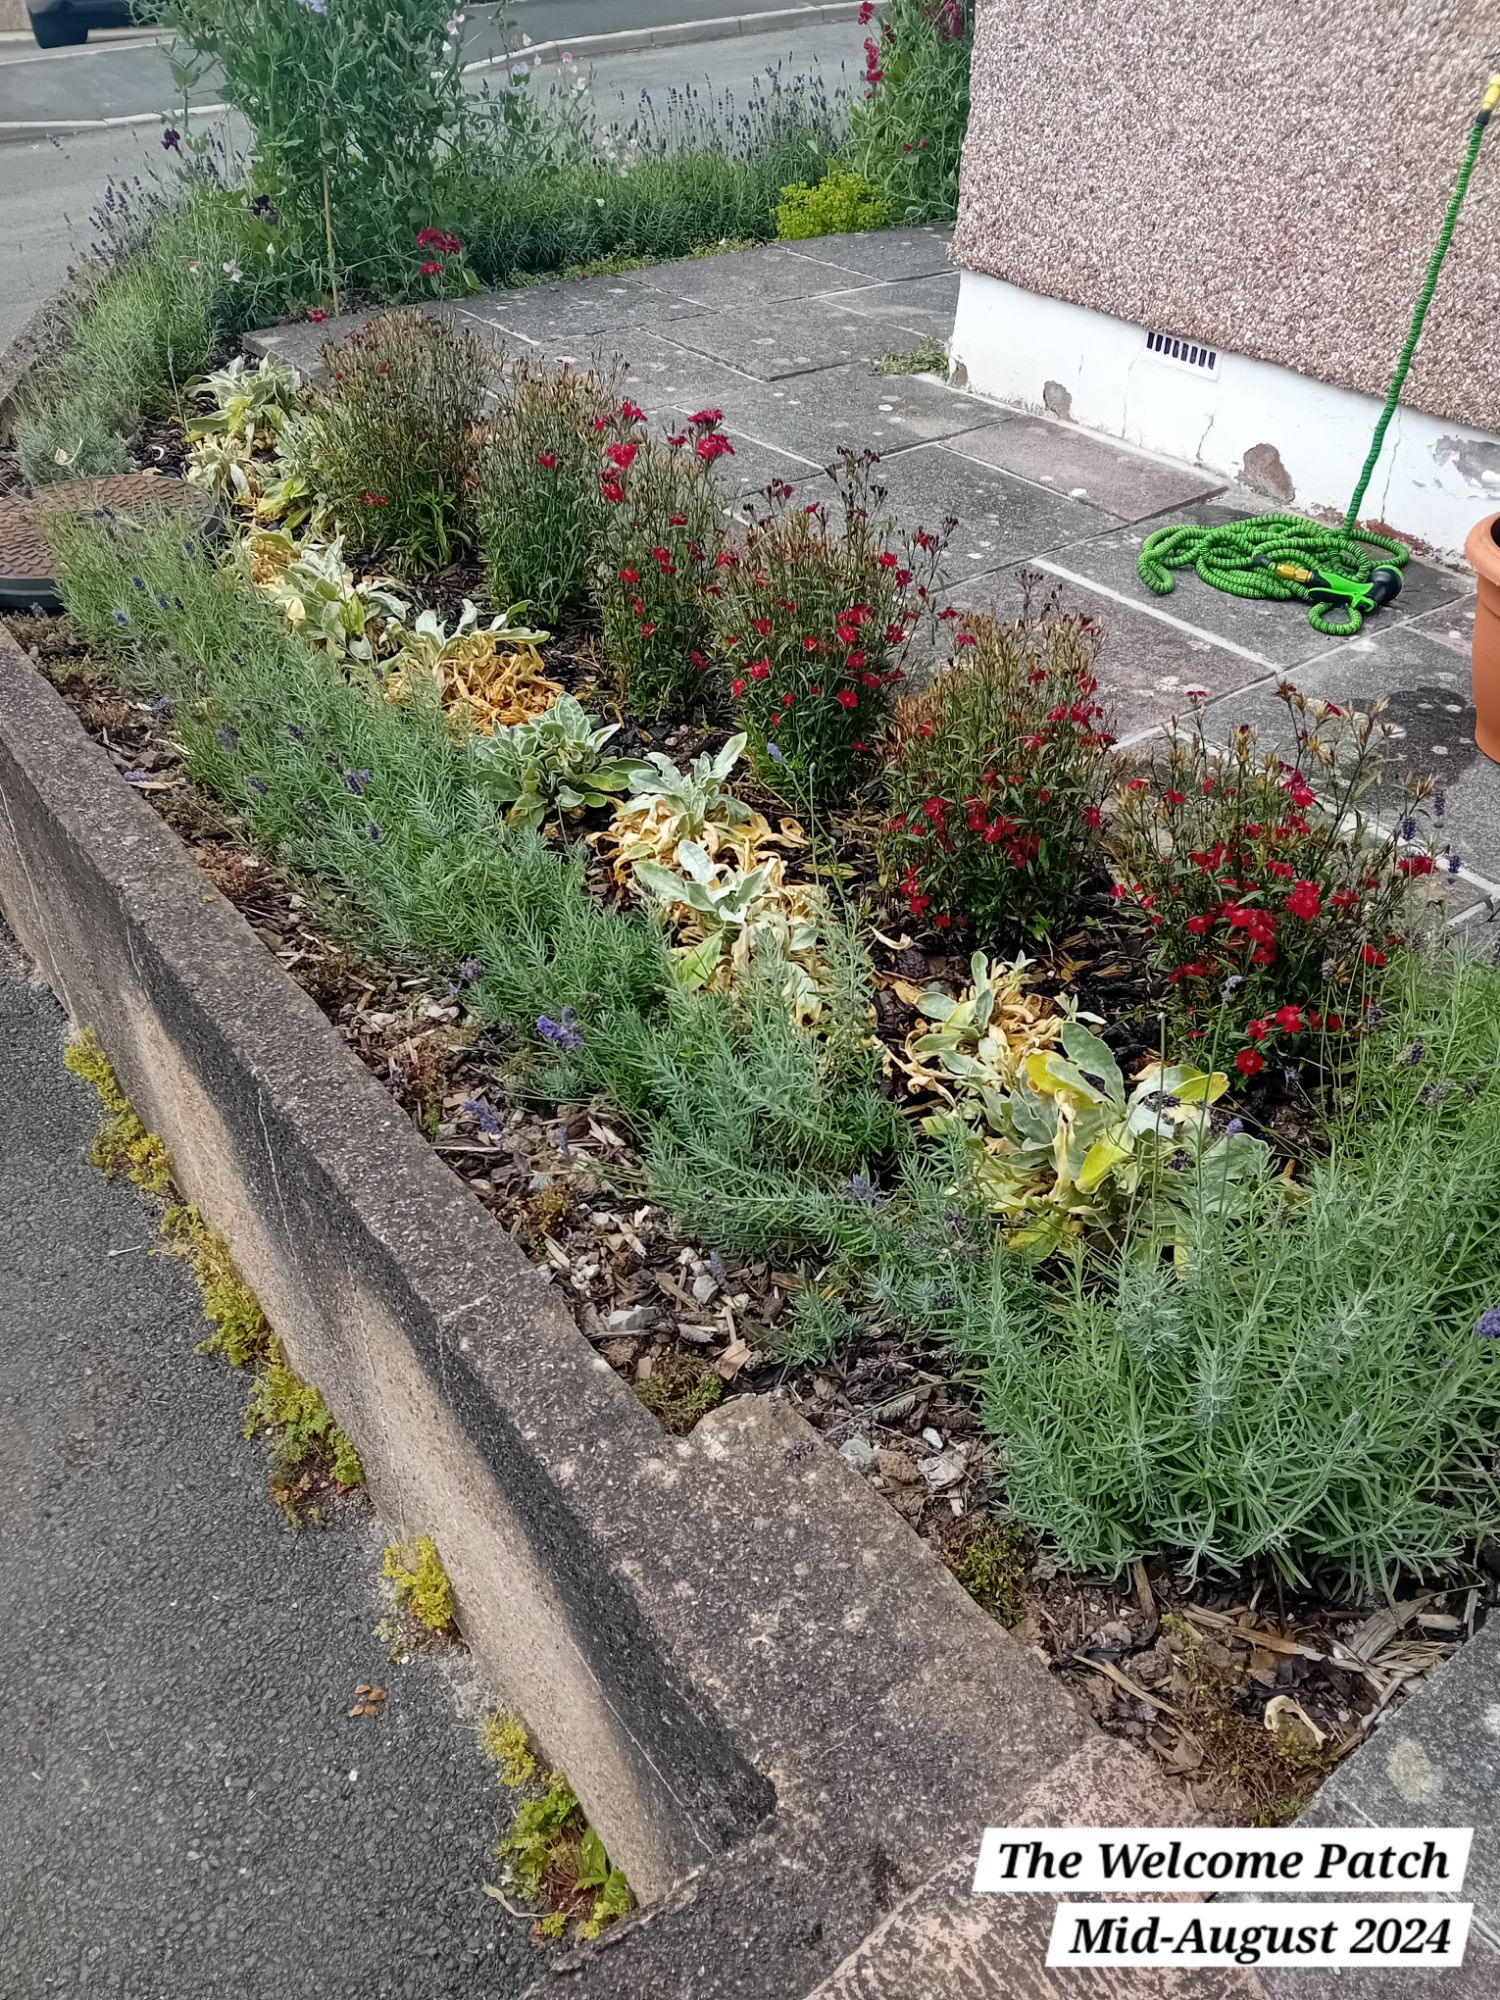
The Welcome Patch is a small patch of garden near our front door – hence its name!
At present, it is simply serving as a neat and welcoming patch of plants. Over time, the Mr and I may have other plans for this area, depending on what happens with the property renovations. That is why, for now, the plants in the area are ones that I had to spare or ones I was given for free.
Before and after snapshot
Keep reading to see how The Welcome Patch was transformed in one year from 2023 to 2024:

Stage one: the big dig (the major theme of 2023)
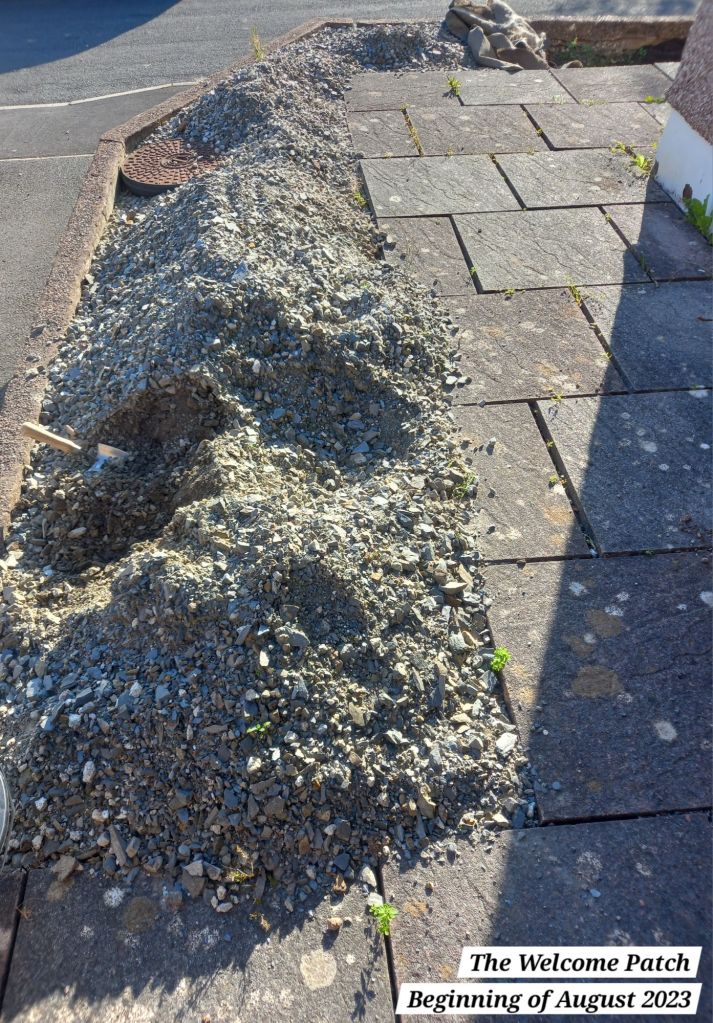
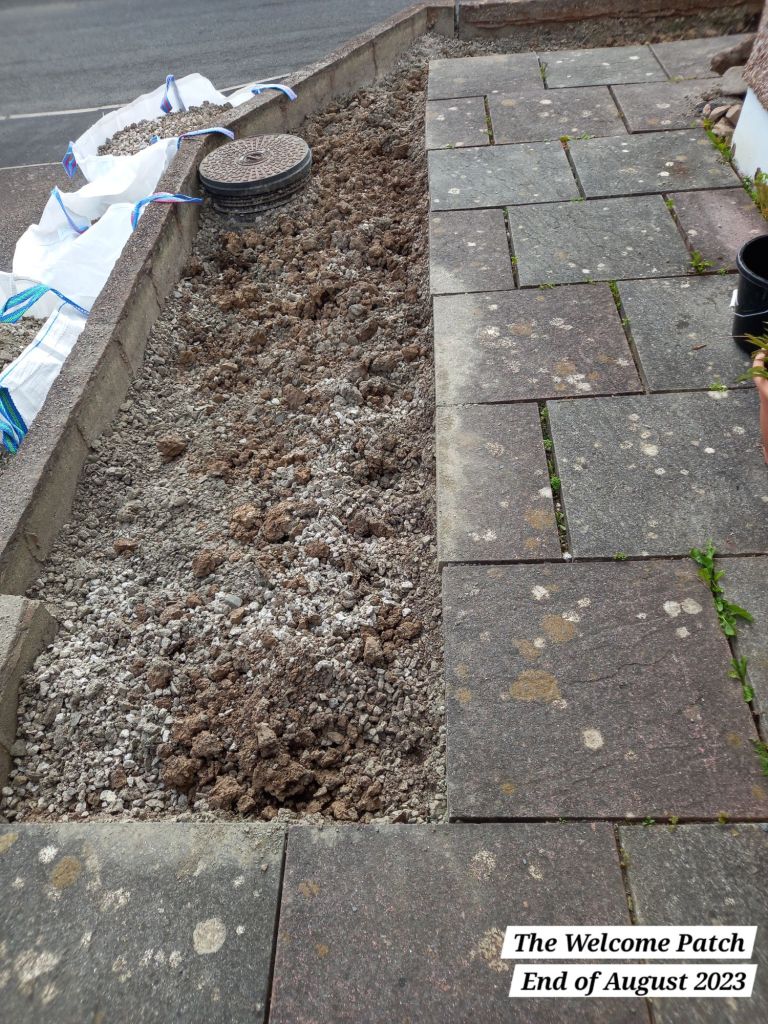
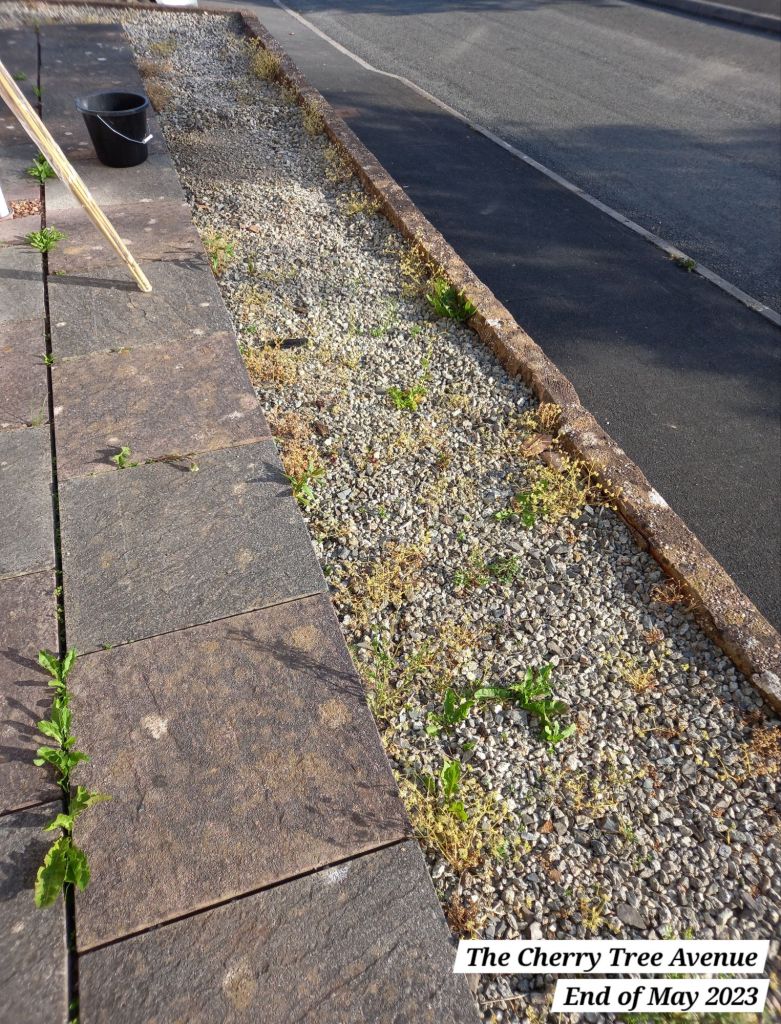
Looking back at how that area used to look since 2023, it had been a scrappy and quite scruffy piece of graveled garden, with some self-seeded weeds. Gravel gardens are all well and good if you want that, but I thought the gravel used was fairly ugly, reminiscent of ones used in car parks. There was no design to the area either, it was just bleak:
As you’ll see further down in this post, the ugly gravel ran from The Welcome Patch, all way round to The Cherry Tree Avenue.
We had originally started digging up the gravel in The Cherry Tree Avenue (as I wanted to grow sweet peas) and the Mr and I initially used The Welcome Patch as a place to pile up the gravel there, whilst we were waiting for builders sacks to arrive:
The Mr and I spent months of 2023 gradually digging up all of the gravel and aggregate. We did this whilst balancing work, general life commitments, time off, other garden projects and initial renovations/cleaning of our property. I certainly don’t miss how hectic those days were, but I love looking back at how we slowly worked on the gardens and made improvements.
You’ll also know if you are reader that follows my blog, that I spent time in 2023 also digging out all the grass in The Woodland Garden – post here.
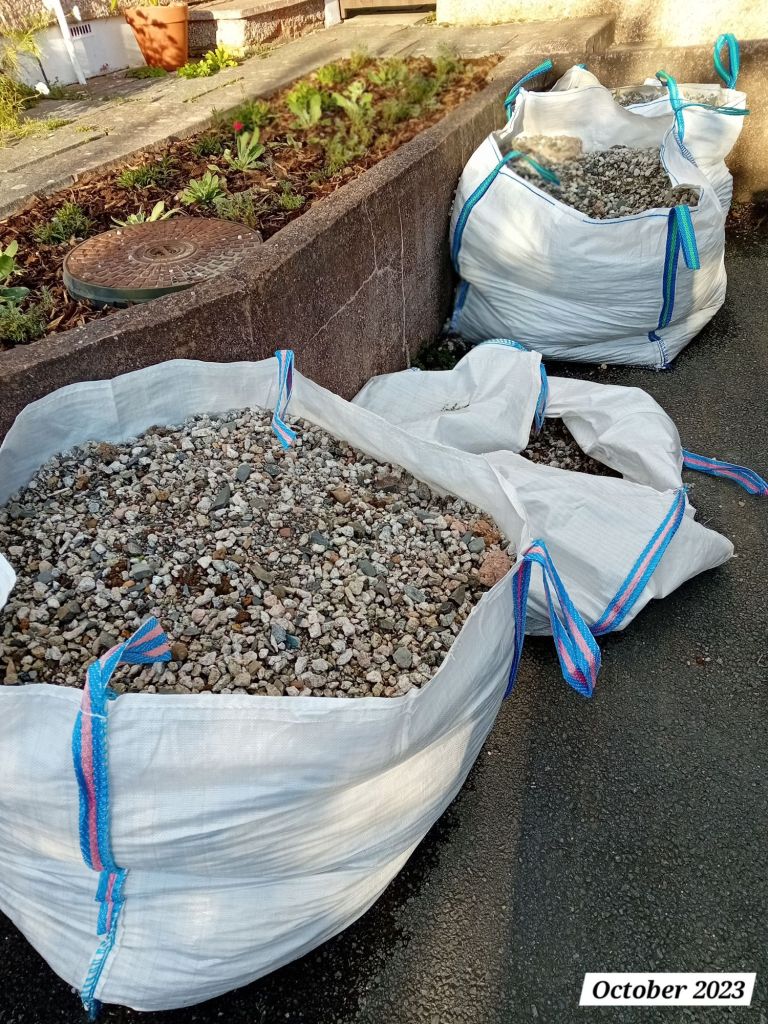
We dumped all of the gravel and aggregate into three large builder sacks and these sat at the front of our property for a long time. We knew we would need to arrange a collection for these at some point, but it wasn’t at the top of our priority (or budget) list.
We finally finished digging all the gravel and aggregate up from the front gardens in August 2023.
As luck would have it, one of our neighbours had a large shed that she needed base materials for. I informally offered her the gravel and aggregate for free, expecting that she may get through a bag or so by carting it backwards and forwards with a wheel barrow. We had another neighbour who also took some of it (with our consent) to use to help patch up a village lane that is occasionally used by motor vehicles for gaining access to a field for village fares.
Well, the Mr and I returned home one day to find all the sacks gone and a card left to say that that the first neighbour had asked a local farmer to transport the sacks to her property not far away. That was a real result and removed what had become quite an eye sore!
After digging up the gravel and the aggregate, The Welcome Patch looked like this:
After removing all of the gravel, the Mr and I dug over the compacted soil, topped up all the garden with top soil from other areas of the garden and also bought some large bags of compost to improve the soil.
Preparing the plants
For the planting, I decided to just use whatever I had to hand mostly for this area, as I wasn’t sure ultimately whether this garden would remain.
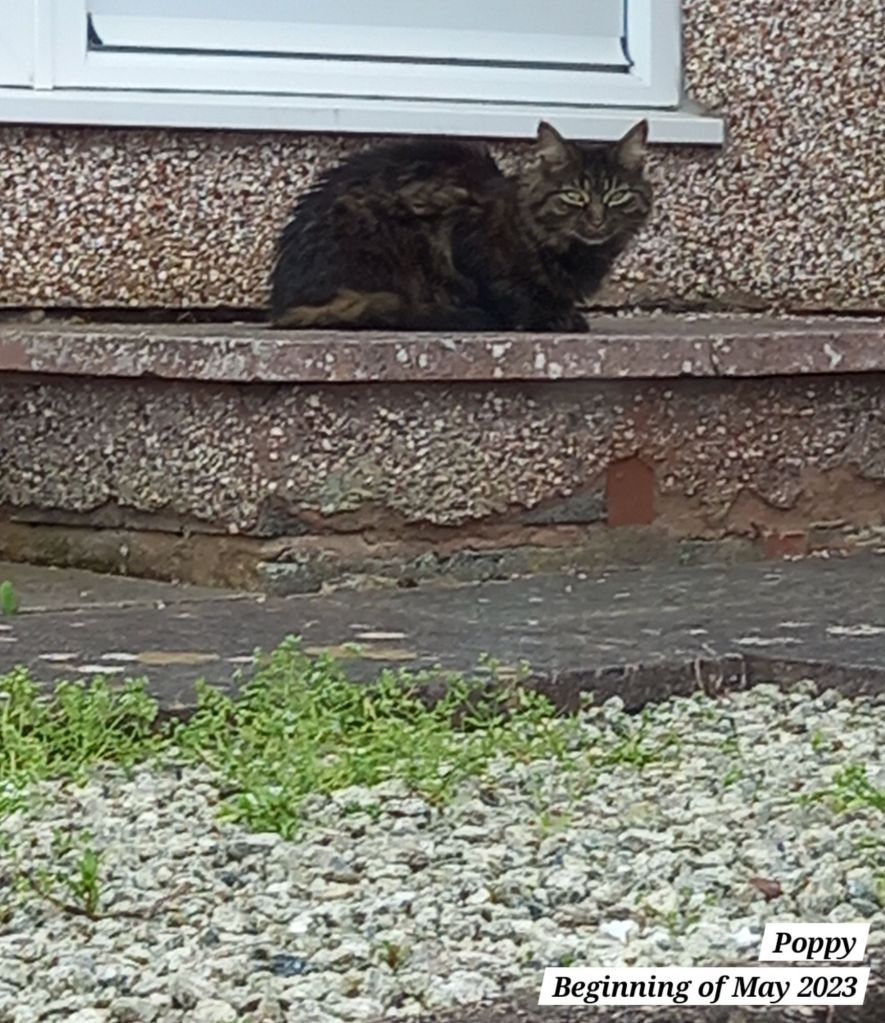
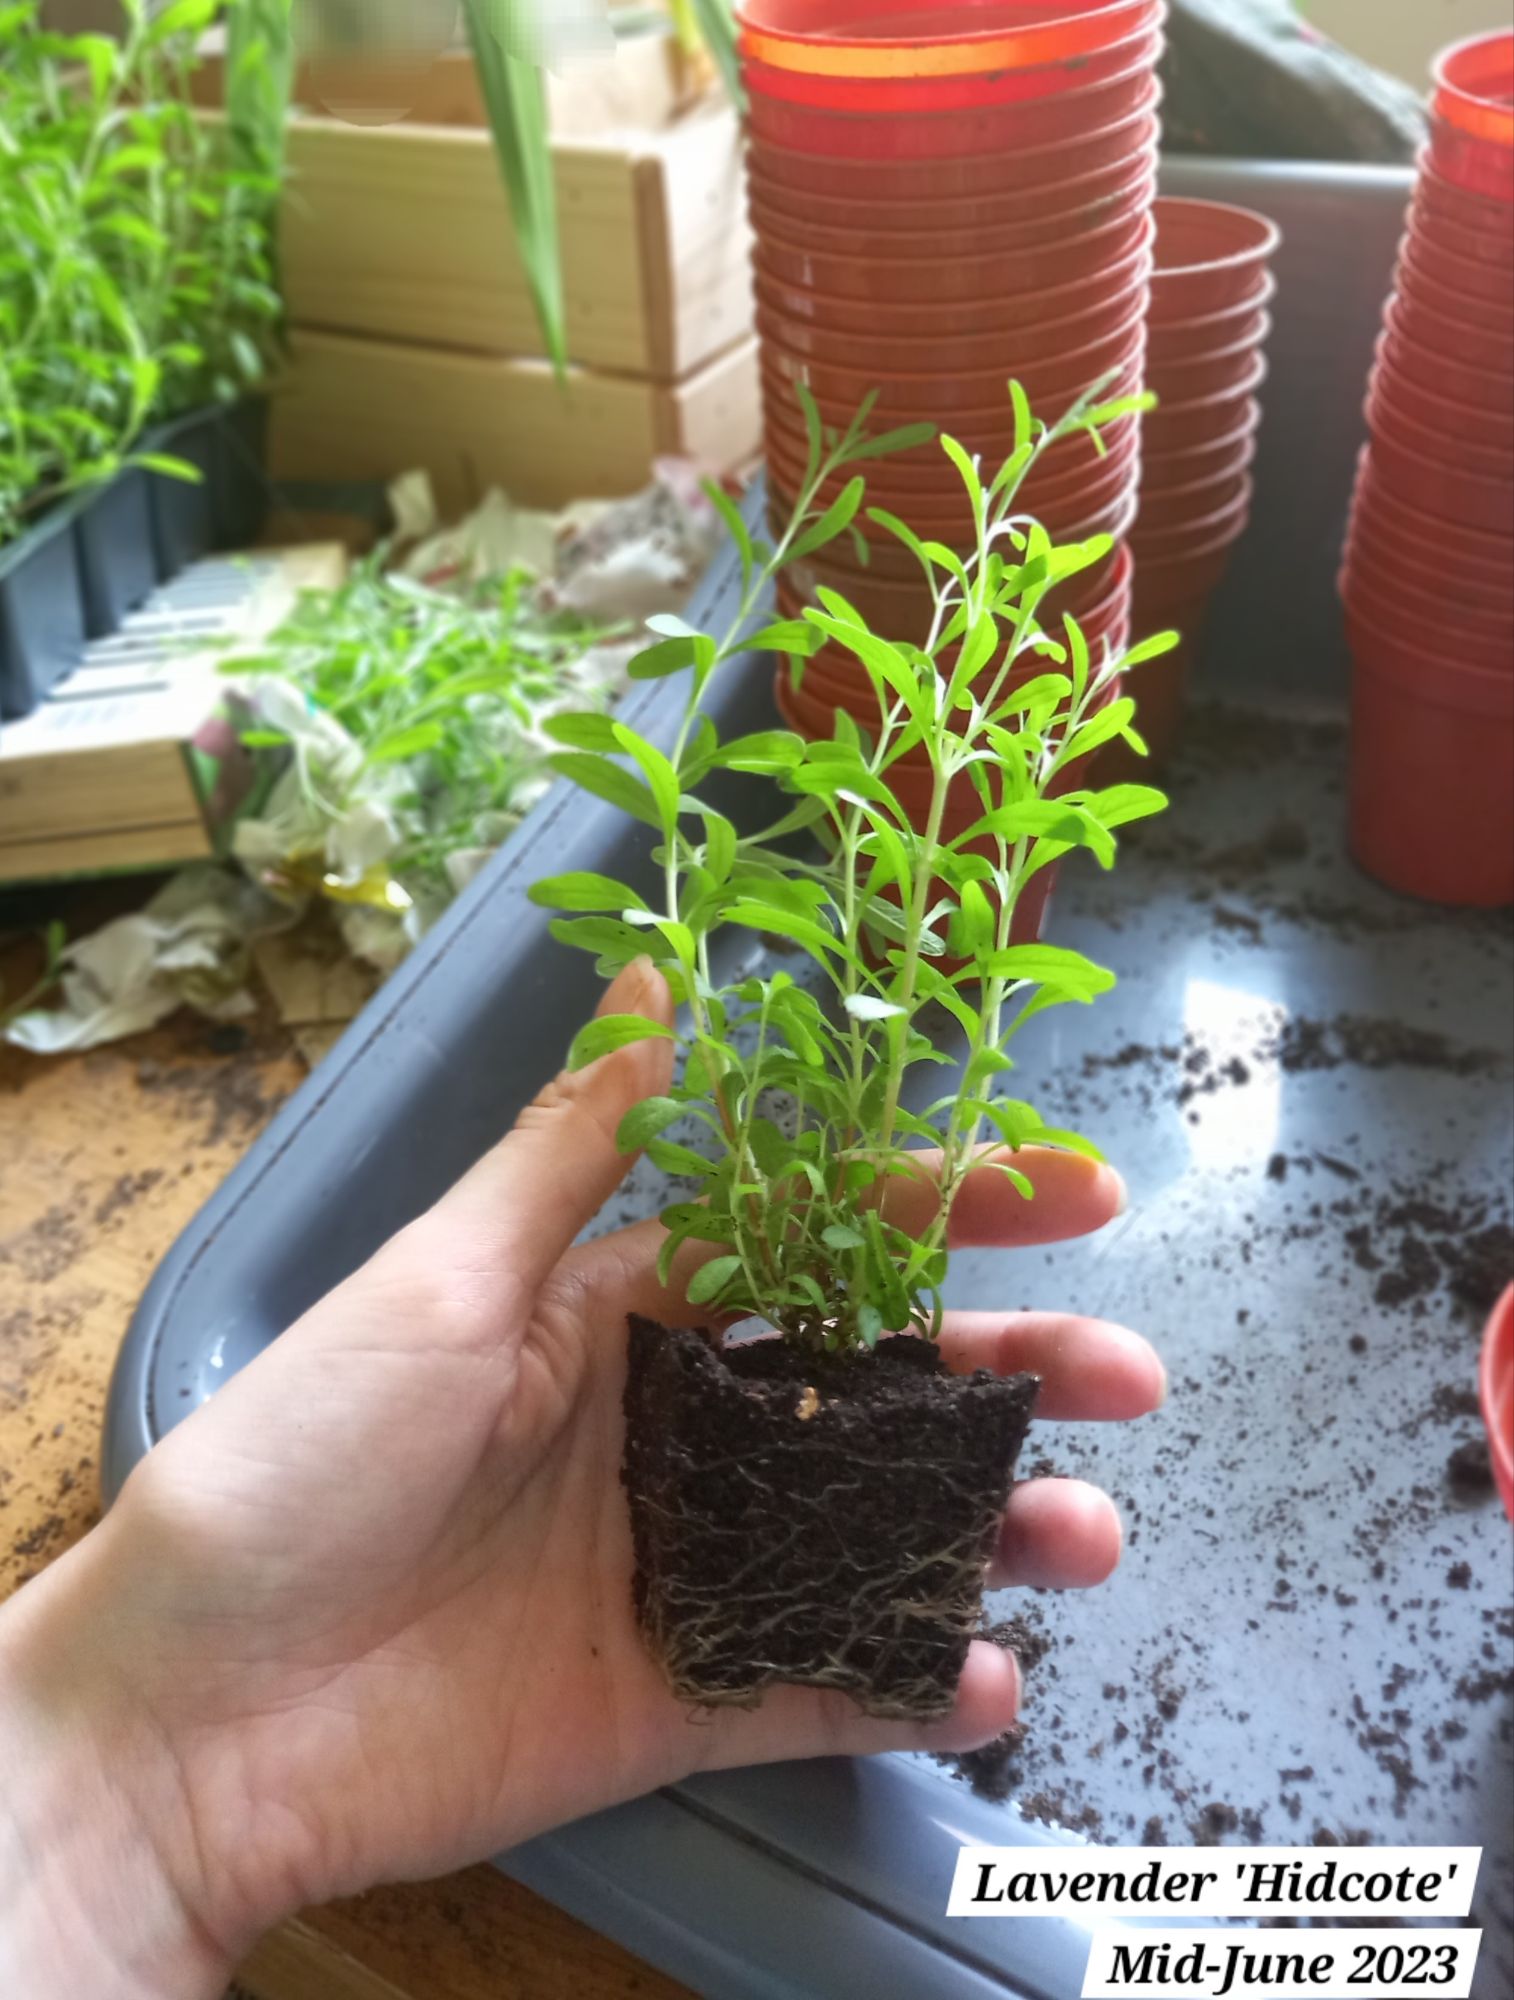
I had ordered lavender ‘Hidcote’ as teeny seedlings and I potted those up in April 2023:
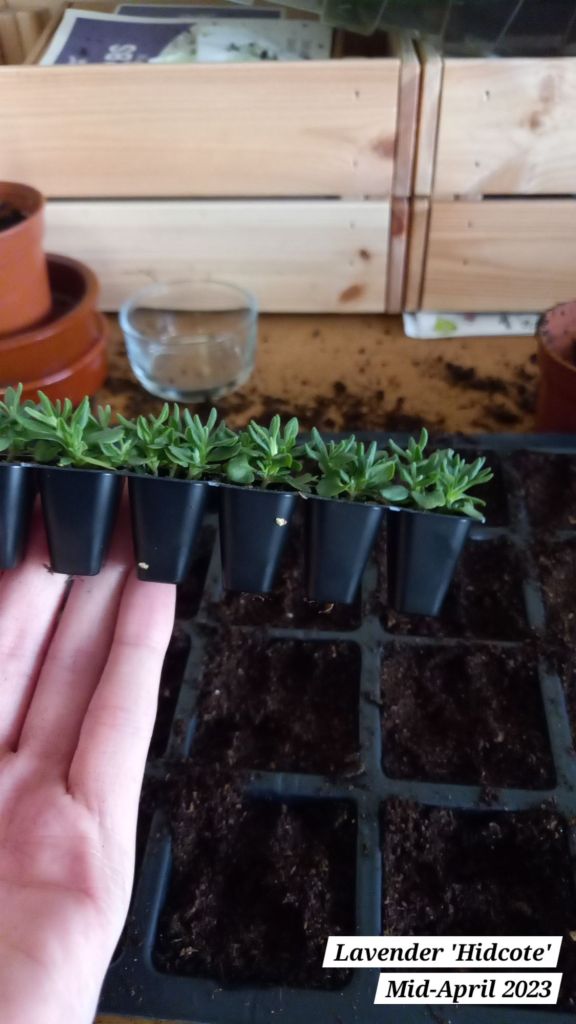
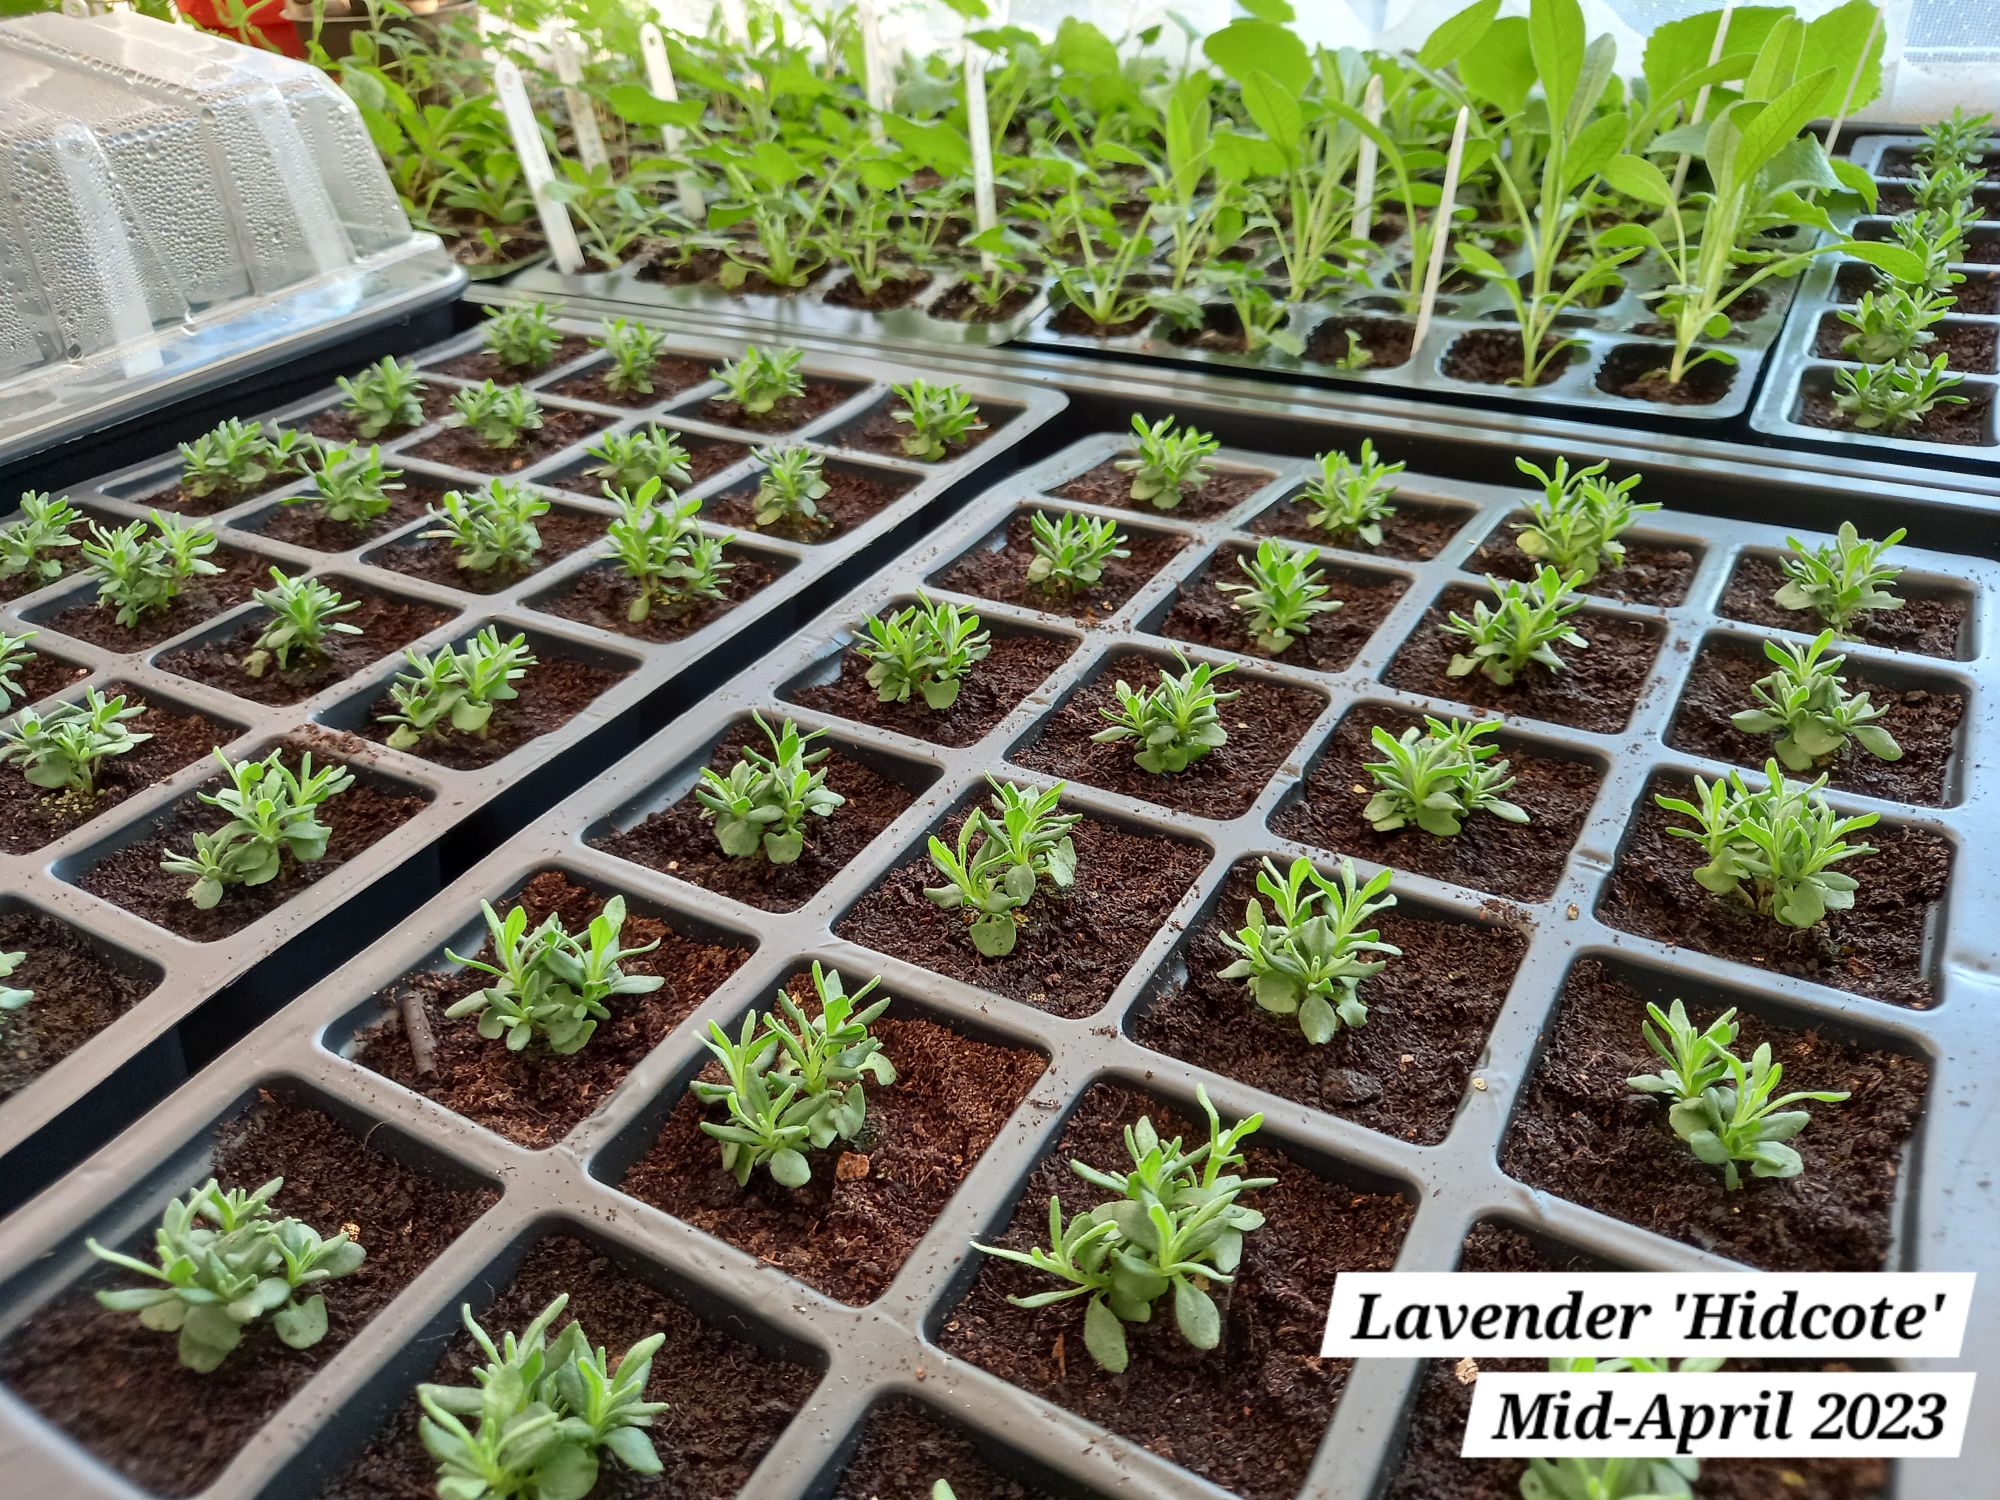
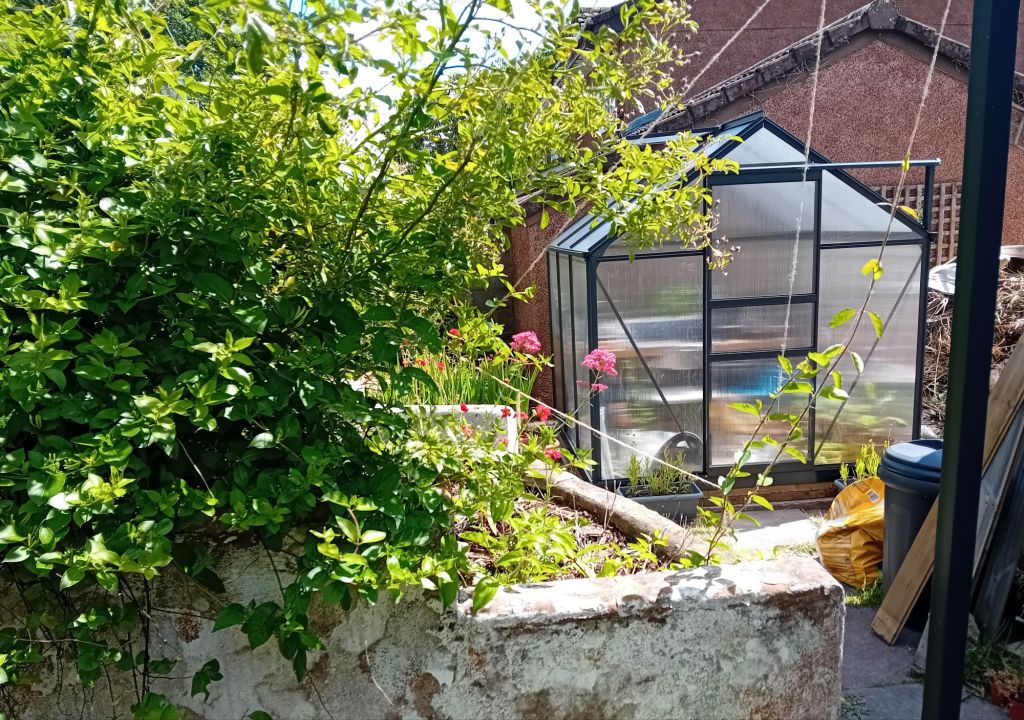
This was before the days of having a greenhouse to dedicate to my growing plants, so, for much of 2023, our bedroom windowsill was overtaken by plants 😀 For new readers, you can read about my new greenhouse that was built in 2024 here.
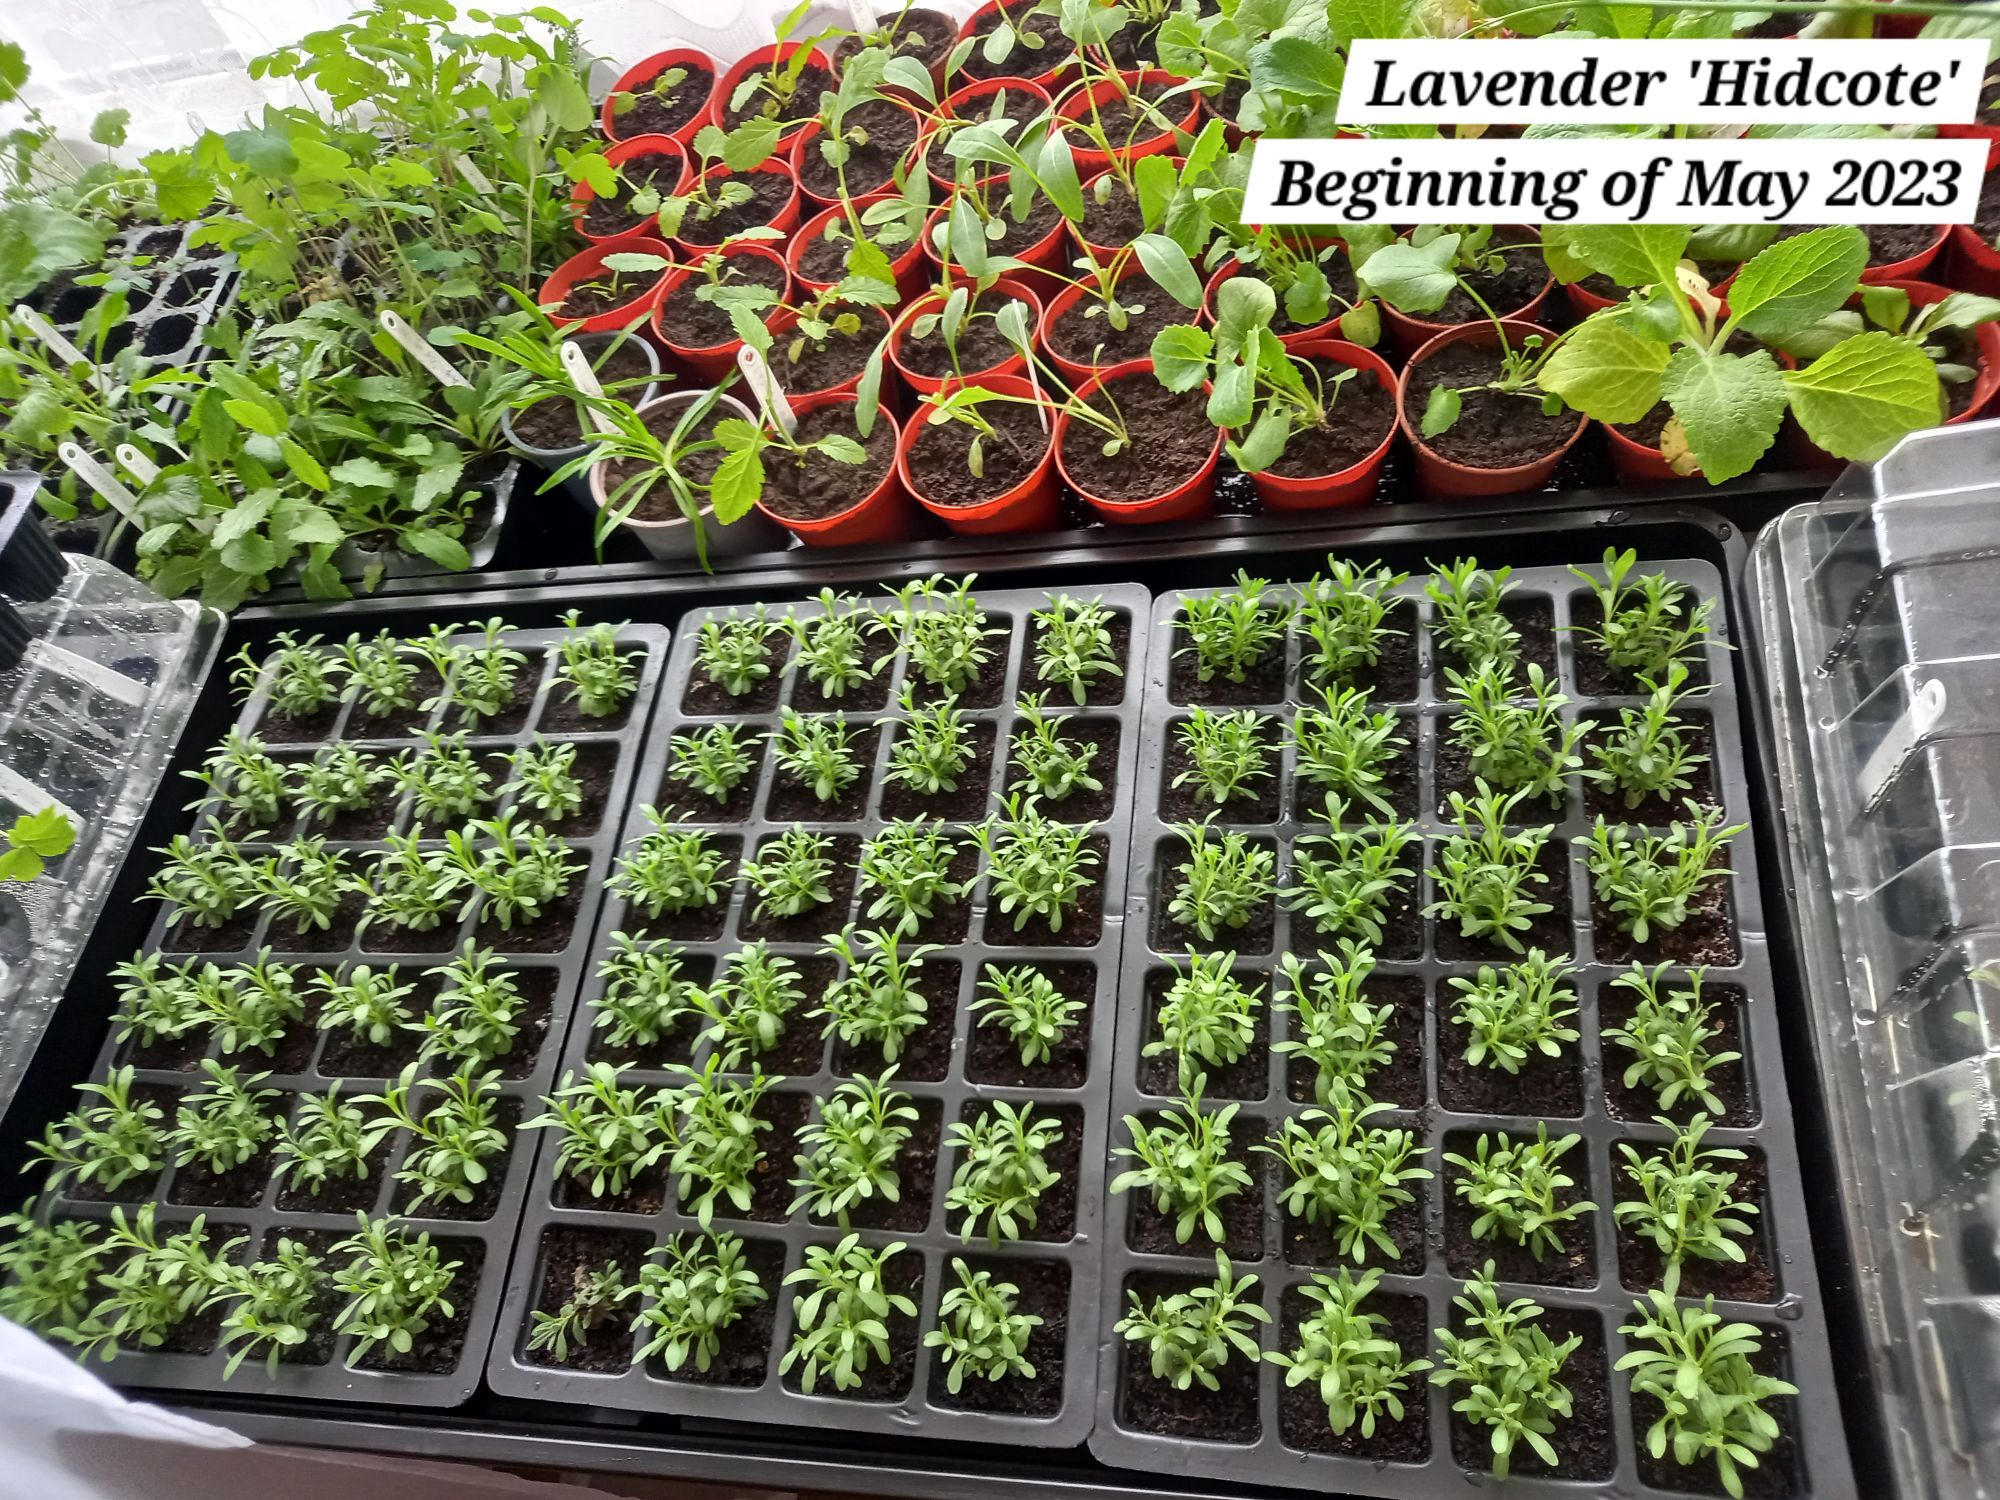
I potted the lavender on for months to encourage them to continue to grow.
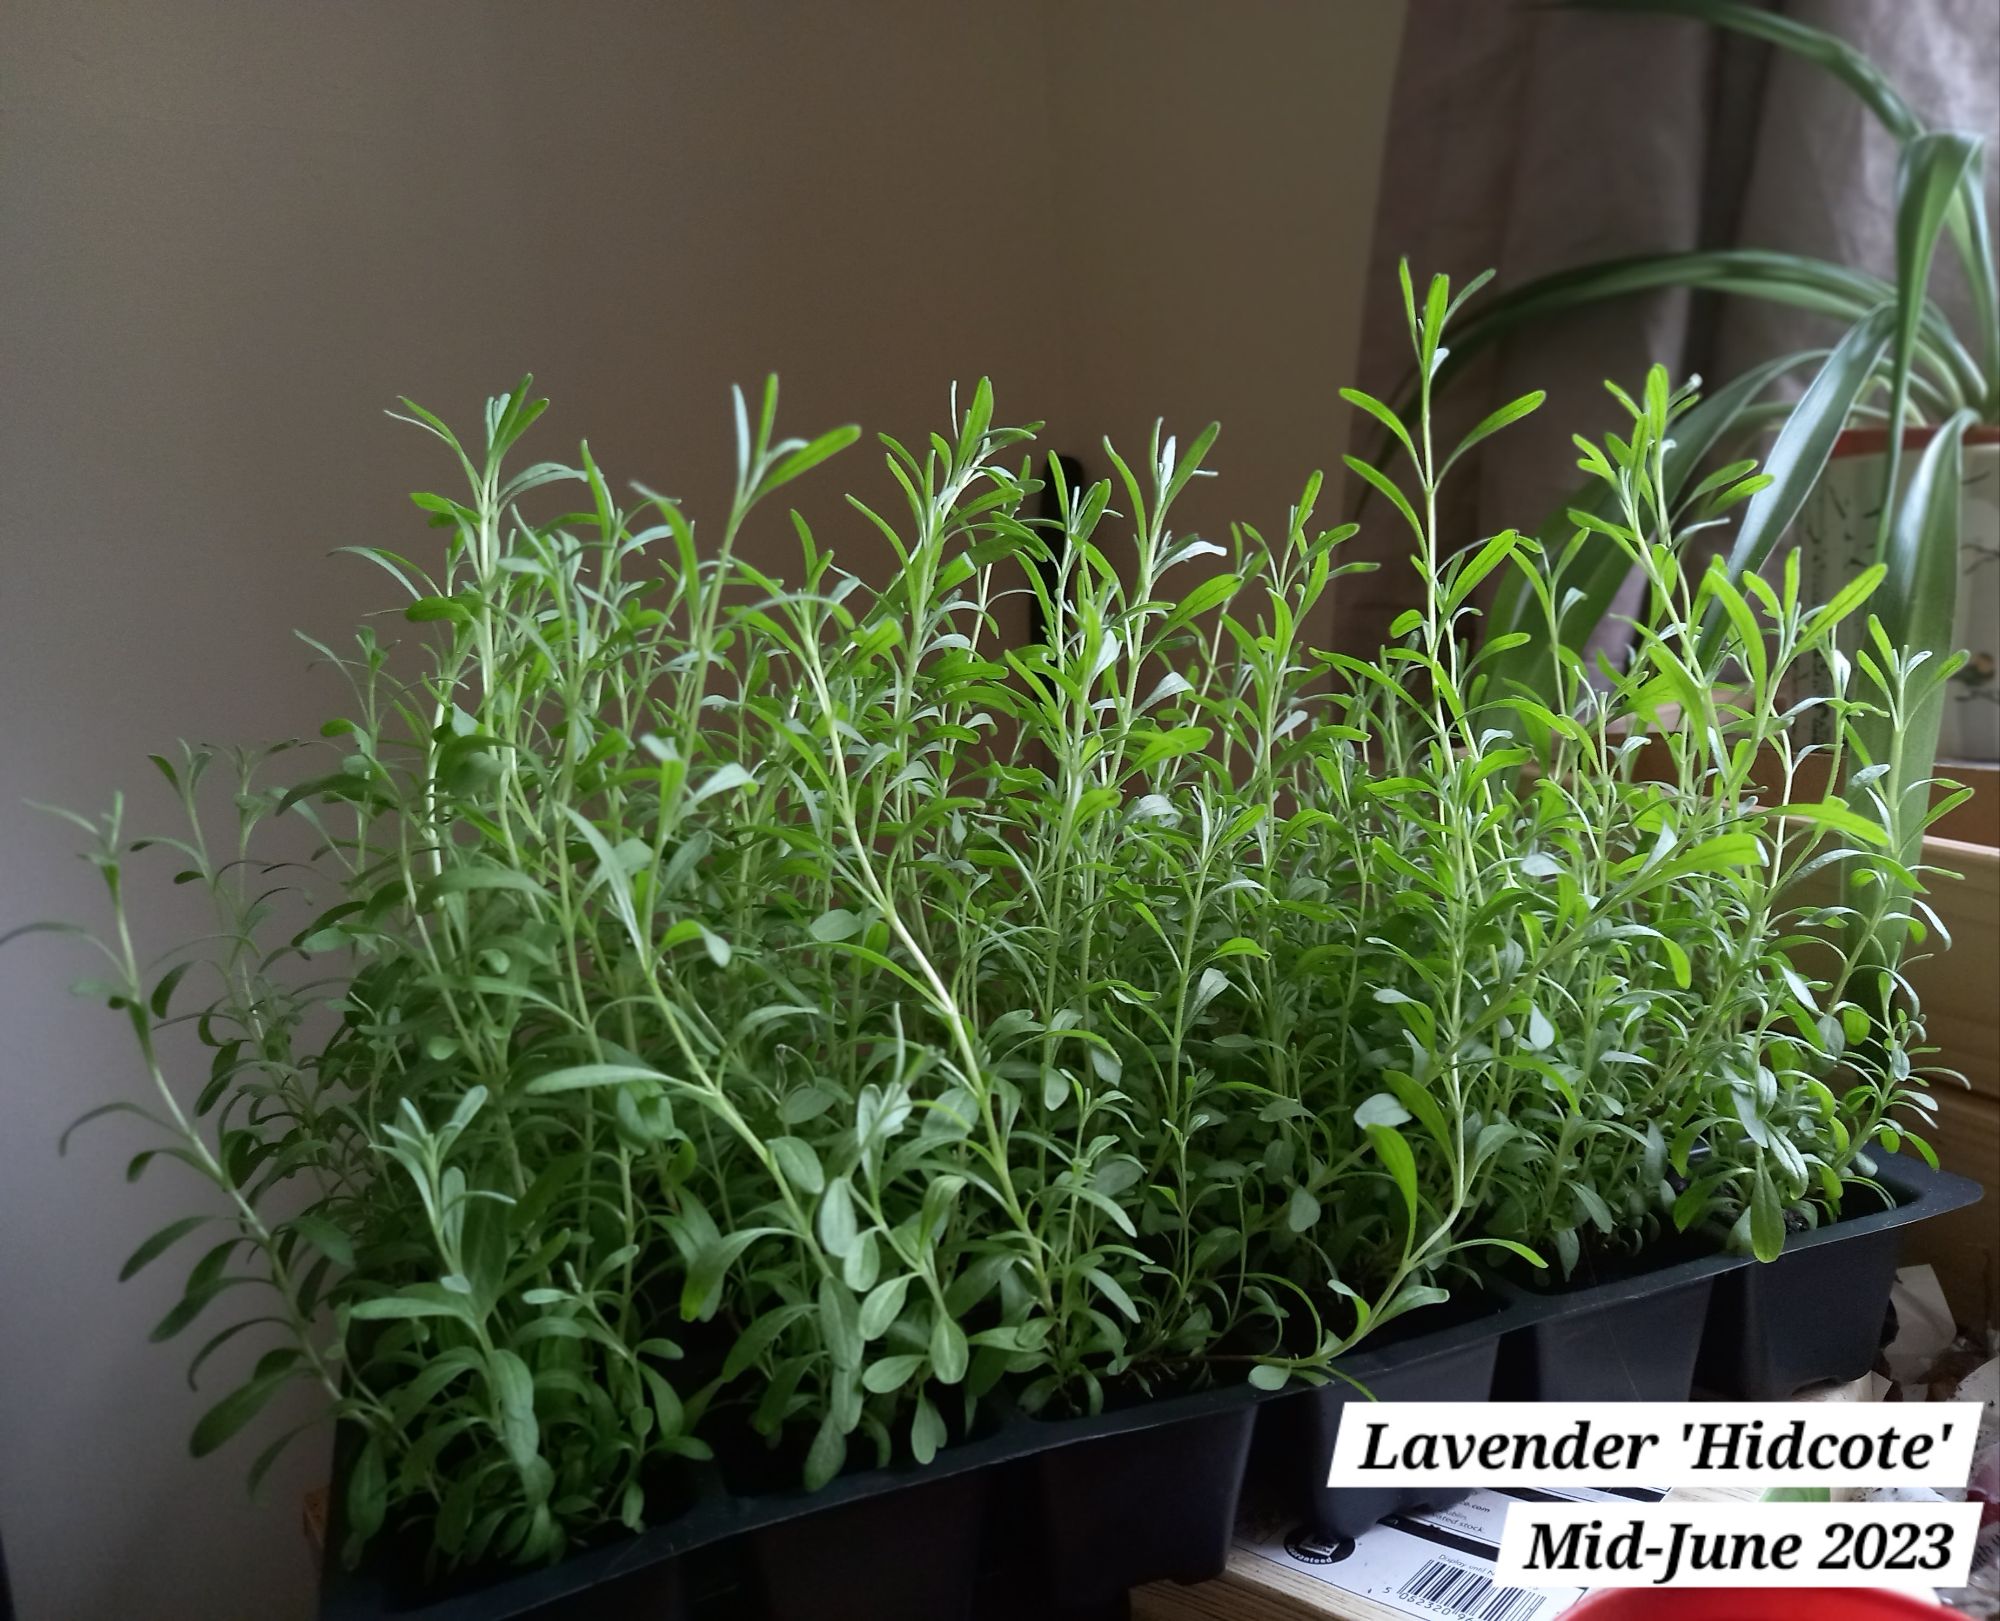
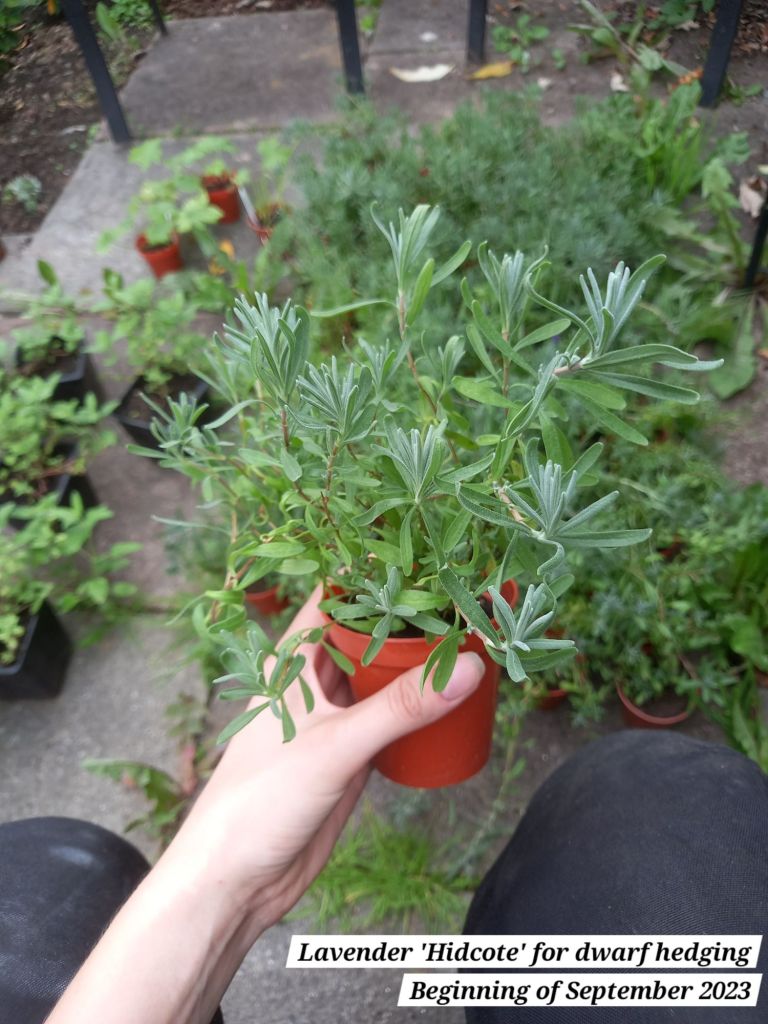
By September 2023, the lavender had grown a good amount and I decided I wanted to plant them out before Winter 2023/24. To be perfectly honest, it was becoming a huge task caring for them all whilst they were in pots (alongside garden projects and caring for other potted plants), and I didn’t want to have another 6+ months of caring for the lavender indoors until the following Spring. I had grown around 100 lavender plants in total:
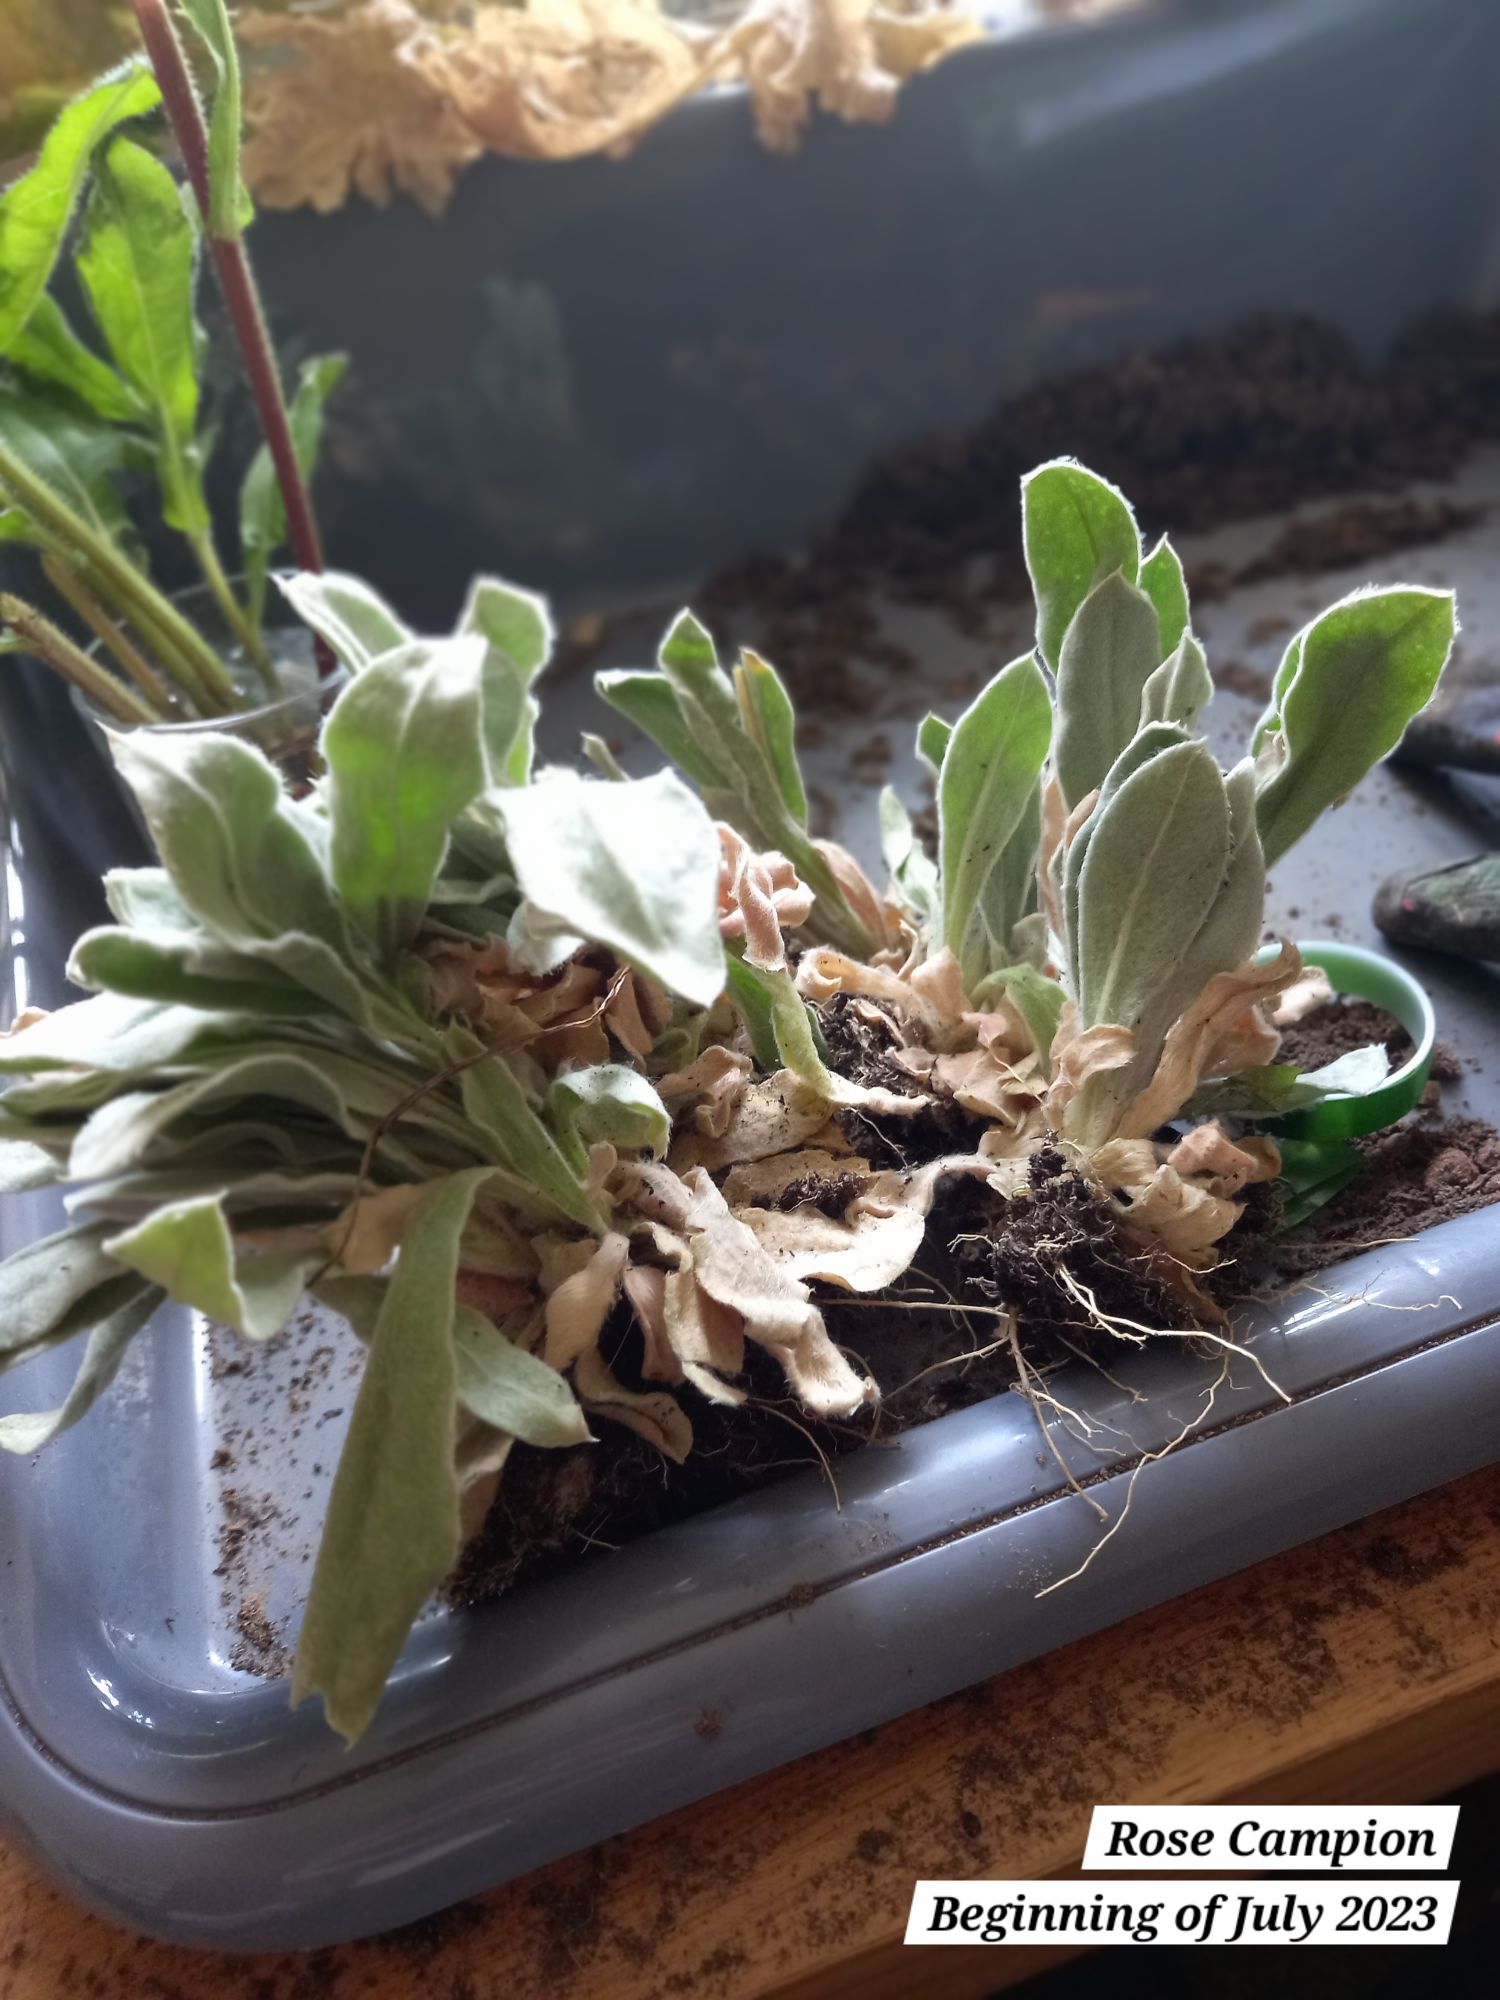
I also potted on some rose campion plants that a neighbour had given to me earlier in the year:
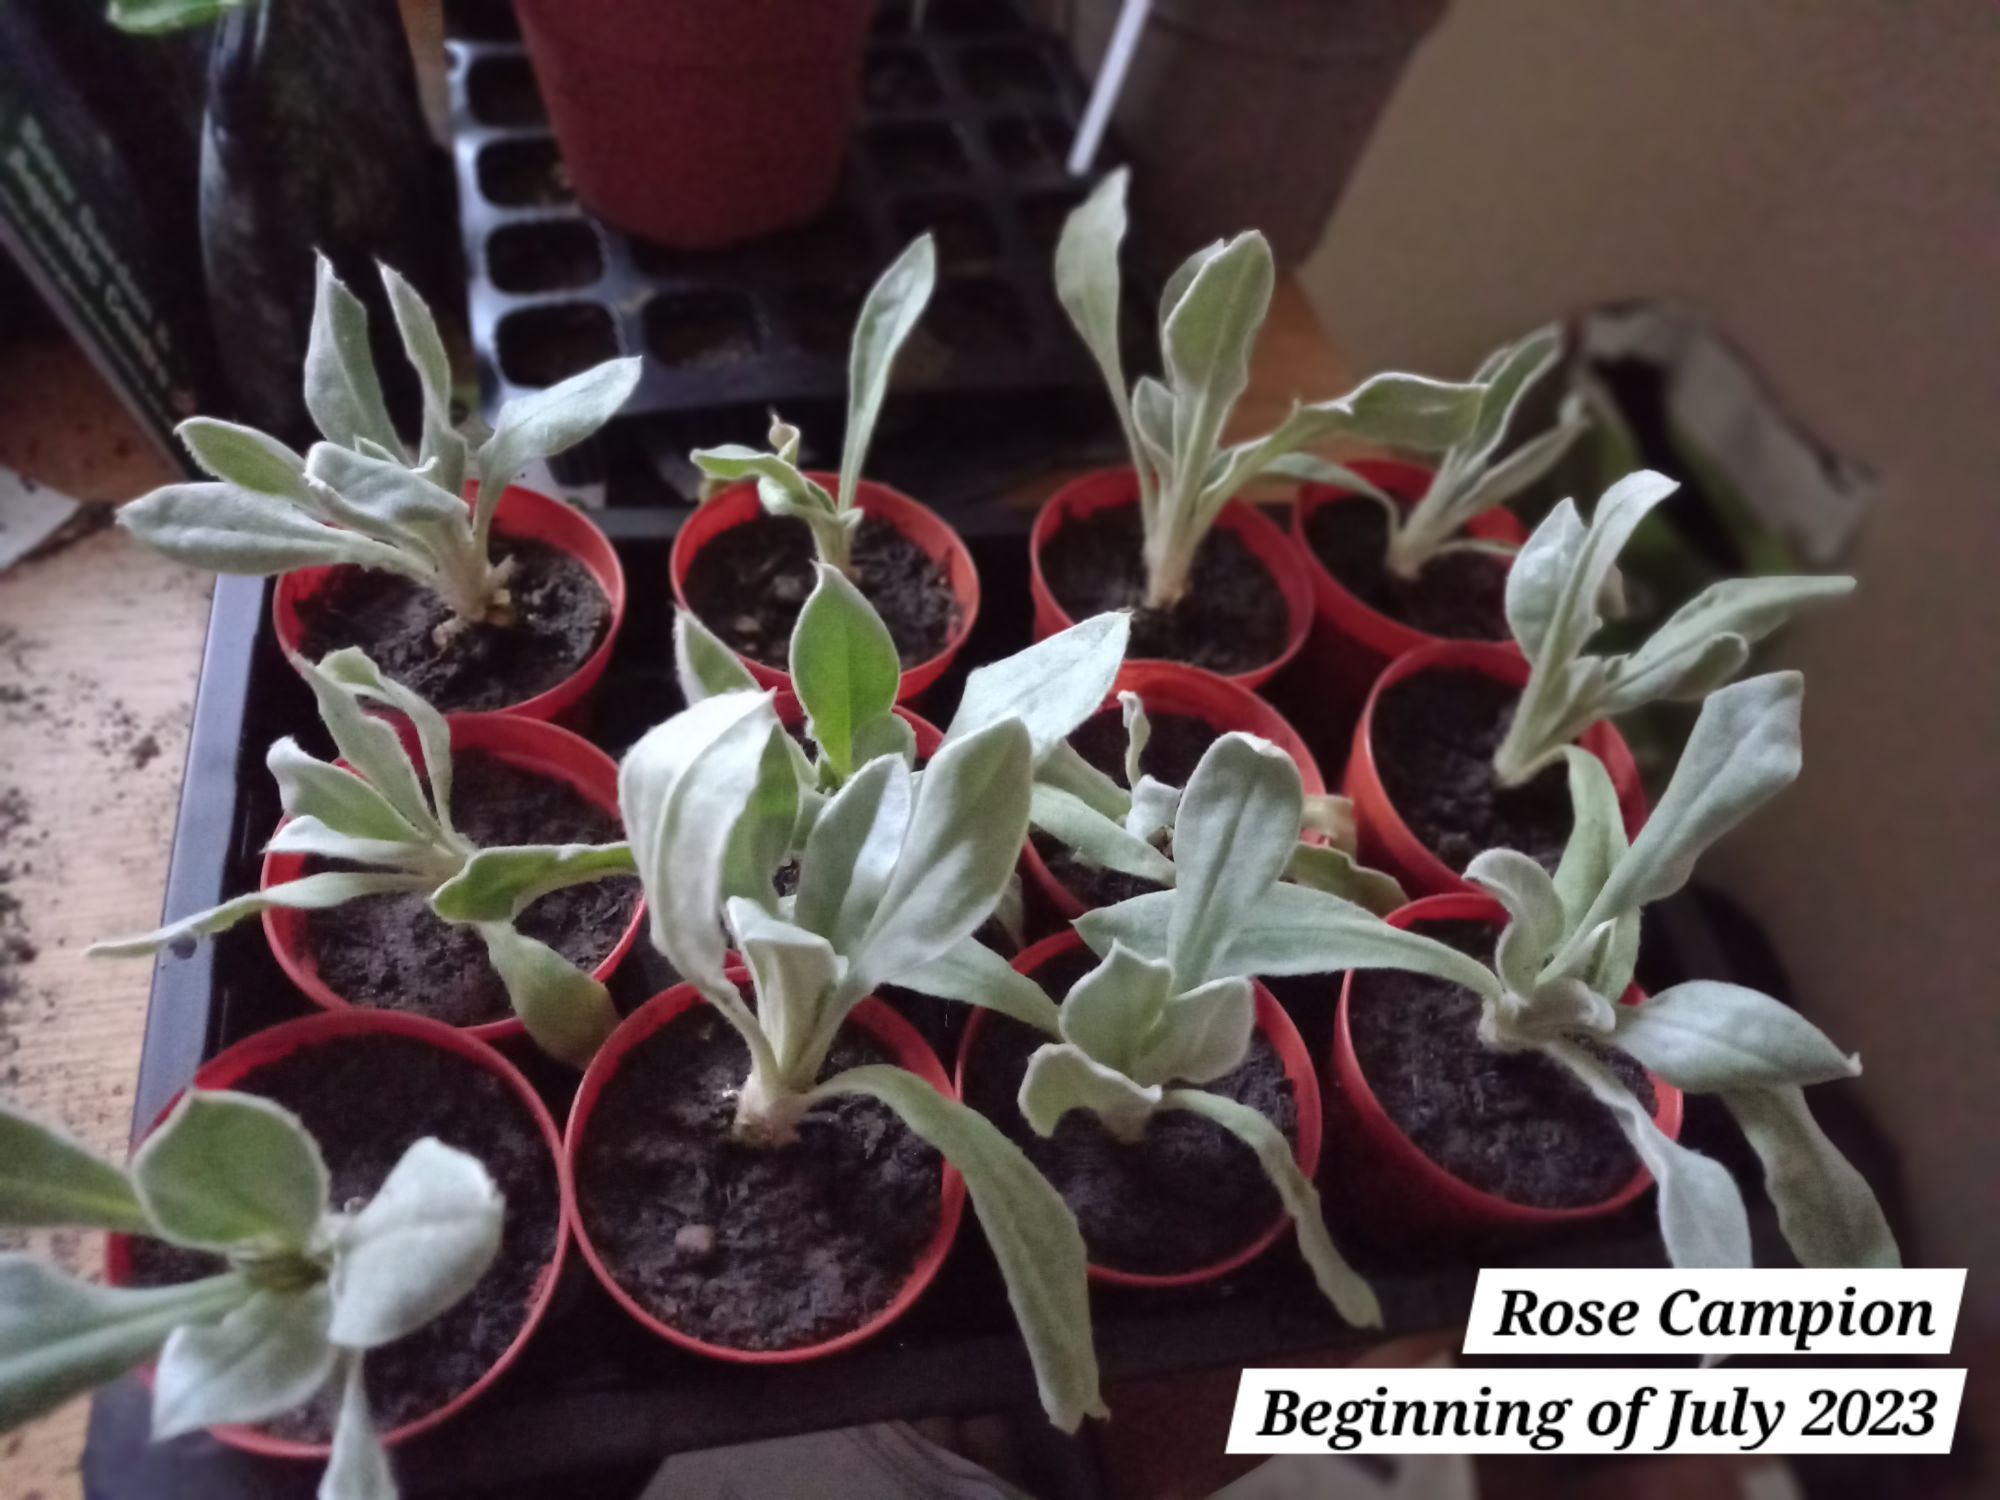
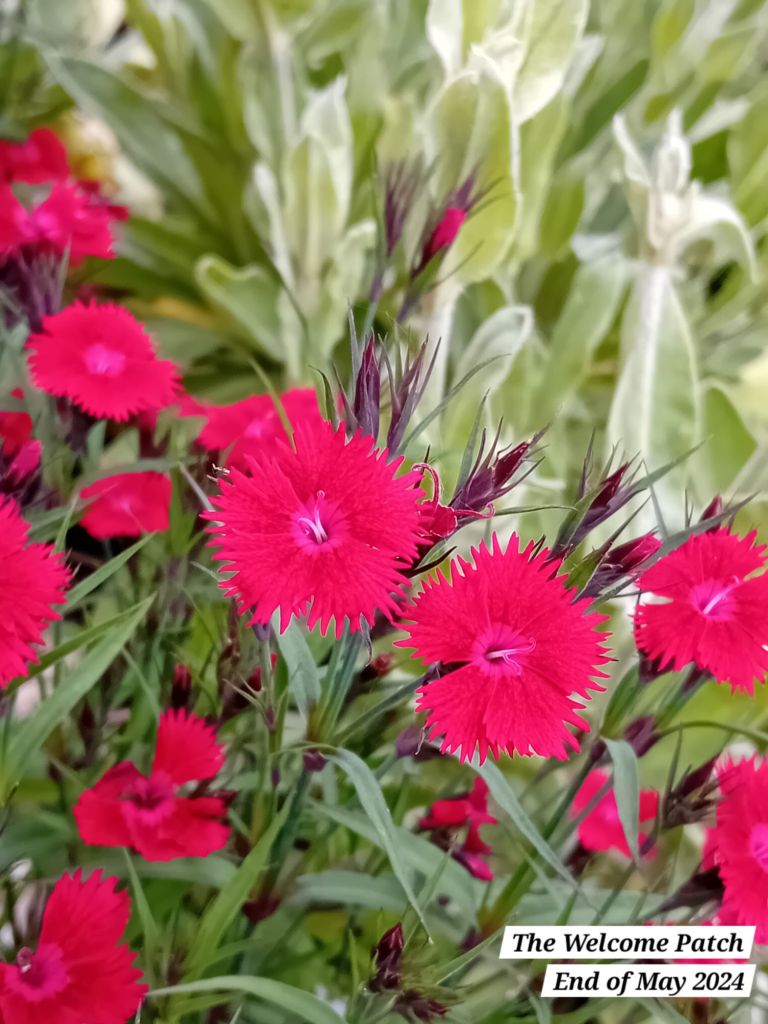
I also grew some dianthus from seedlings. I wasn’t sure where else to plant them, so this little garden was the ideal space for them.
The final stage: the plant out in September 2023
I then planted up the border in September 2023:
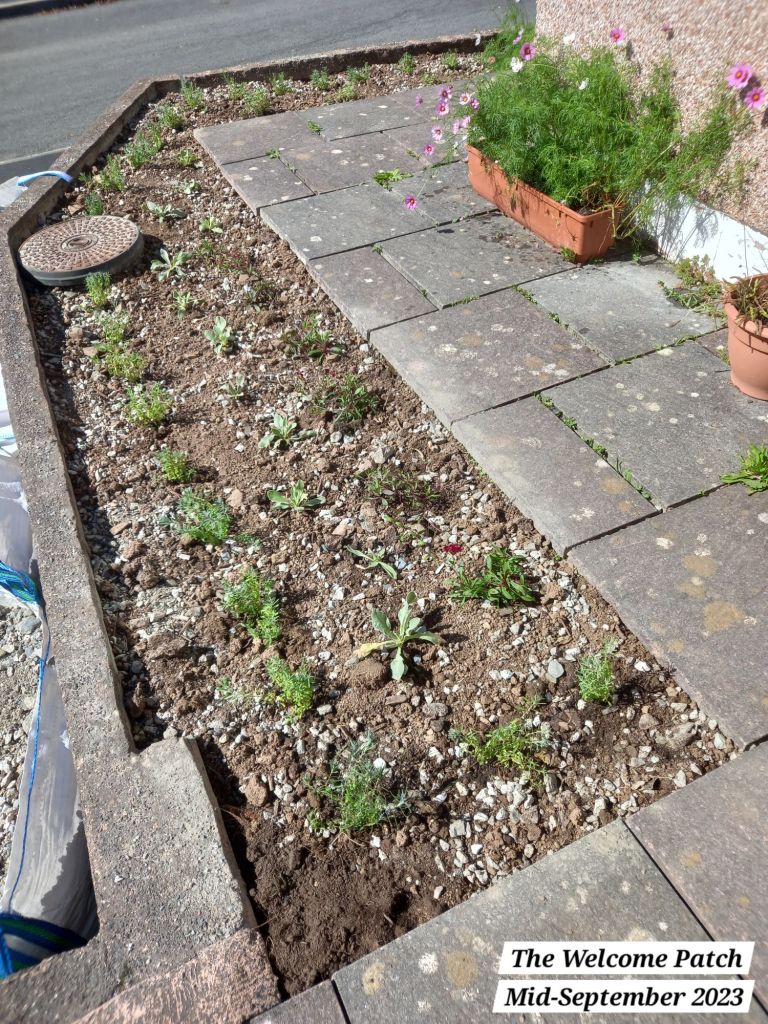
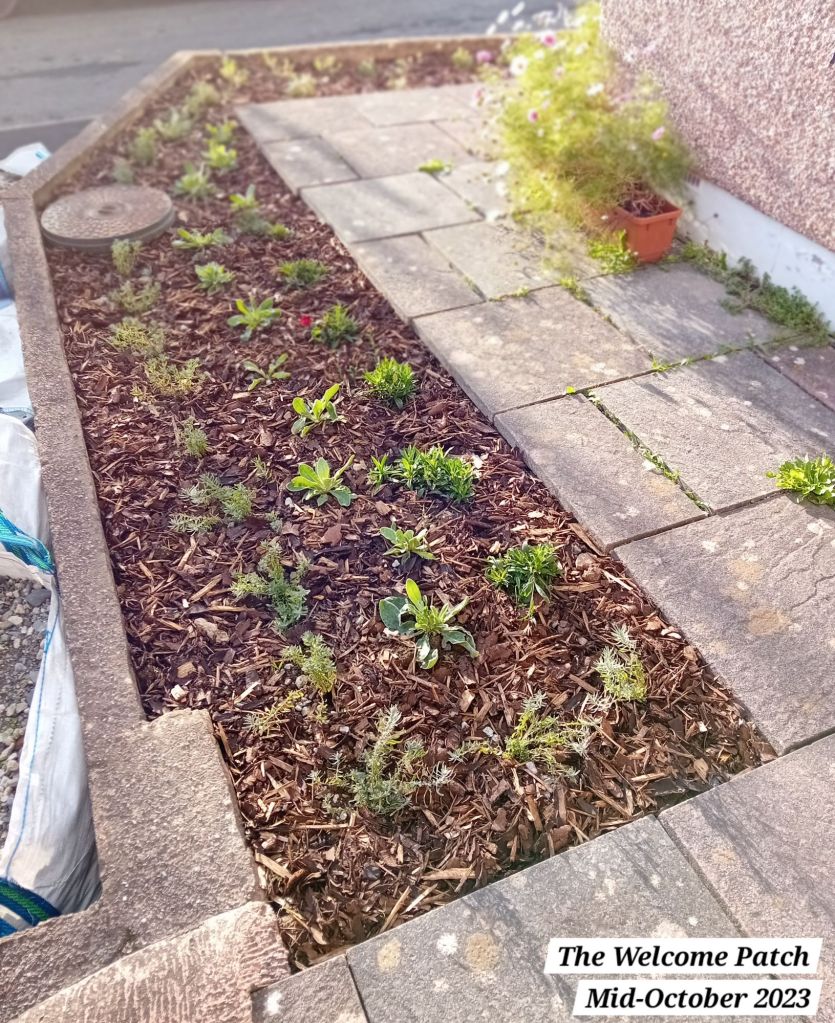
I finished off by watering the plants in and mulching generously with bark chips, to retain the moisture and suppress the weeds:
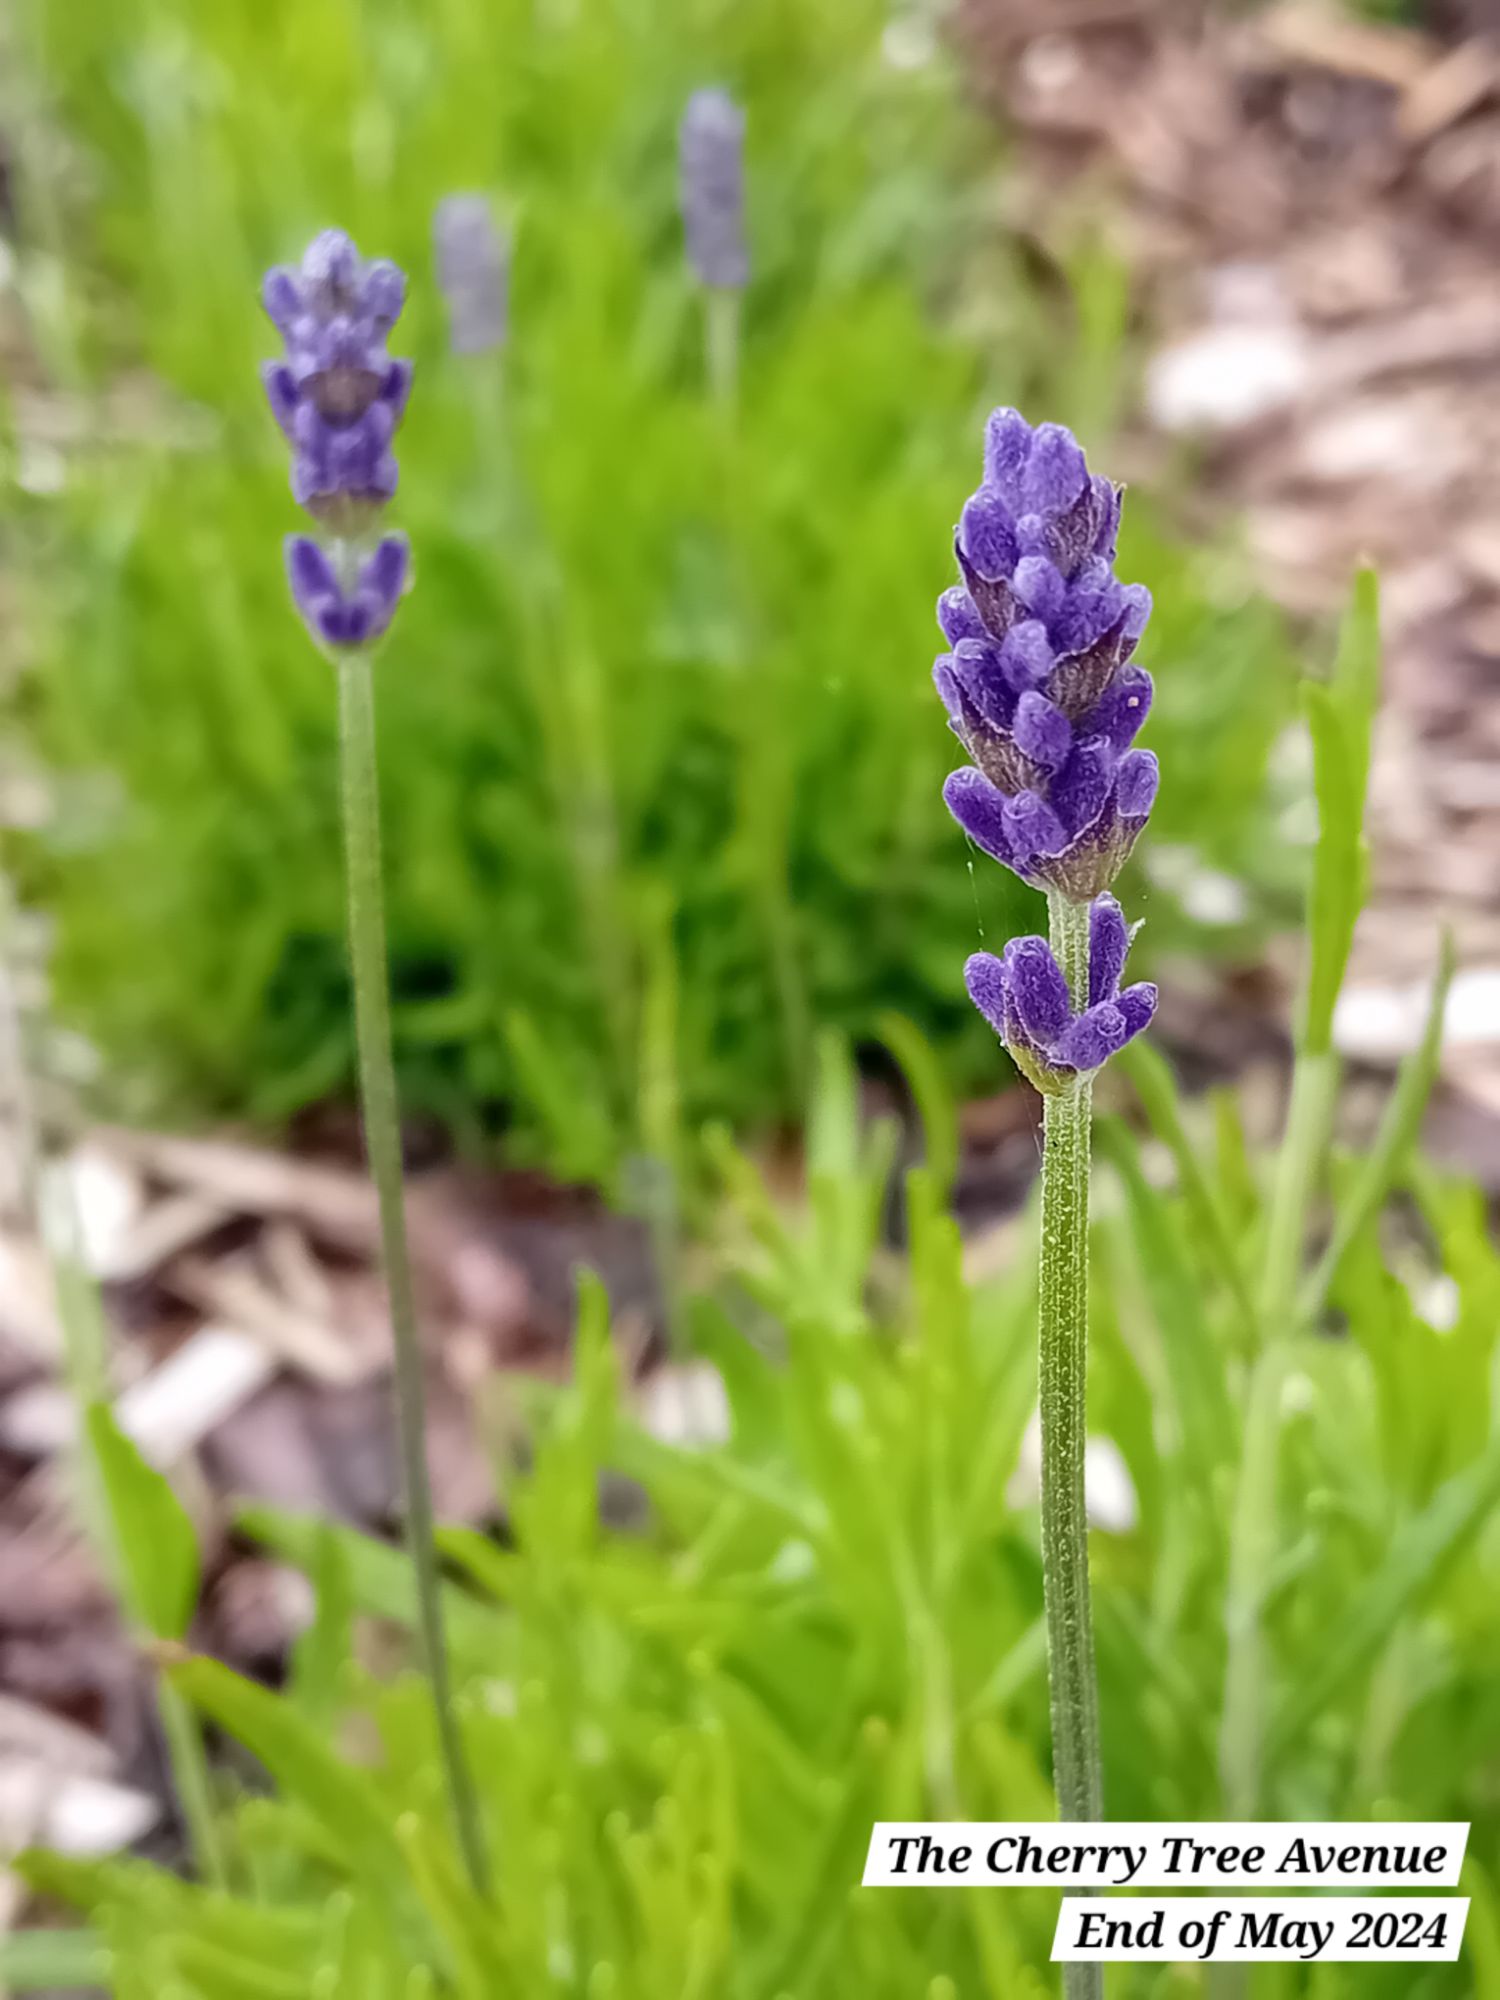
I then largely left the plants alone to grow on over Winter 2023/24. Come May 2024, the plants sprung into life again:
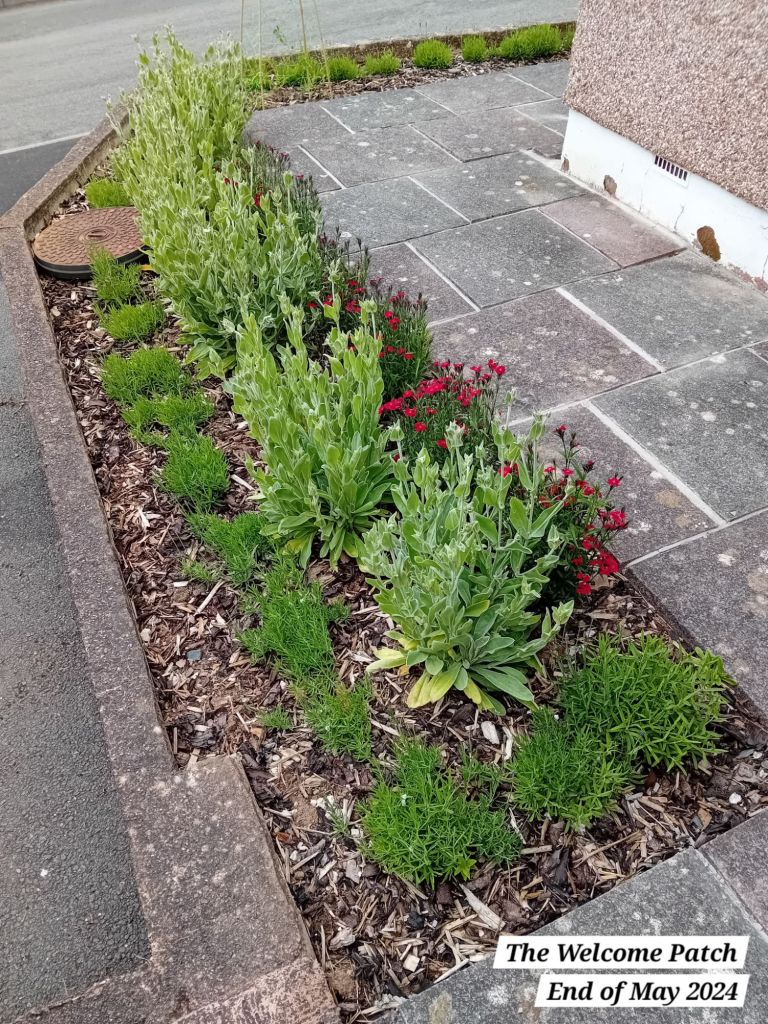
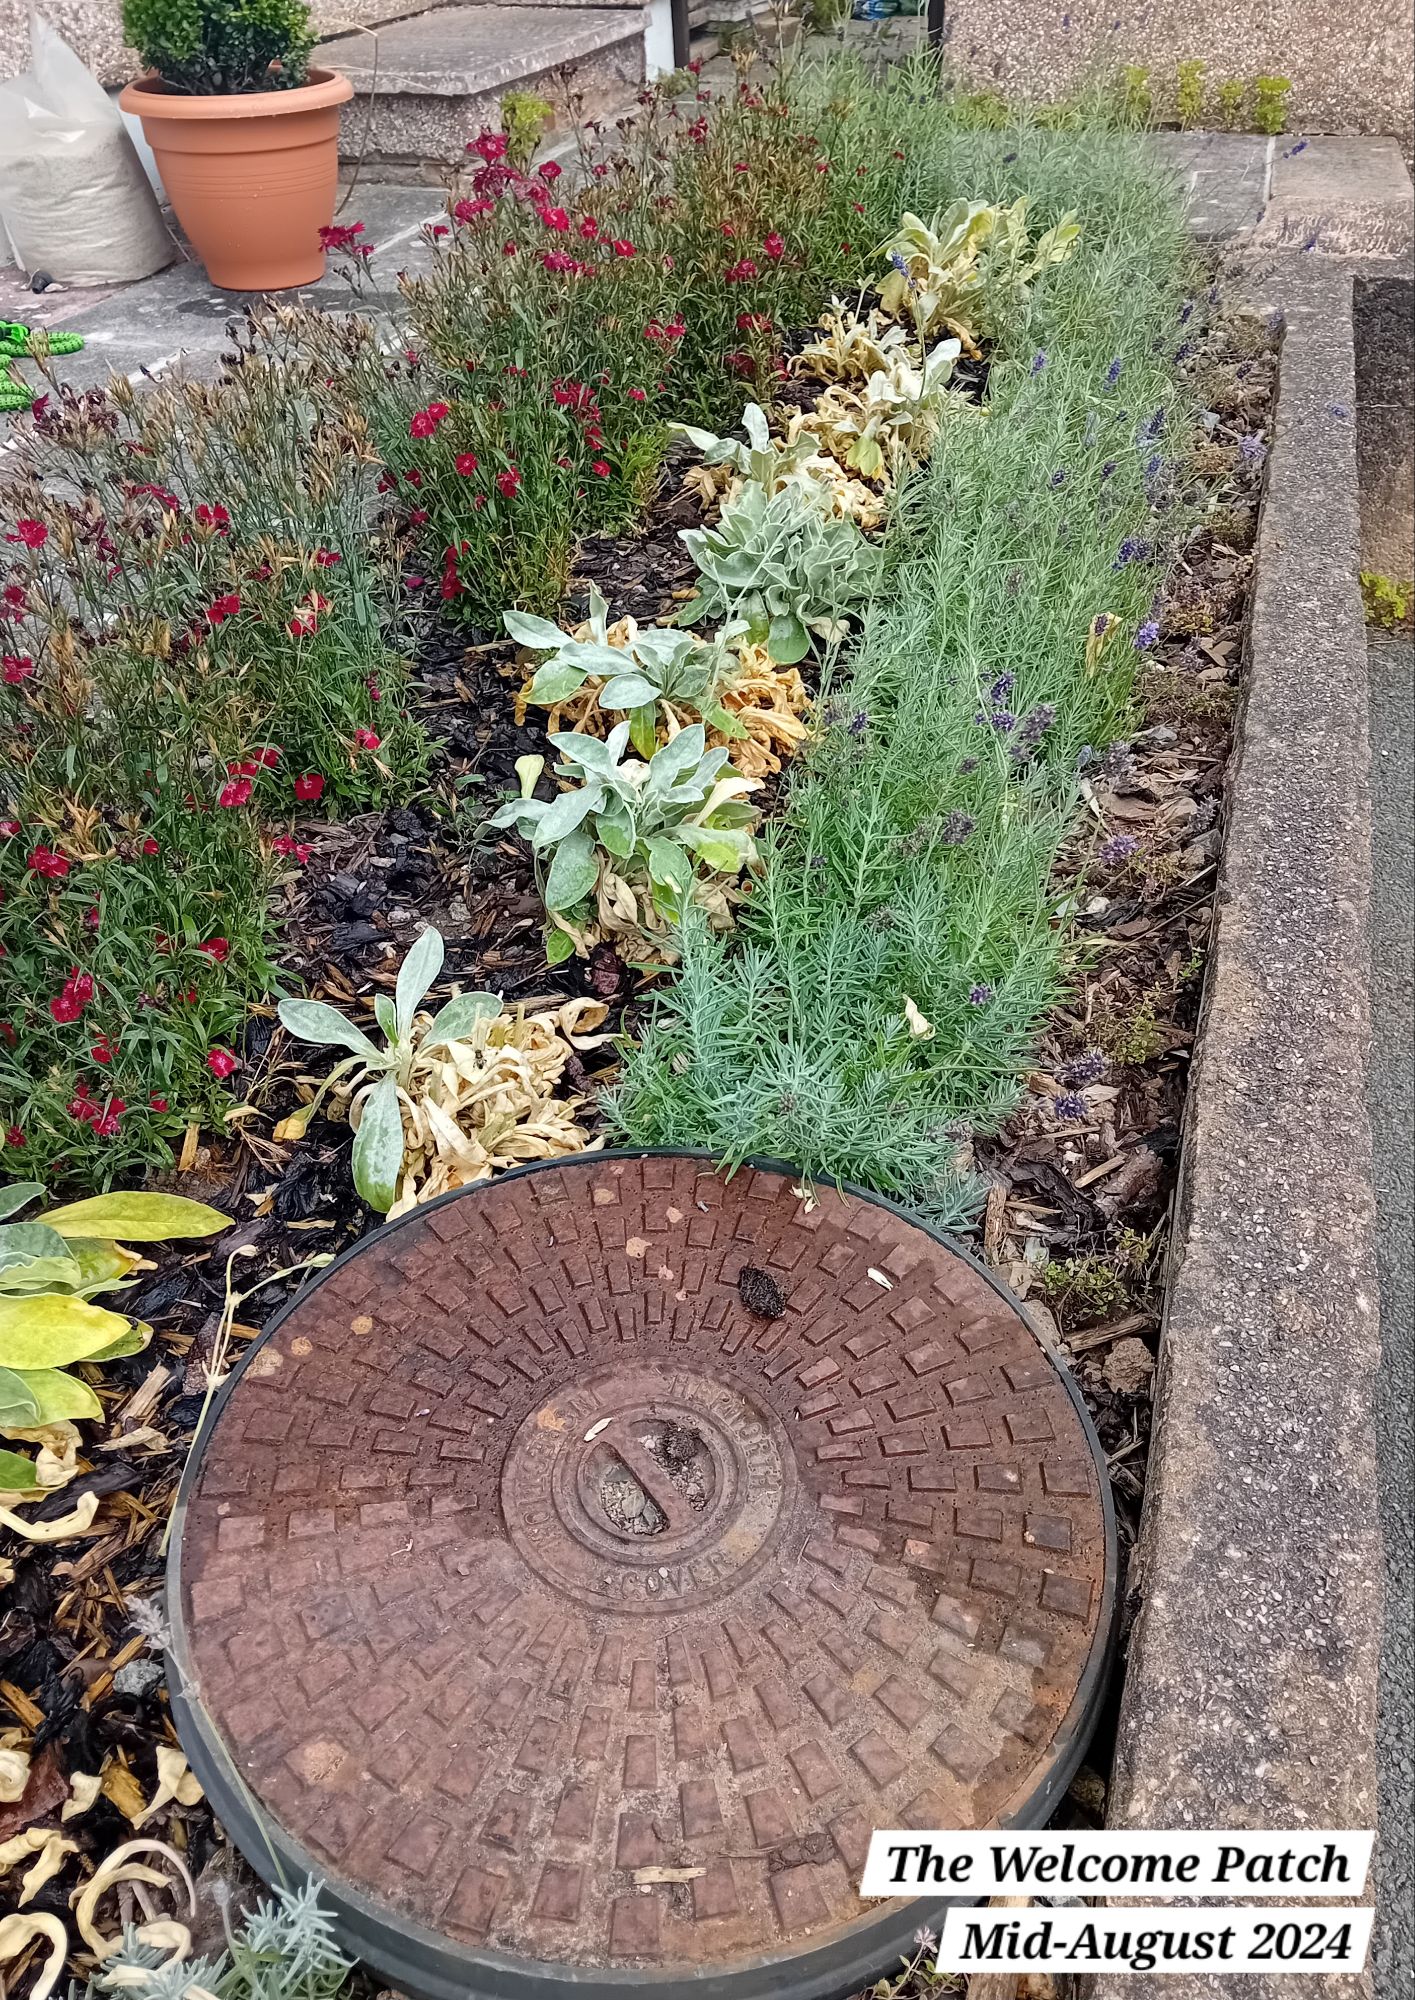
This continued for some time all throughout last year, though the drought of Summer 2024 took a toll on some of the planting. I am sure it will all bounce back fine though:
The lavender hedging also flowered wonderfully over the last year:
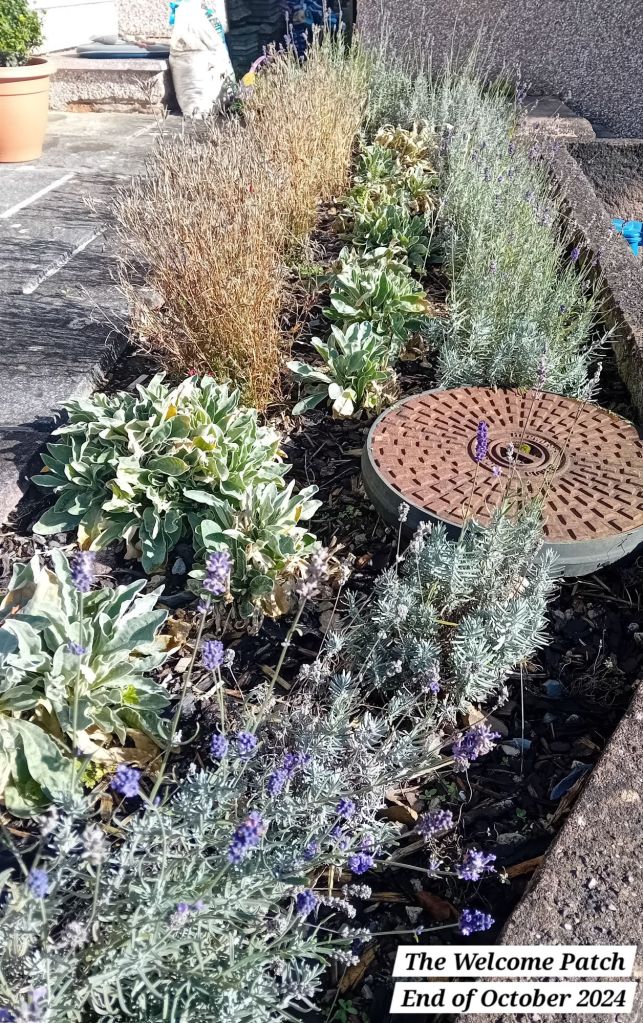
In late October 2024, I tended the garden by trimming back the lavender and the dianthus, to tidy up the planting:
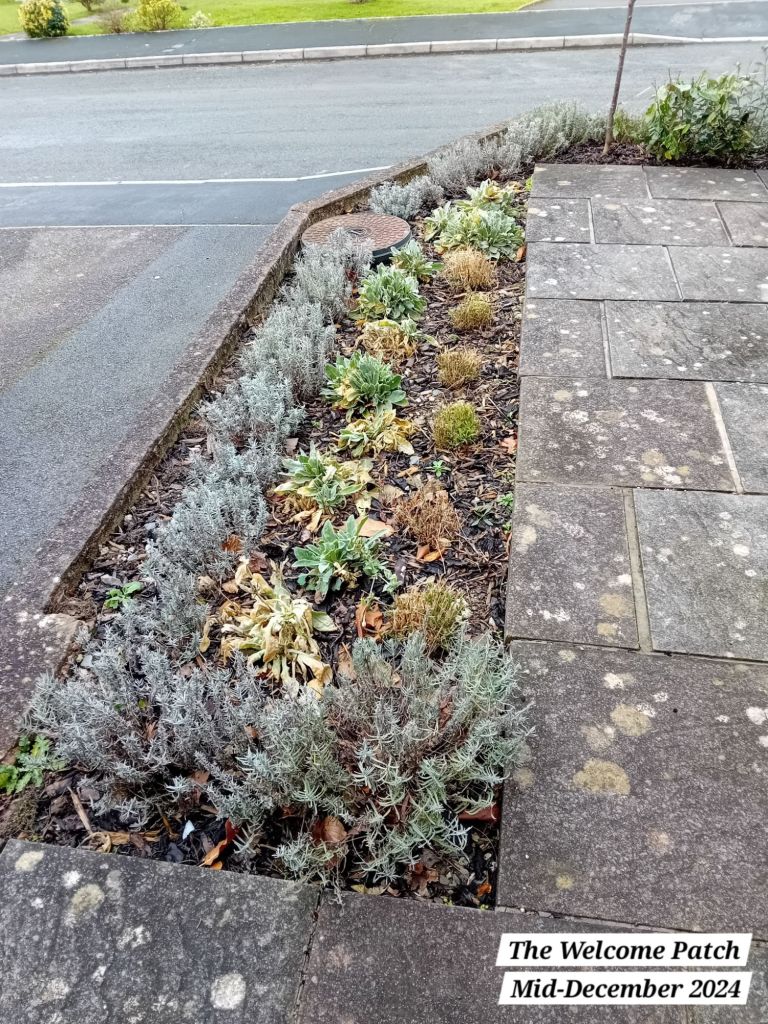
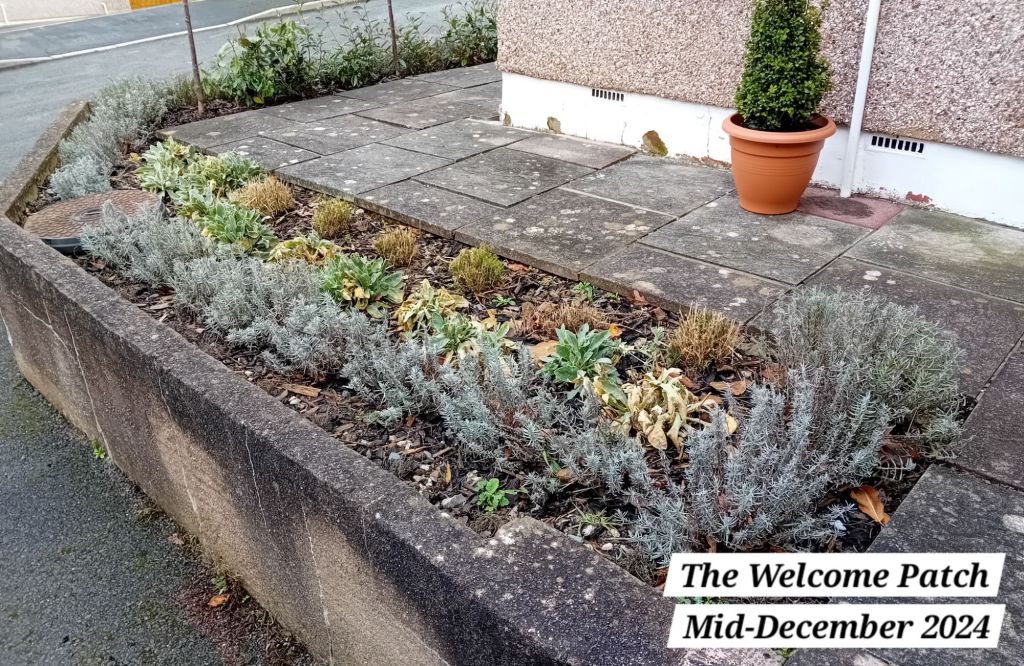
The above is essentially how The Welcome Patch is looking at present. I don’t anticipate much major change for this area this year; the plants will just be left to continue to mature and flower away for another year.
The Cherry Tree Avenue
The final front garden, that stretches all the way across the front of our property, is The Cherry Tree Avenue.
Before and after snapshot

Stage one: more digging
The cherry tree avenue went through the same process as above, with the Mr and I spending months digging up all the gravel and the aggregate, and then topping up the bed with soil and compost.
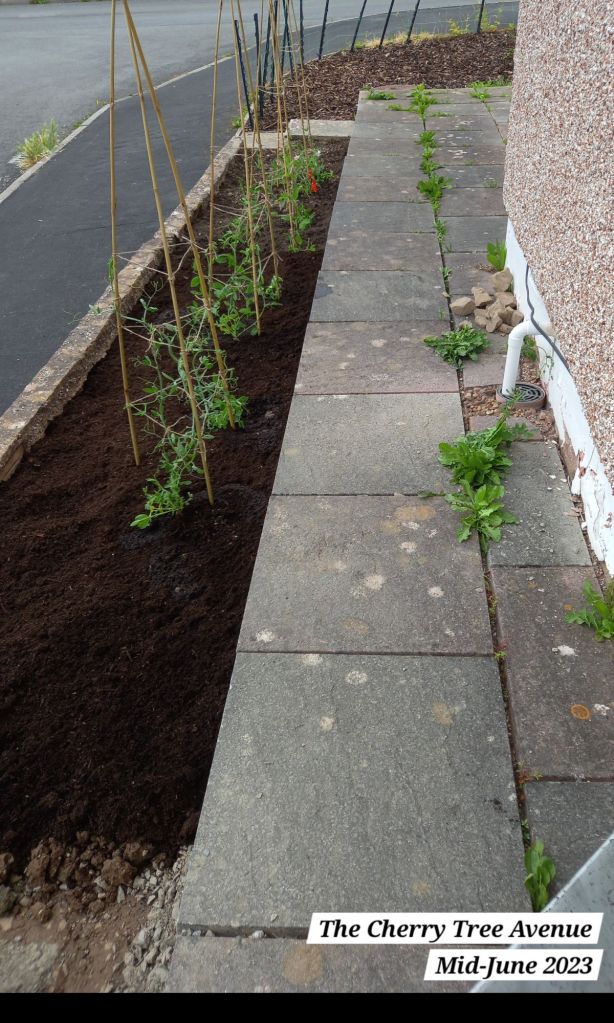
As mentioned earlier, we started digging up this garden first, because I wanted to grow sweet peas all along the front, to brighten up the ugly gravel (and also just because I love sweet peas).
Stage two: sweet peas and lavender
After digging out this garden in 2023, I put in 4 large teepees, which I grew sweet peas up:
There also used to be a small set of steps at this part of the property, which I removed later in 2023, because I disliked the postal workers and delivery people using it as a shortcut to walk to our front door. This meant they would walk right next to our front windows. I also did not want a gap in the lavender hedging that I wanted to run all the way along this garden. Step pictured below for reference:
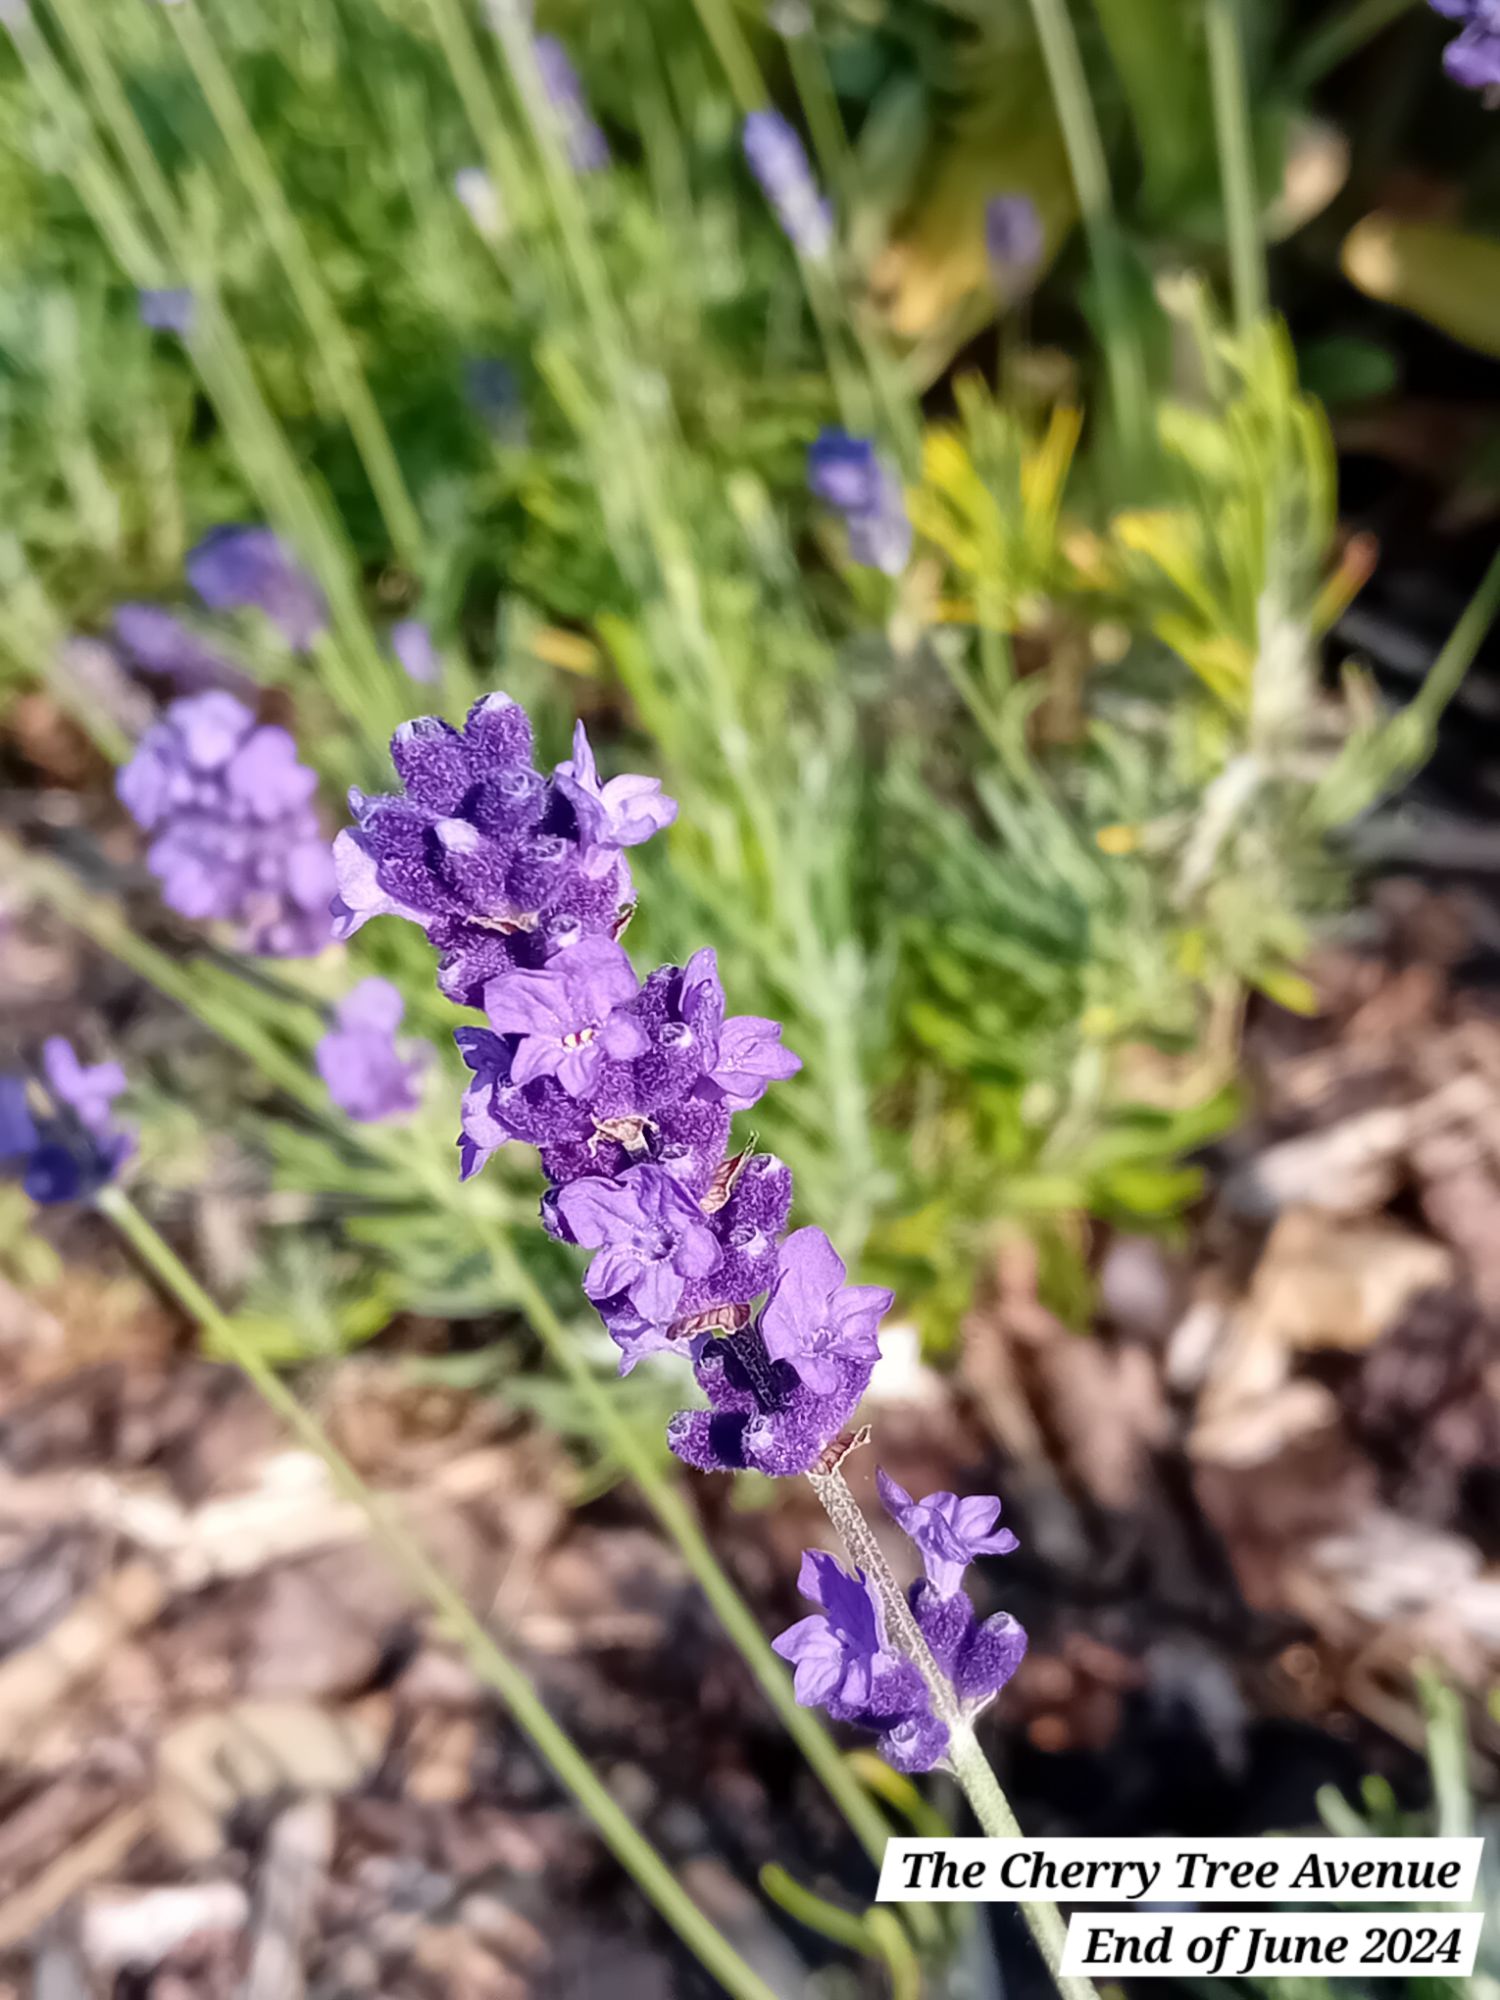
When I planted out the lavender hedge in The Welcome Patch in September 2023, I also planted it out all the way along The Cherry Tree Avenue. This hedging stretches all the way around all three of the front gardens.
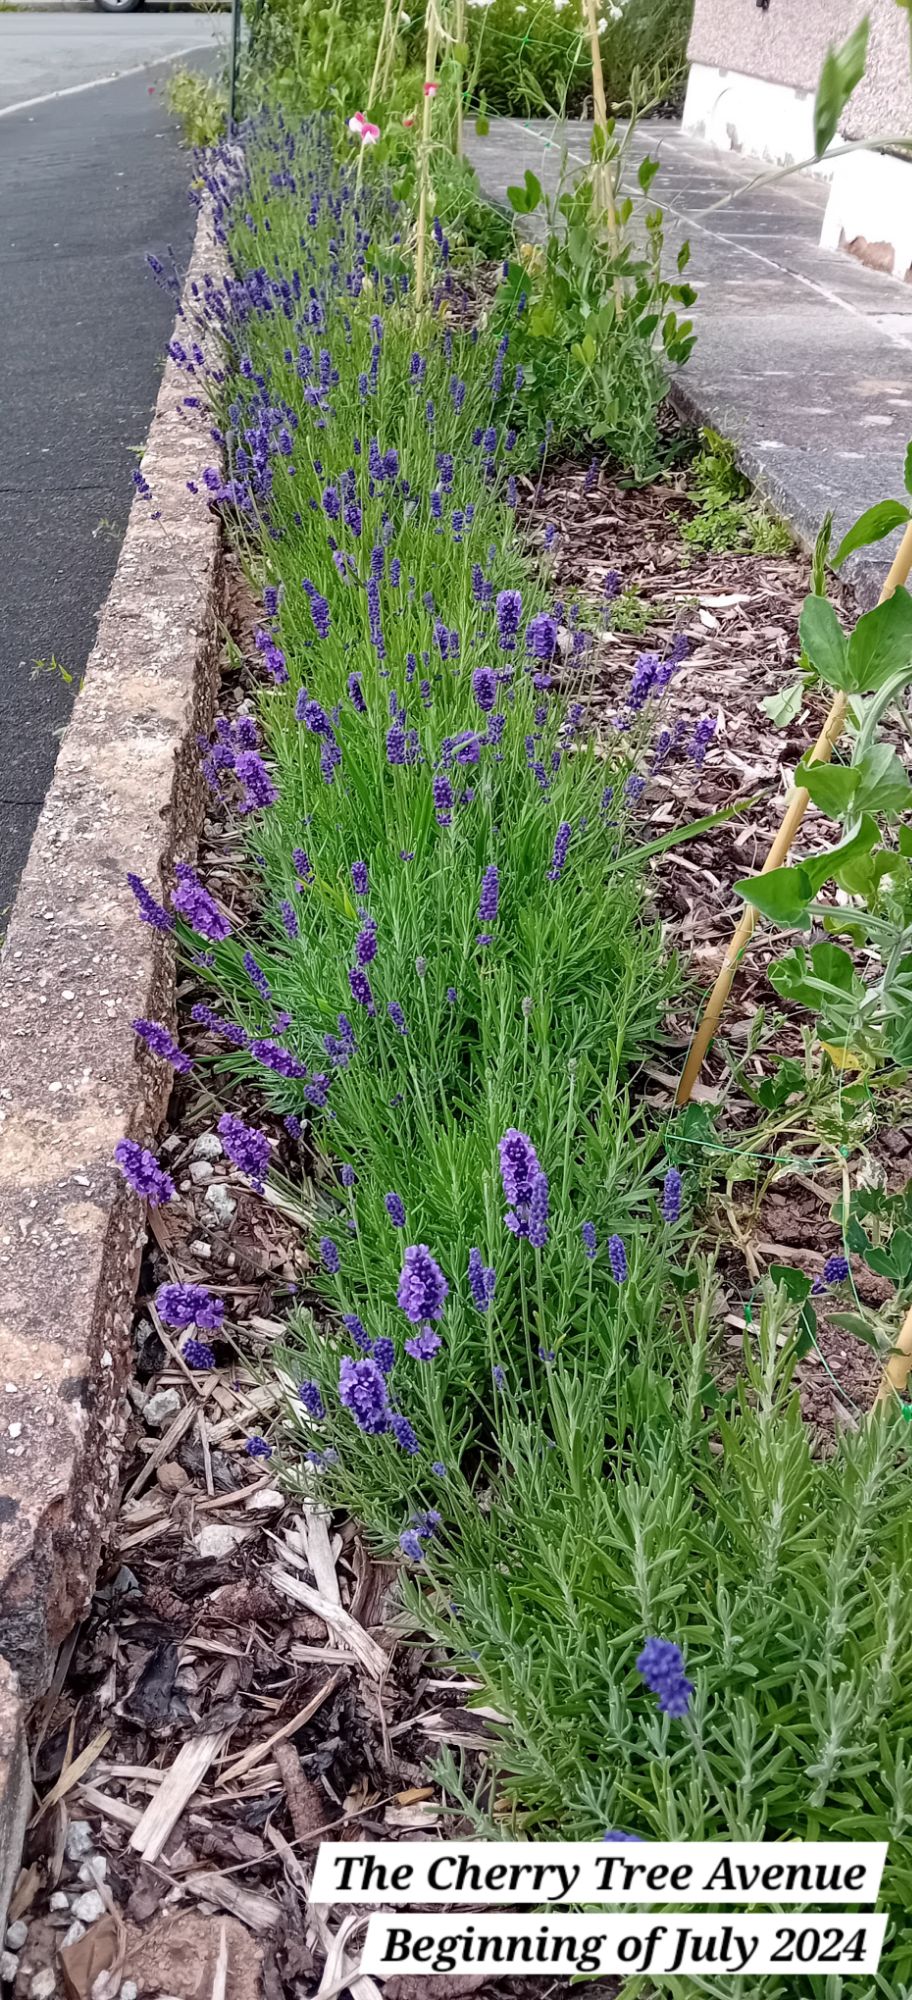
By May 2024, the lavender hedge had already matured well in The Cherry Tree Avenue:
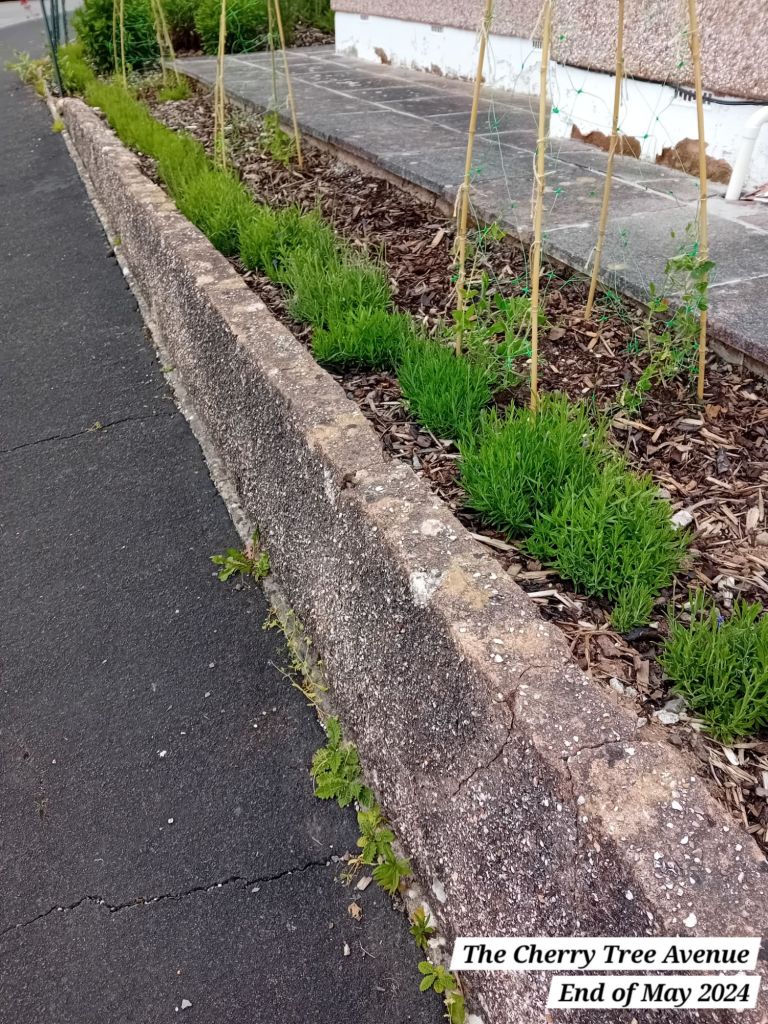
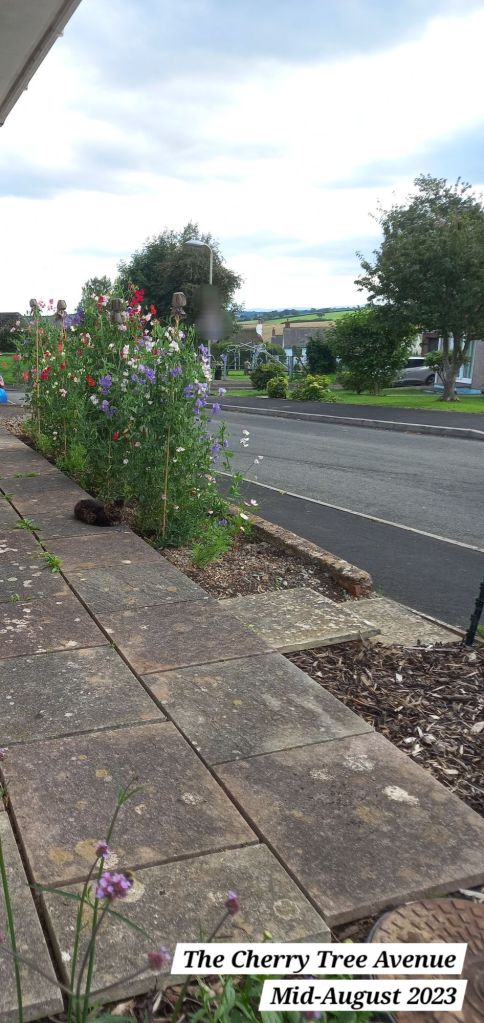
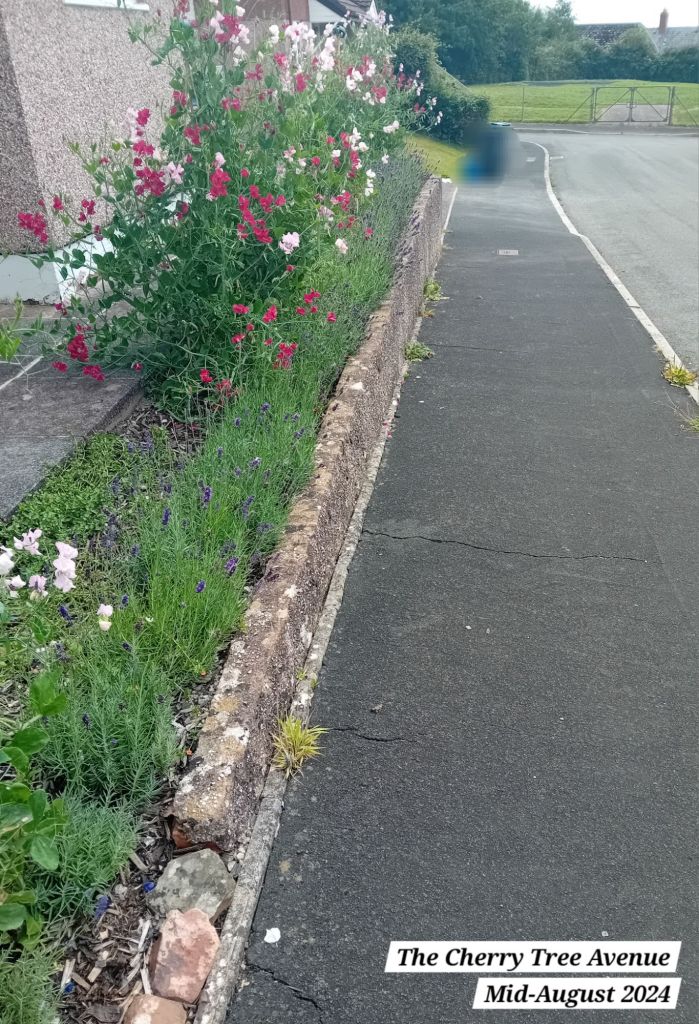
As you can see from the photo below, I again grew sweet peas along the front of the property in this garden.
It has now become a bit of a tradition for me to grow sweet peas at the front of our property. Since the Mr and I have moved in, many villagers have commented that they like the sweet peas and love their fragrance. It seems like many villagers have enjoyed seeing the property being cared for and tended again. It is much better than ugly grey gravel and weeds anyway!
I will be growing sweet peas again year at the front of our property, but in large planters where they can still be enjoyed by all.
This year, I have actually sowed a huge amount of sweet peas (post coming soon). I will be gifting additional sweet pea plants out to our neighbours, for those who want some. I suppose I am planning a sweet pea takeover in the village!
As is the nature of the garden, as Autumn beckons, the sweet peas start to wane and 2024 was no exception. I simply cleared out the sweet peas after collecting seed from them and put the garden to bed for Winter.
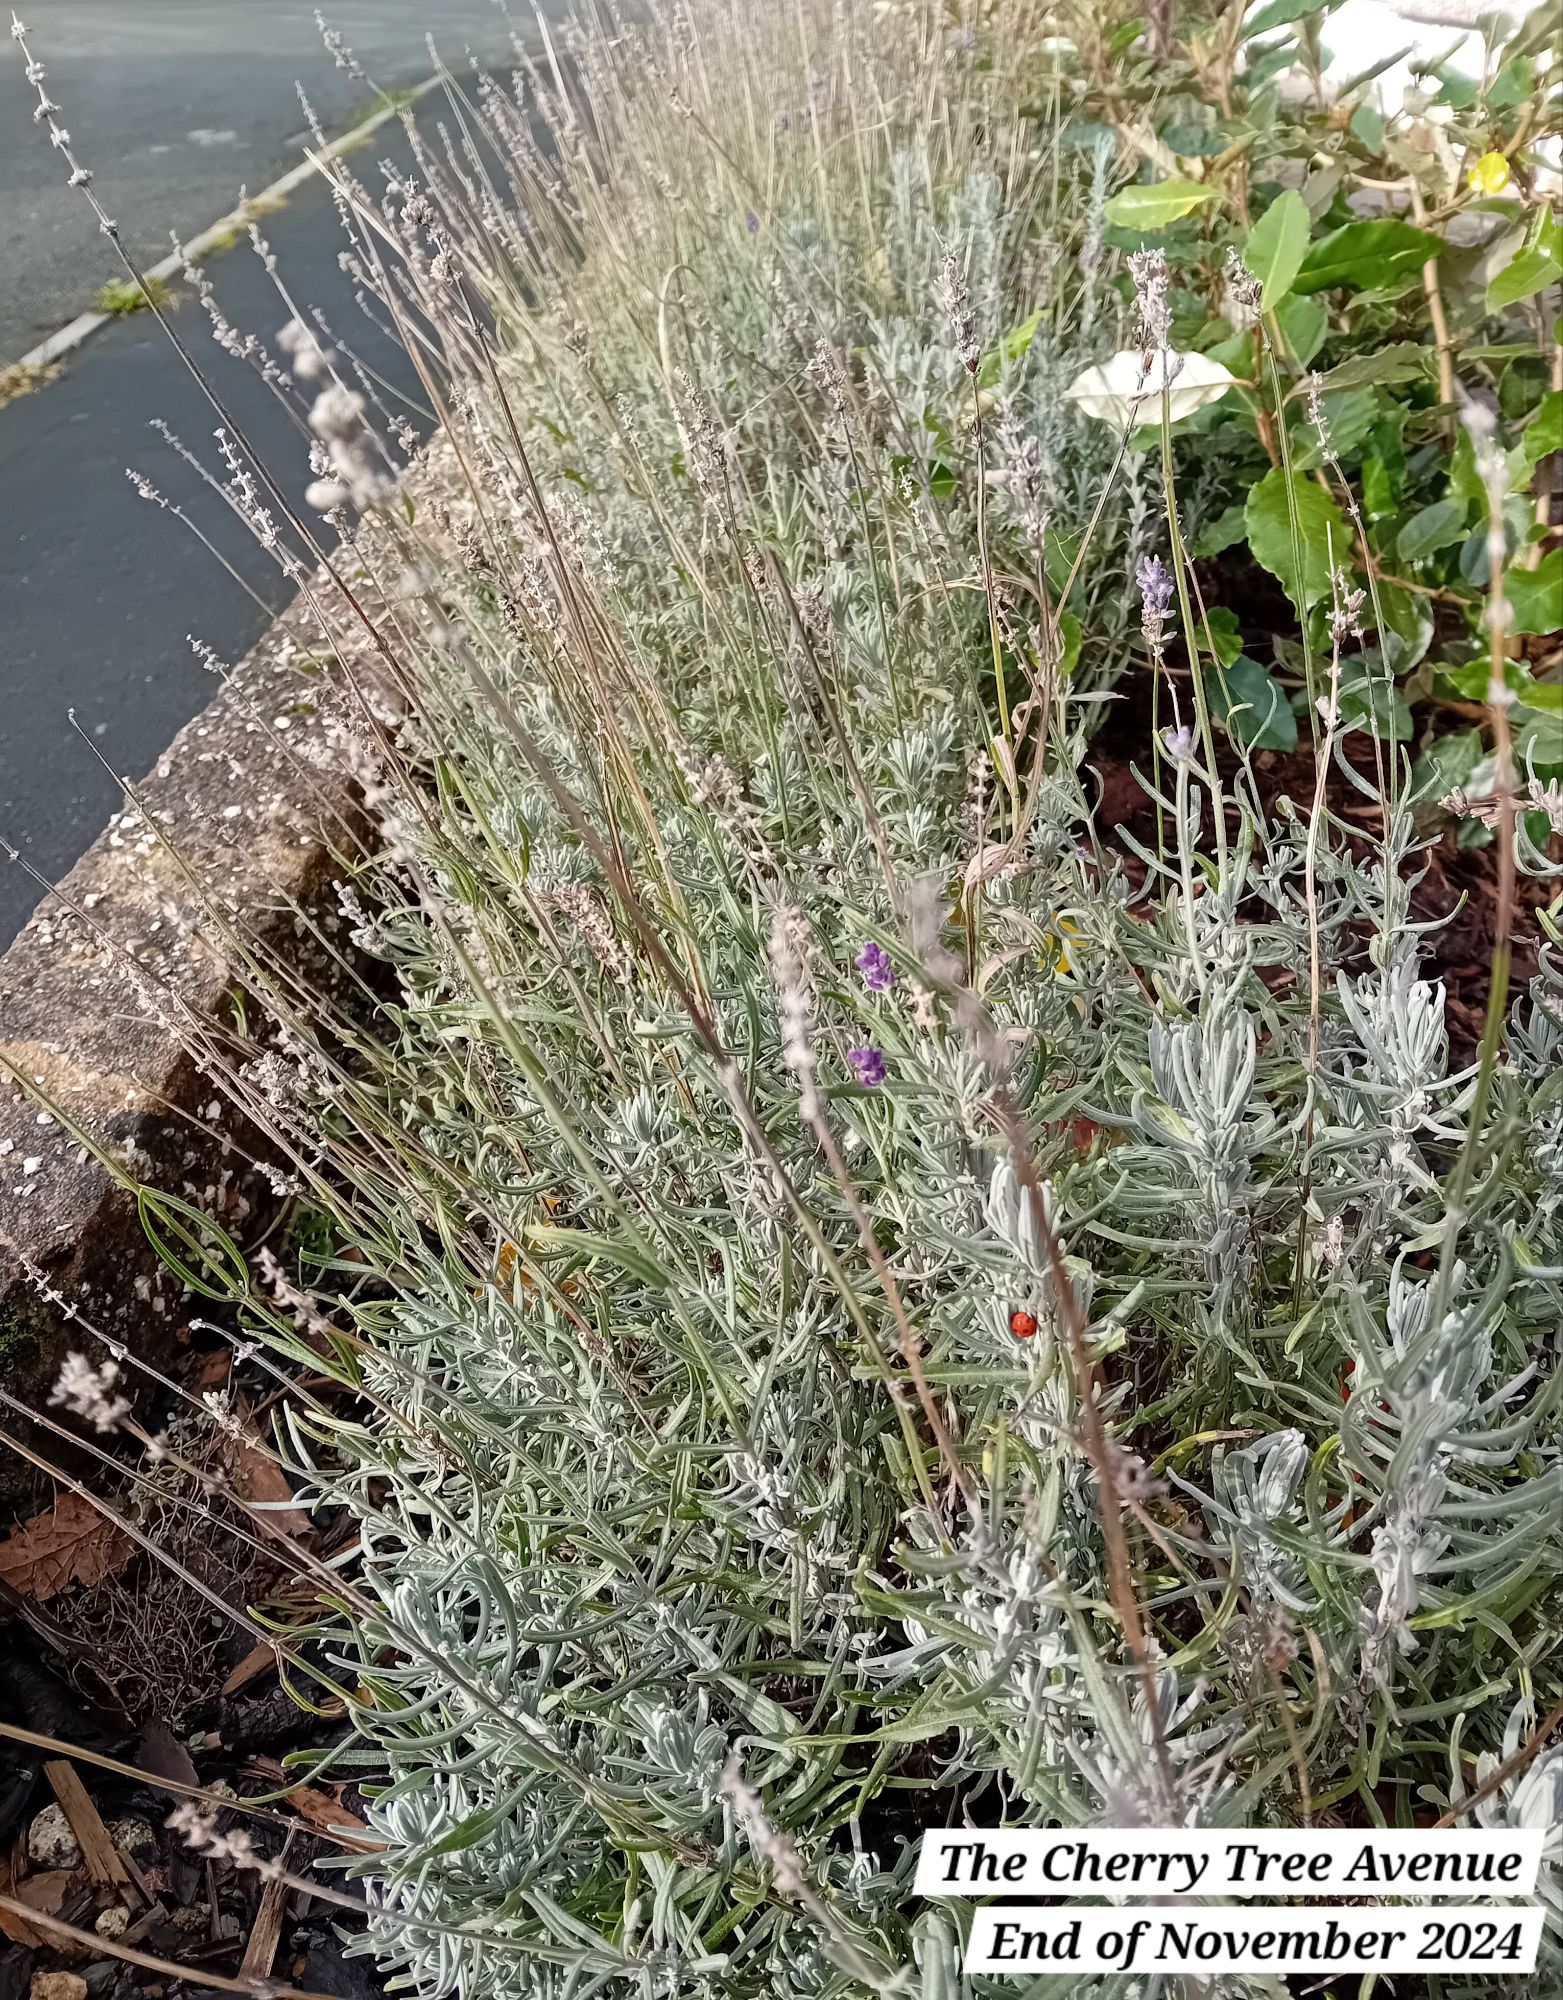
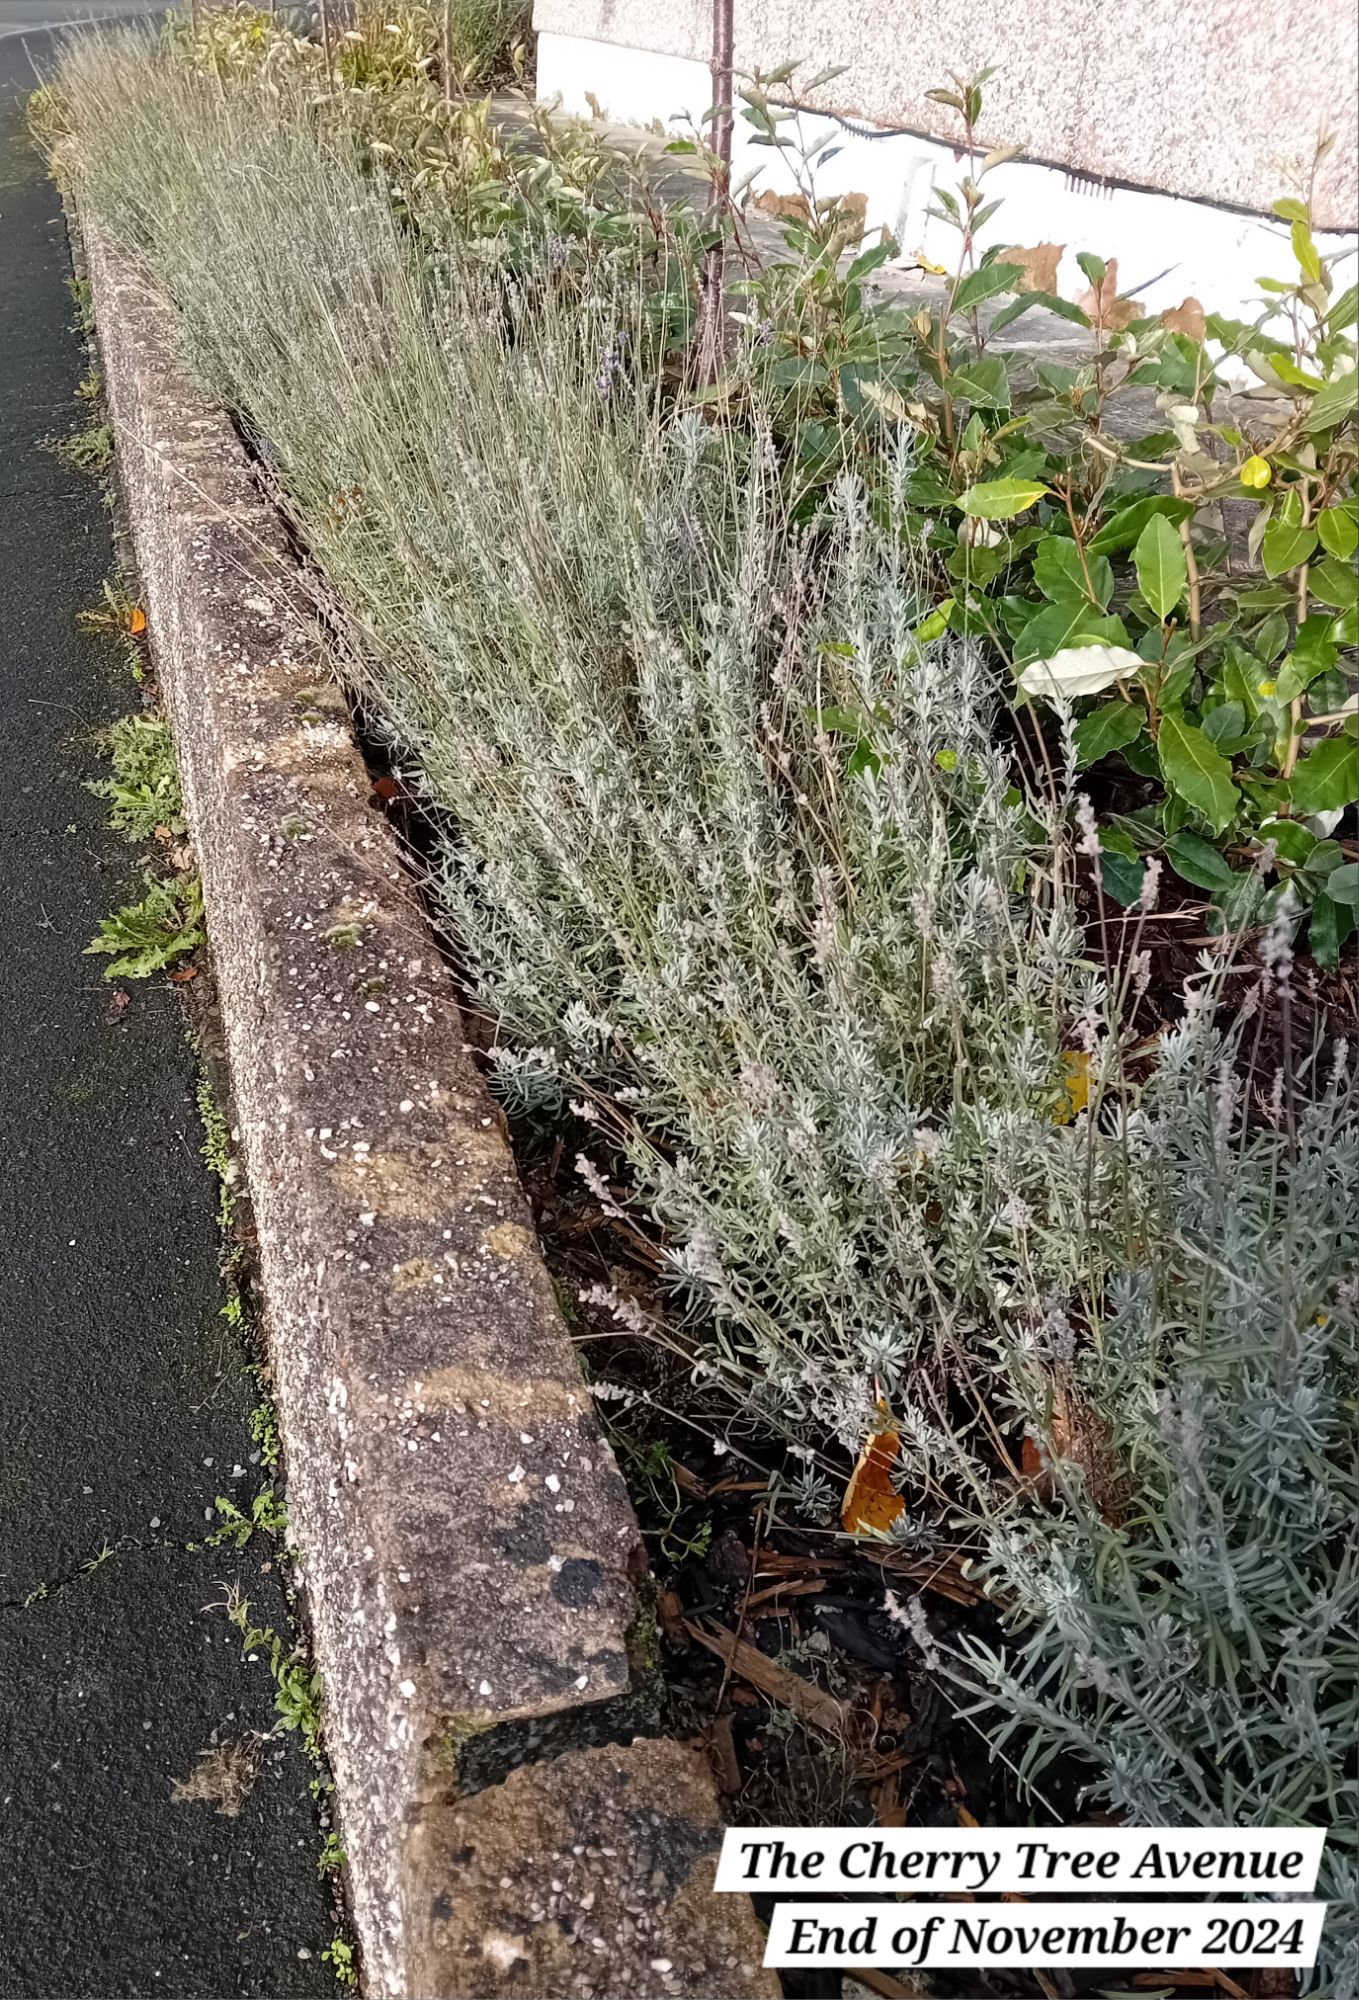
I also trimmed the lavender in Autumn 2024. The photos below show the before and after of this – it really does neaten up the garden for Winter:

The next stage: cherry tree time
Then, in Winter 2024, I placed a large order for cherry trees and evergreen hedging from Hedges Direct. I had spent time over 2023 and 2024 mulling over how I wanted to design this garden and researching what plants would work well.
I loved the vertical structure and impact of the sweet peas, but I disliked that they didn’t last throughout the year. I also wanted to create some privacy at the front of our property and also benefit wildlife, add beauty and vertical structure.

I initially order seven trees, but ended up ordering two more to extend the trees into The Woodland Garden.
I chose festigiate cherry trees, for their upright structure. They will remain at a manageable size and can grow to their full capacity without having to be pruned extensively over the years.
I was also keen not to leave any future owners of the property with nine trees sitting out of place and too large for the front gardens. I am hoping that this row of cherry trees live a long life of many years into the future, for many people to enjoy.
The variety of the cherry trees is ‘Amanogowa’, which I will be posting a more detailed post about in the future.
I am taking somewhat of a risk planting these trees in what can be a windy site, but all the plants I have planted in the front gardens have coped surprisingly well with the wind.
I ended up planting the cherry trees on an exceptionally cold day, eventually finishing up the job working in the freezing rain! The trees had been delivered on a very cold day, when frost was forecast that night and I didn’t want to leave the trees out in their pots for the frost to potentially harm them.
There was also a storm forecast and I didn’t want the trees to get knocked down in their pots and damaged. We didn’t have anywhere to store the trees temporarily, so planting was the best option available!
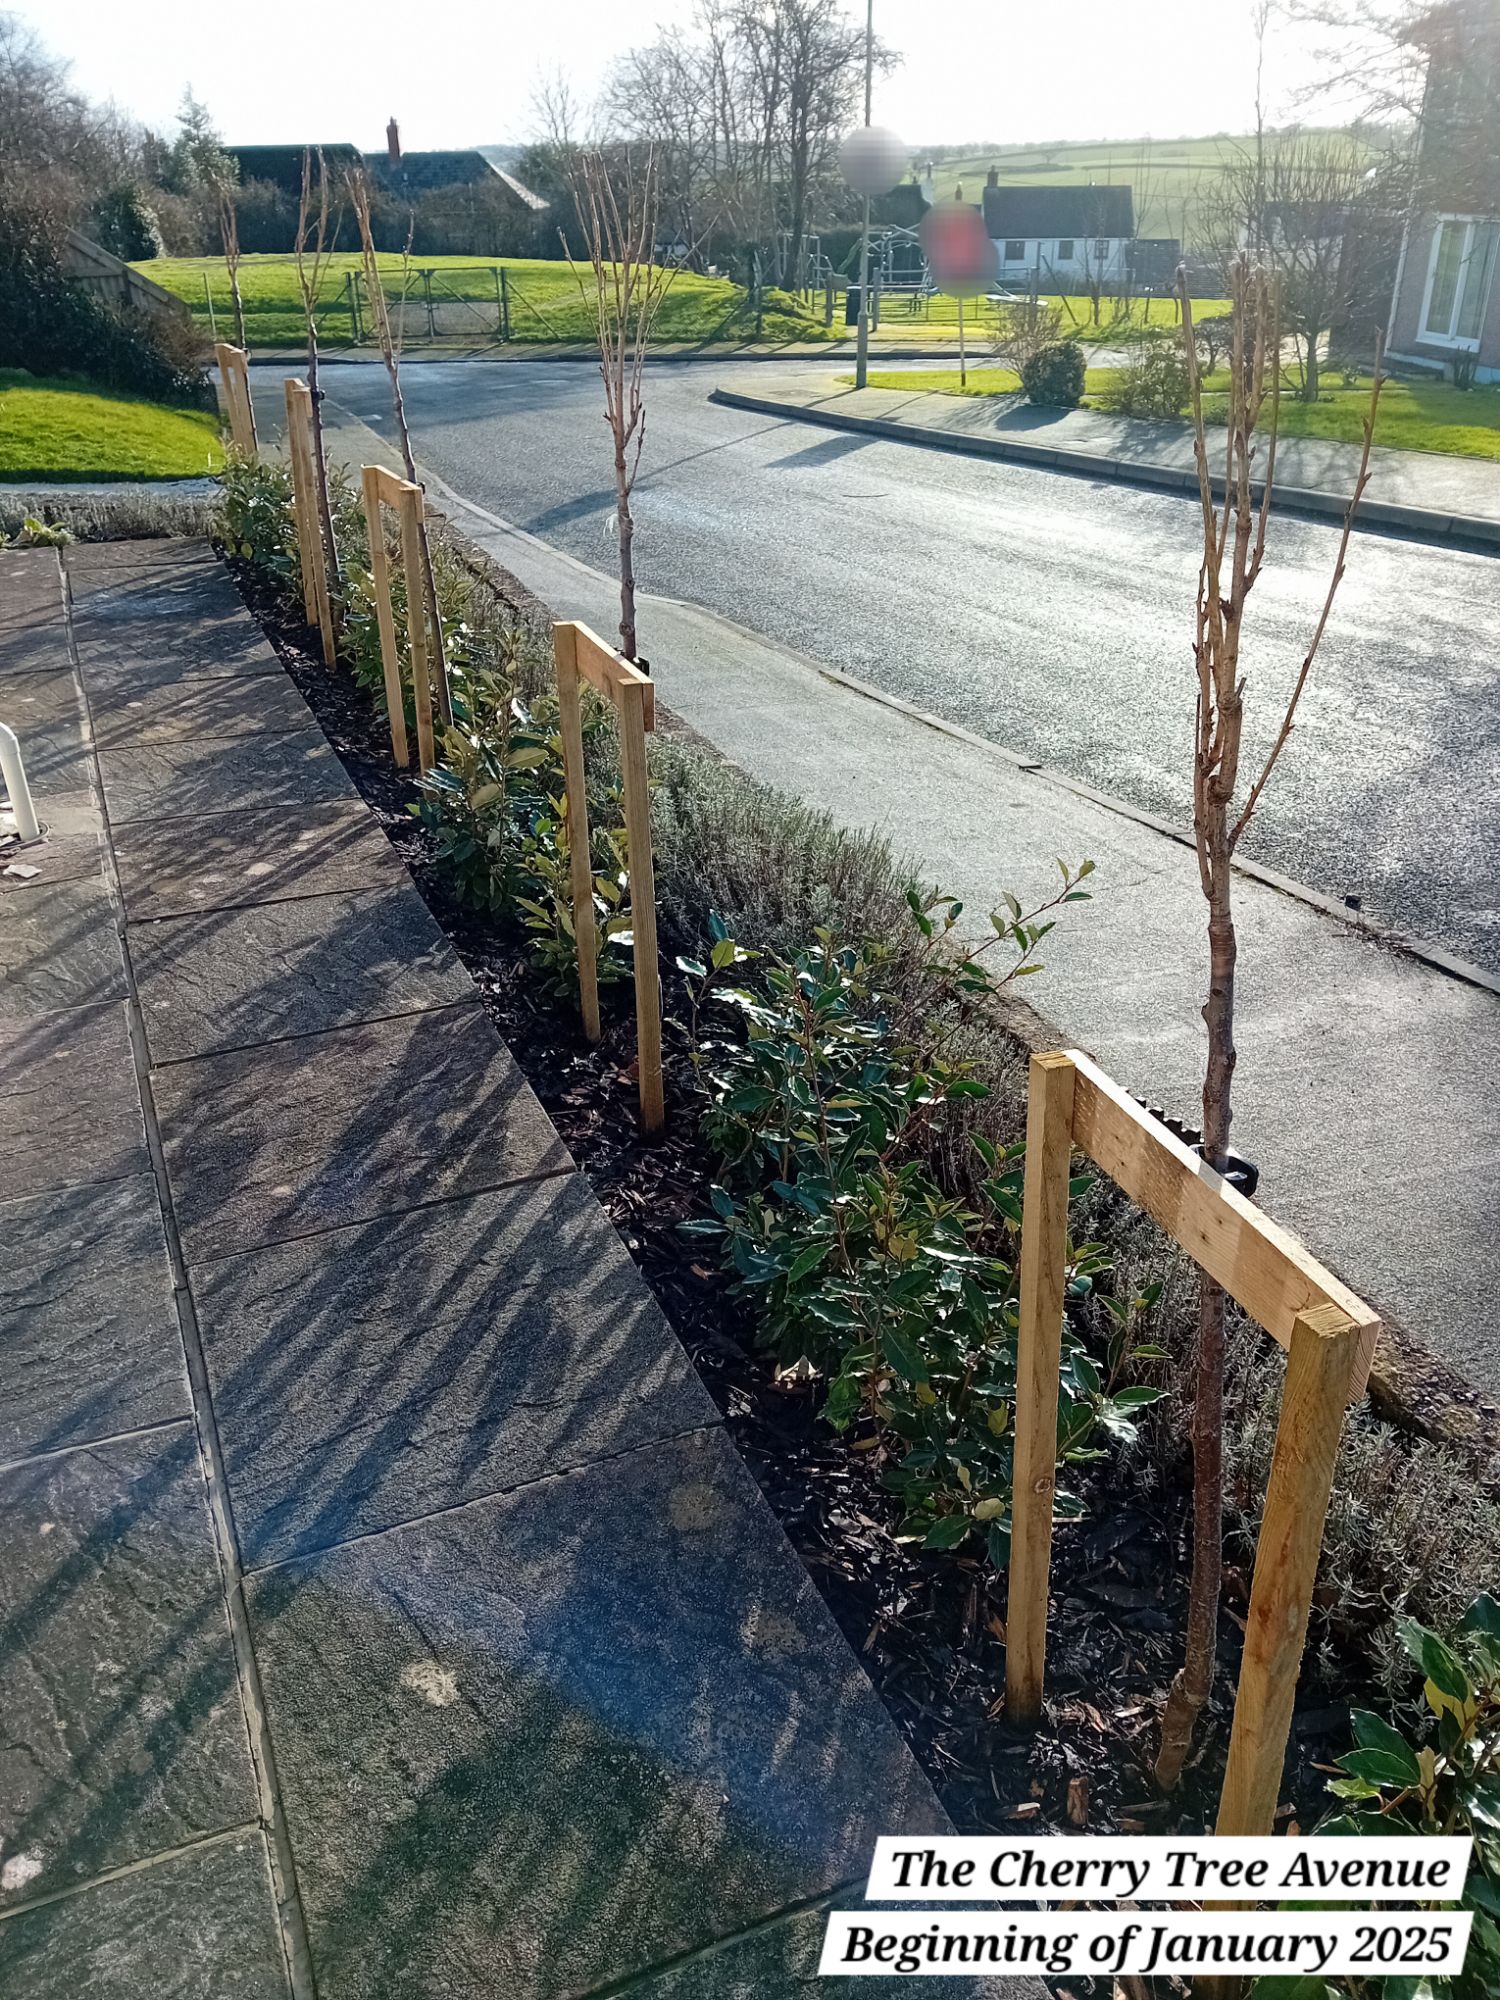
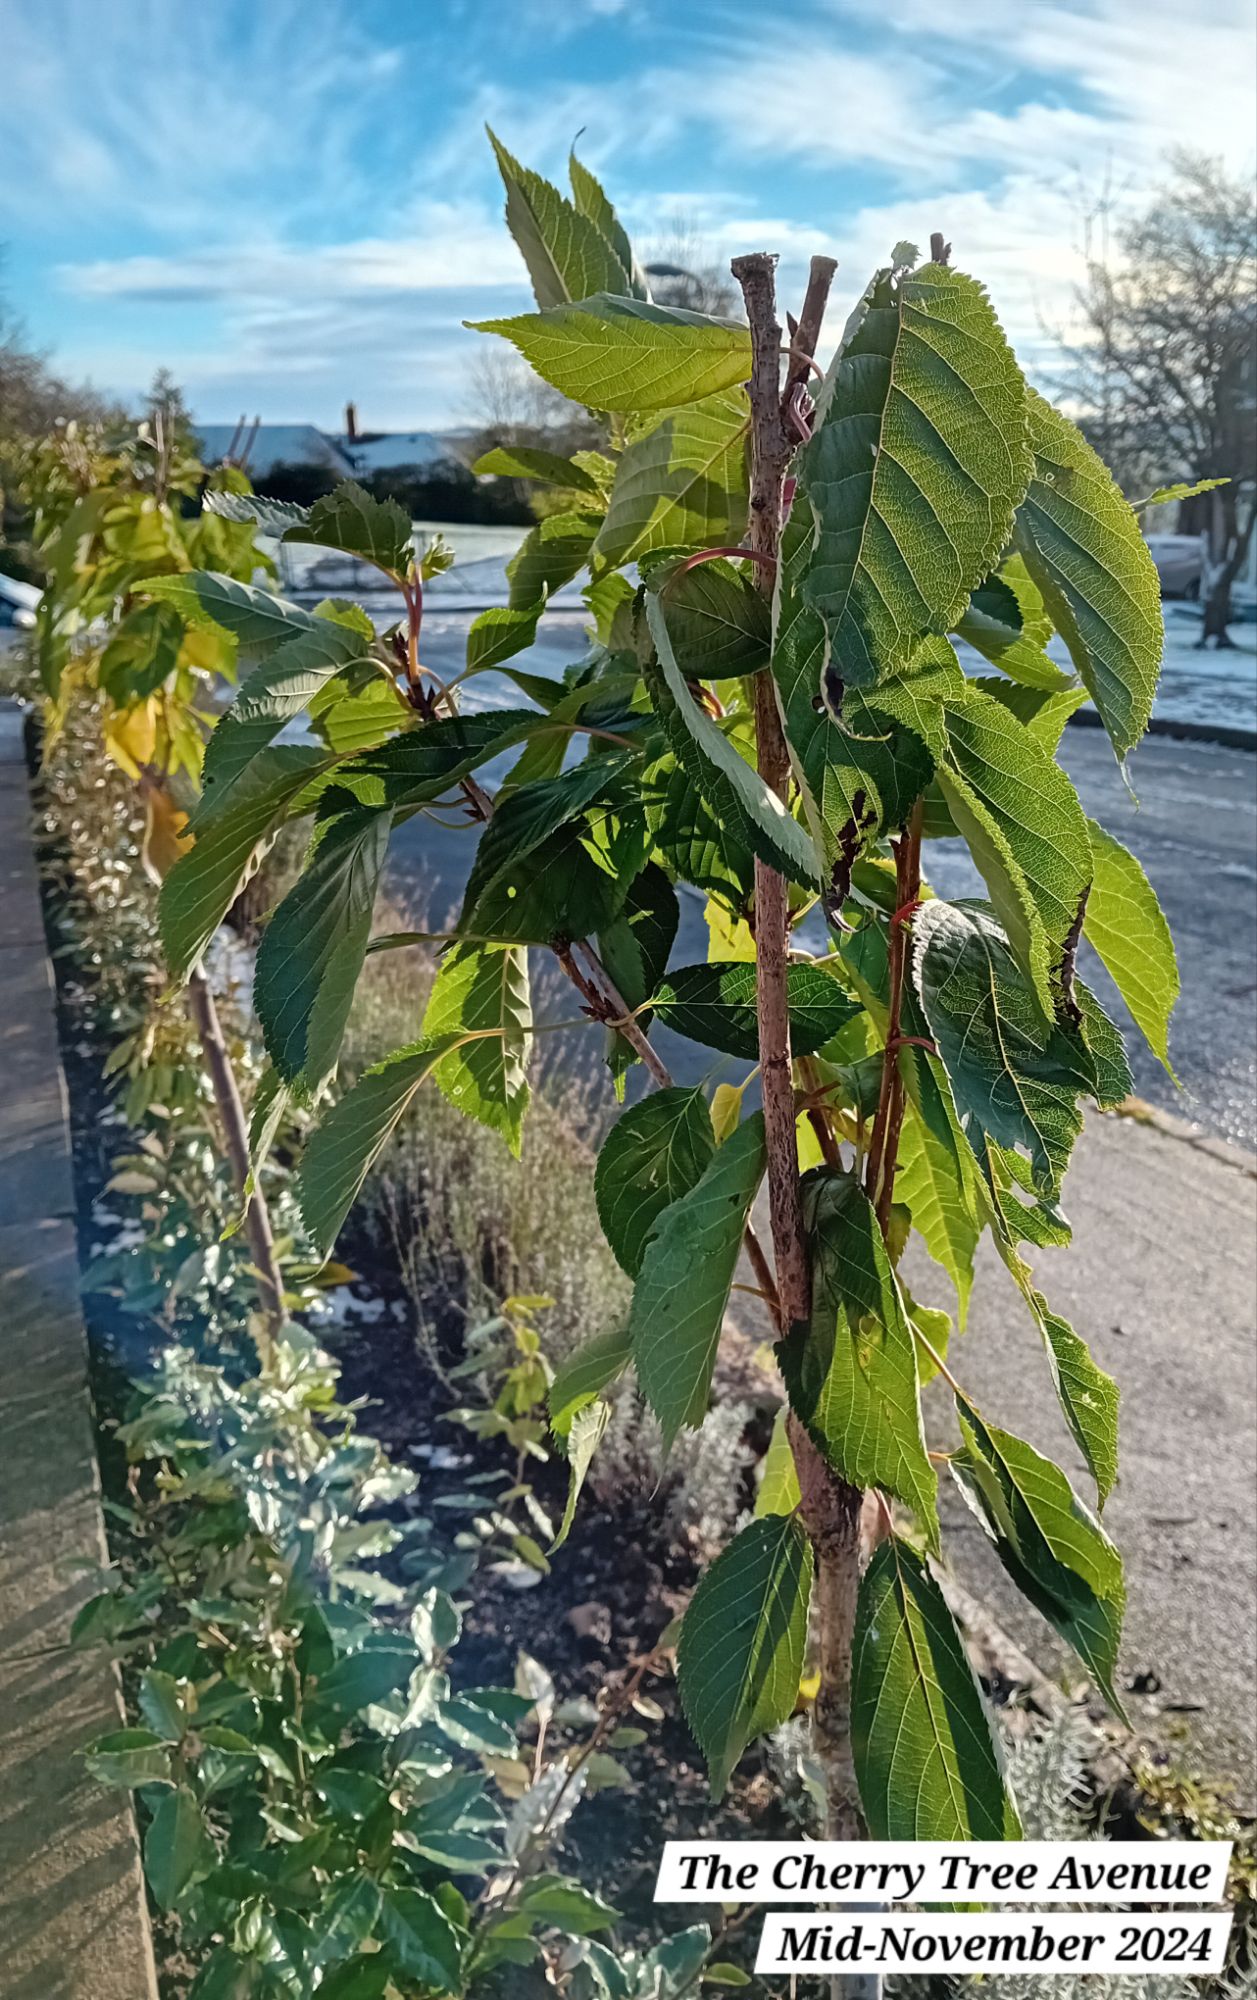
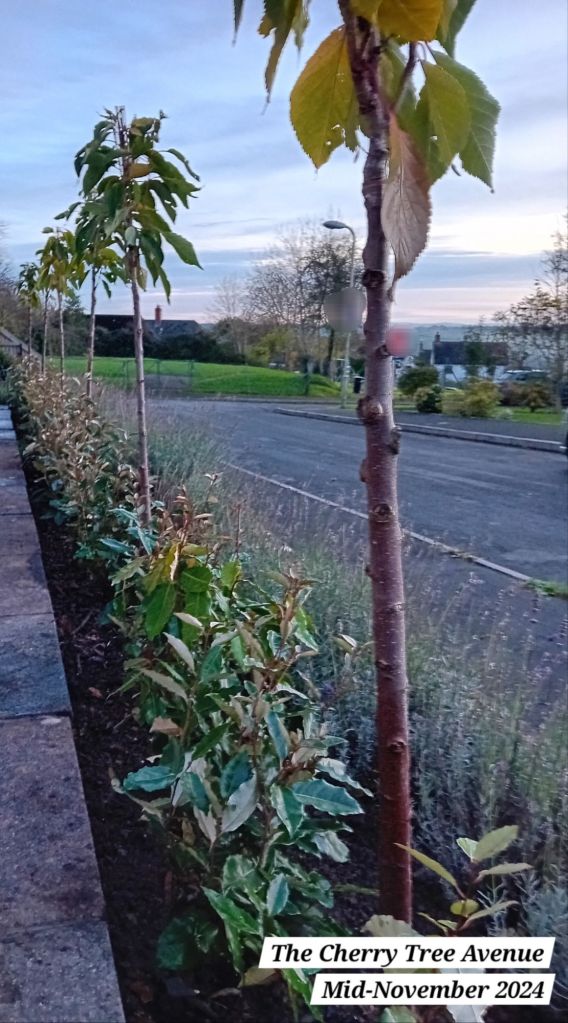
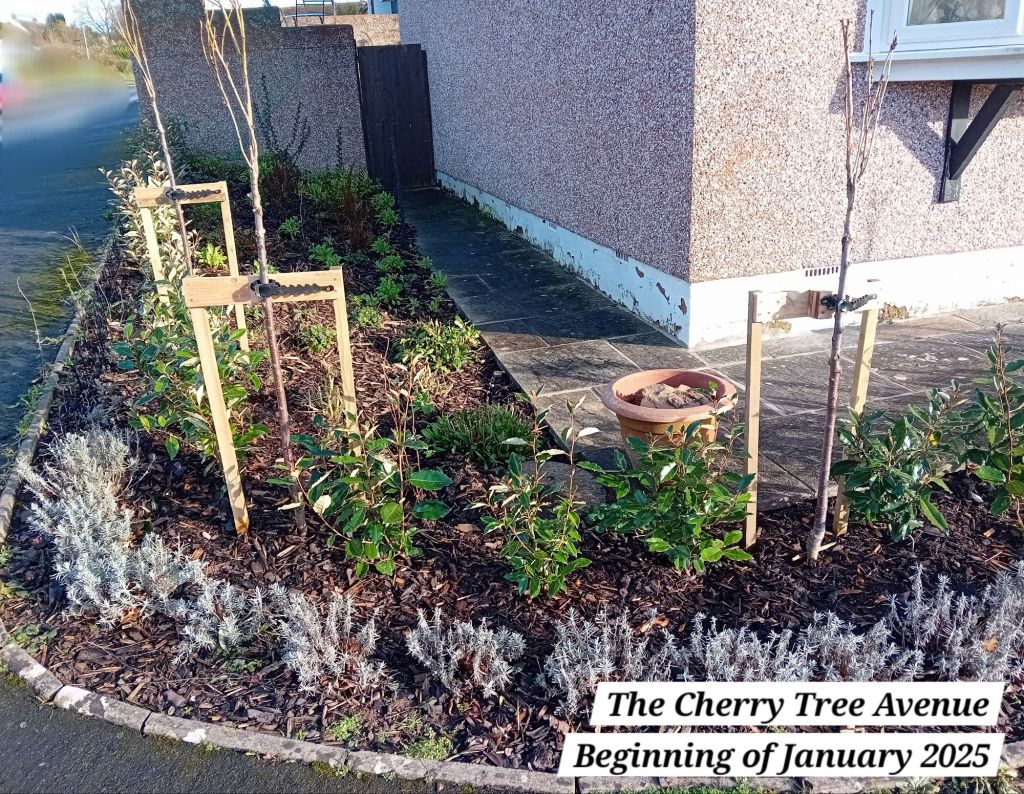
Despite ending the day before planting until it was dark, freezing and raining, the day after brought some wonderful sunshine:
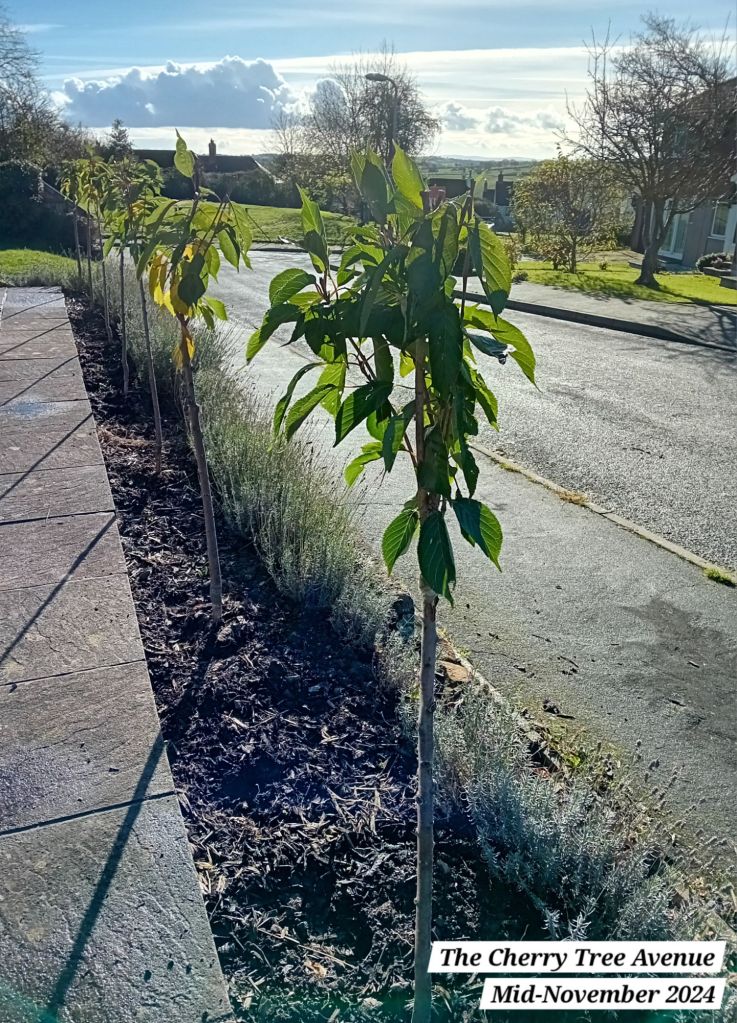
Already, I loved the look of the trees along the front and many villagers who saw me out in the garden expressed how much they liked them too:
Stage four: the evergreen hedges
In between the avenue of cherry trees, I chose a tough evergreen hedge, that I firstly tried out in The Honeysuckle Nook (Introducing: The Honeysuckle Nook). This hedge is of course Elaeagnus x ebbingei, also known as Oleaster, or commonly known as Silverberry.
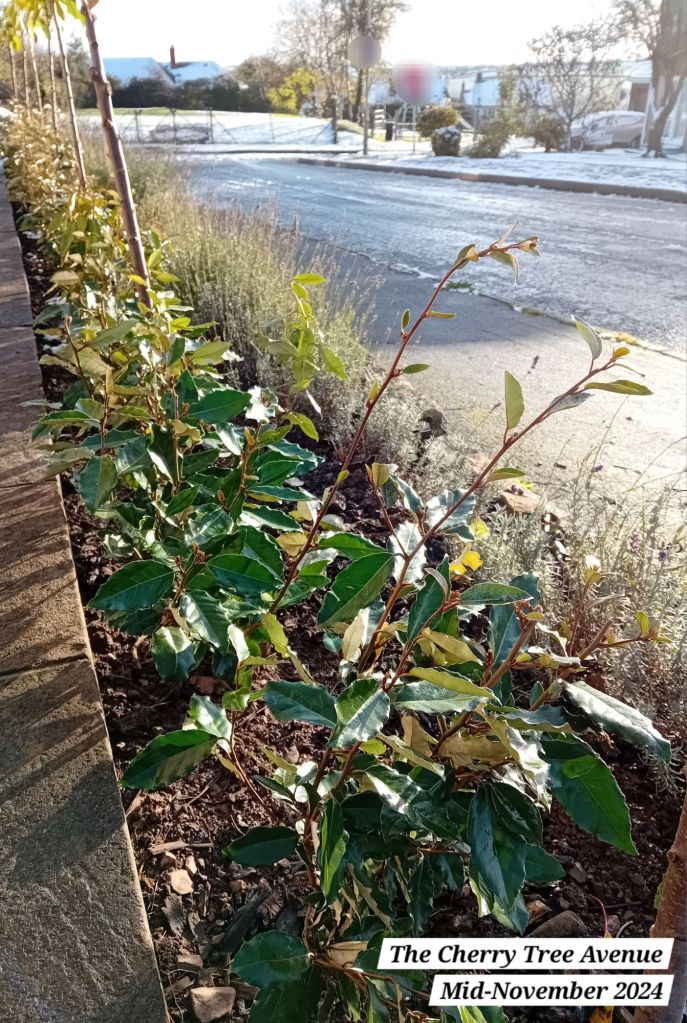
This plant is fantastic for evergreen structure year round, it can cope with cold, wind and drought very well, it has highly fragrant flowers and edible berries (safe for both humans and wildlife). This hedge can cope with a sunny or a shaded position. All in all, it is a hedge I have grown to really love and it offers variety to the usual hedges grown in our village.
I used three hedge plants in-between each cherry tree. After the storms and the frost had passed, I spent a very nice day outside in the front gardens planting these hedges out in the sunshine.
The following day however, brought a sprinkling of snow, albeit with more sunshine:
I planted out in stages because the hedging stretches all the way around the front gardens, wrapping completely around The Woodland Garden. I will keep the hedges clipped over time to a manageable height.
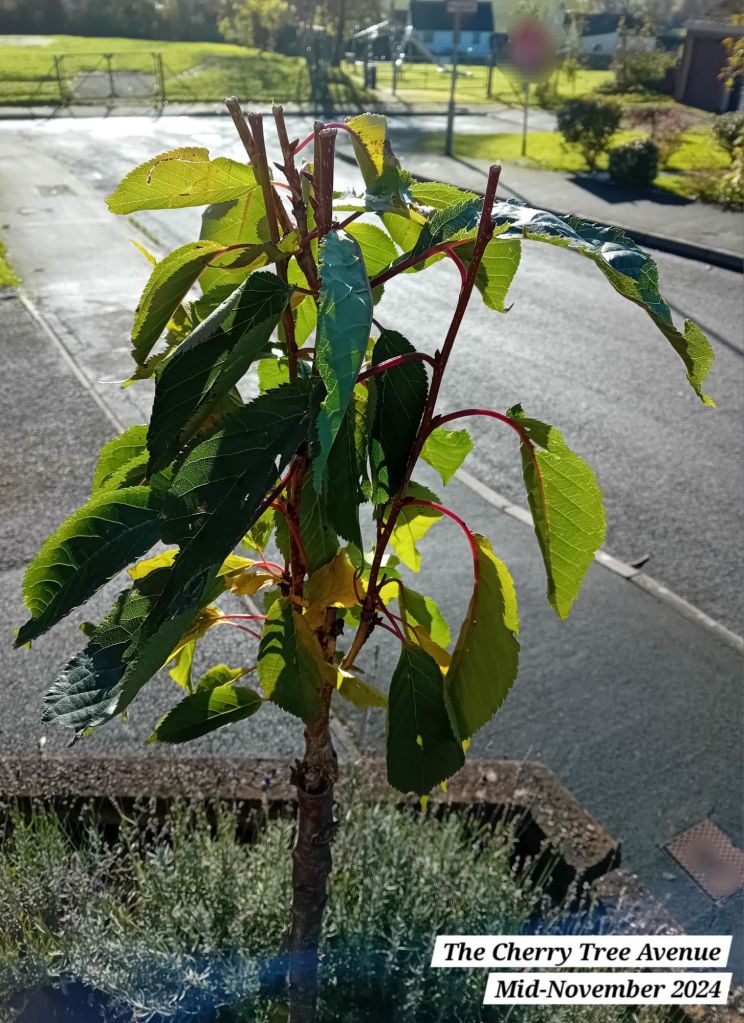
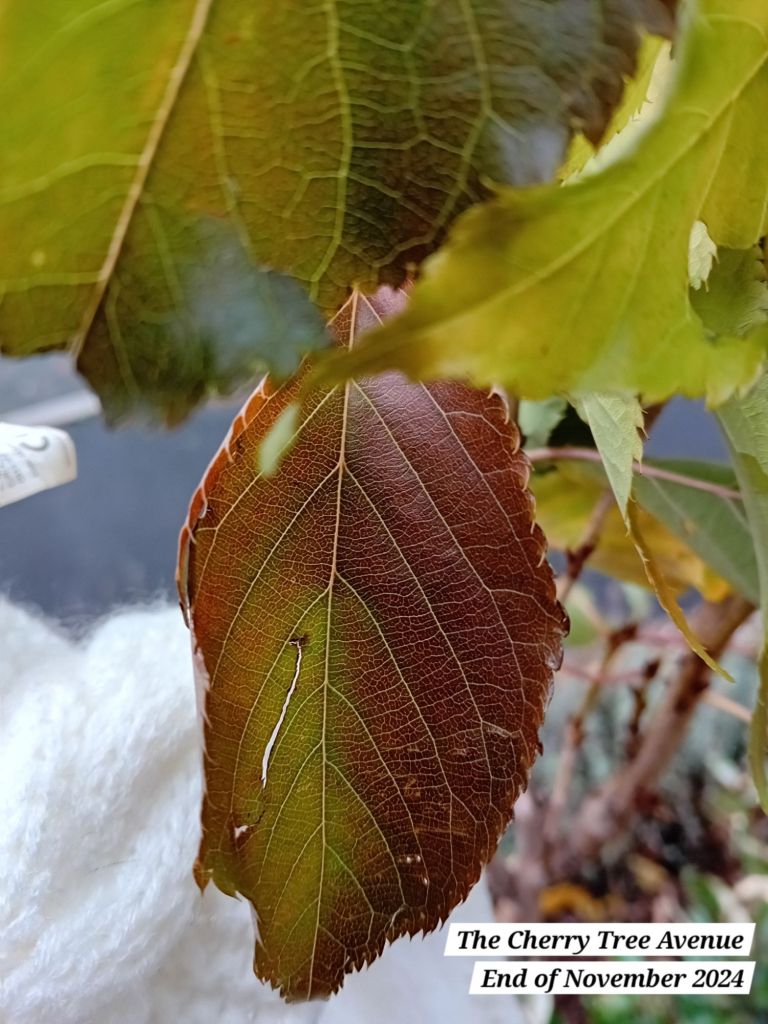
Not long after the snow and frost hit, the leaves of the cherry trees started to turn golden and burgundy. In 2025 and in the years beyond, this should provide quite an impactful show every Autumn:
On a side note, I used mycorrhizal fungi on the root system of all of the hedges and trees I planted. I will also be feeding each tree with bonemeal this Winter.
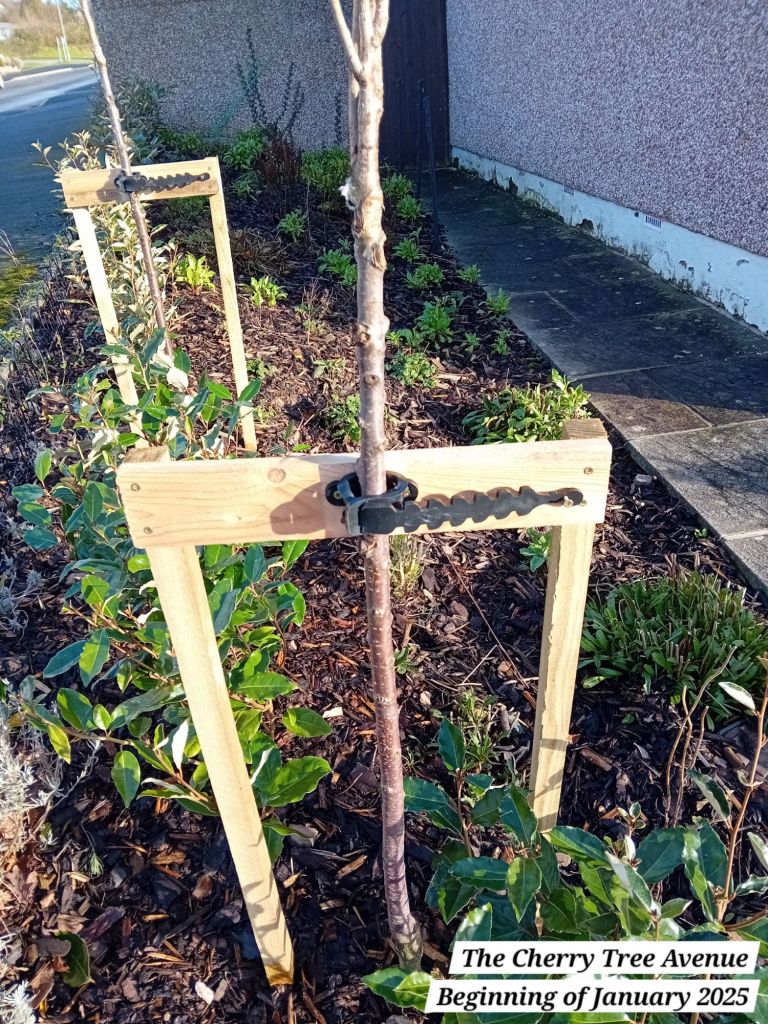
The final stage: staking the trees
The final stage for the cherry trees was to stake them to offer them some support from the wind. I decided I wanted to use a double stake system, as it would look neater and offer better support from the prevailing wind.

The stakes were ones purchased online and the back bracing section was recycled from broken pallets at the Mr’s place of work.
The cherry trees are about 3 years old already and have rigid trunks already, so the staking may only stay on for a year or so, until I am content that their root system has established enough to support their growing canopy. If the trees end up needing staking for longer, then the stakes will remain in place, but I was keen for the tree trunks to remain nice and straight.
I found an adjustable and durable trunk support system online, and I ordered plenty of them for future projects; I have some standard roses in The Wild Borders that I want to stake and support this year and I will use the same method to stake them.
As mentioned earlier, I originally ordered seven trees, but I ended up ordering two extra trees.
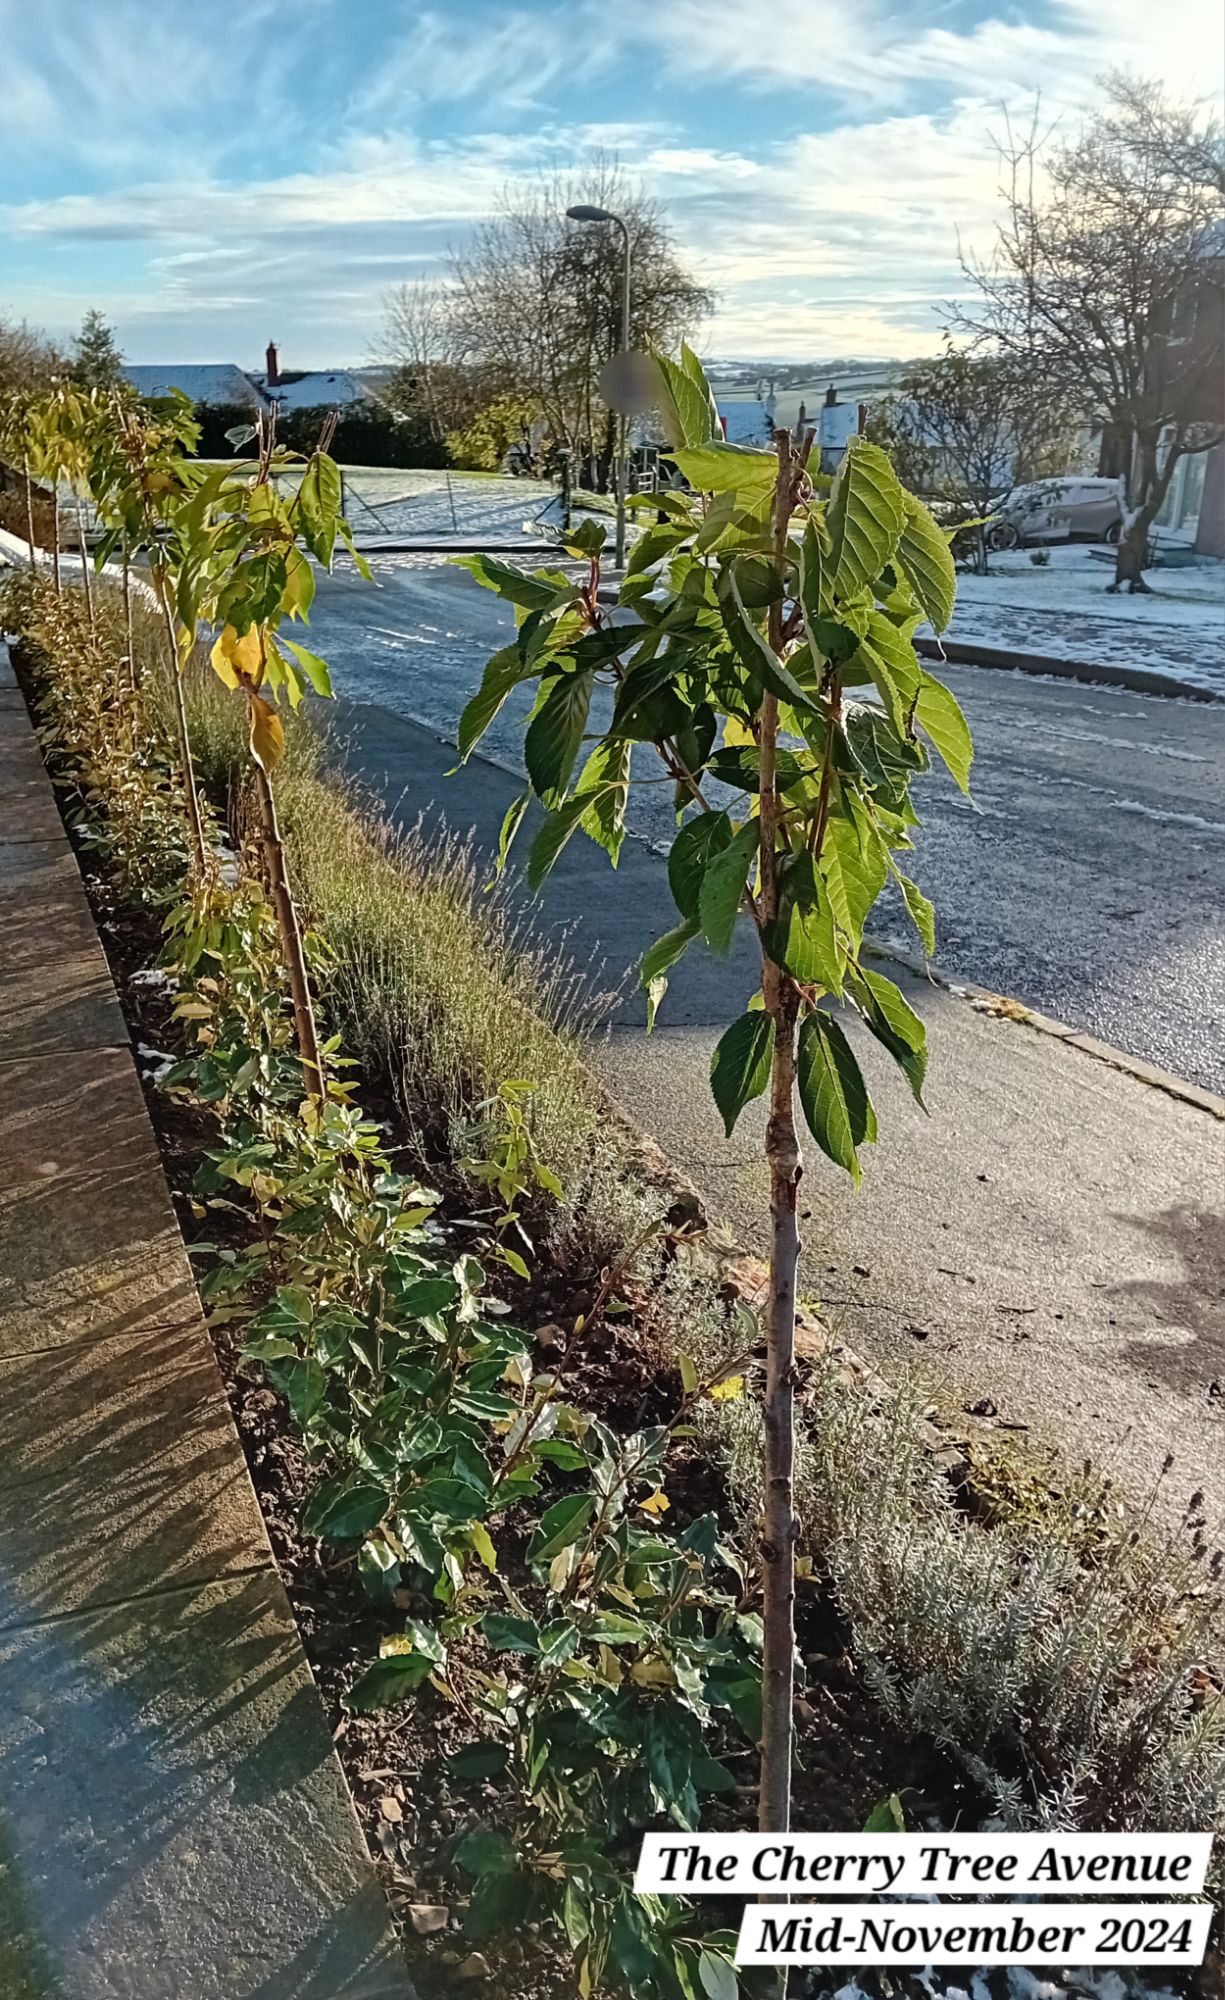
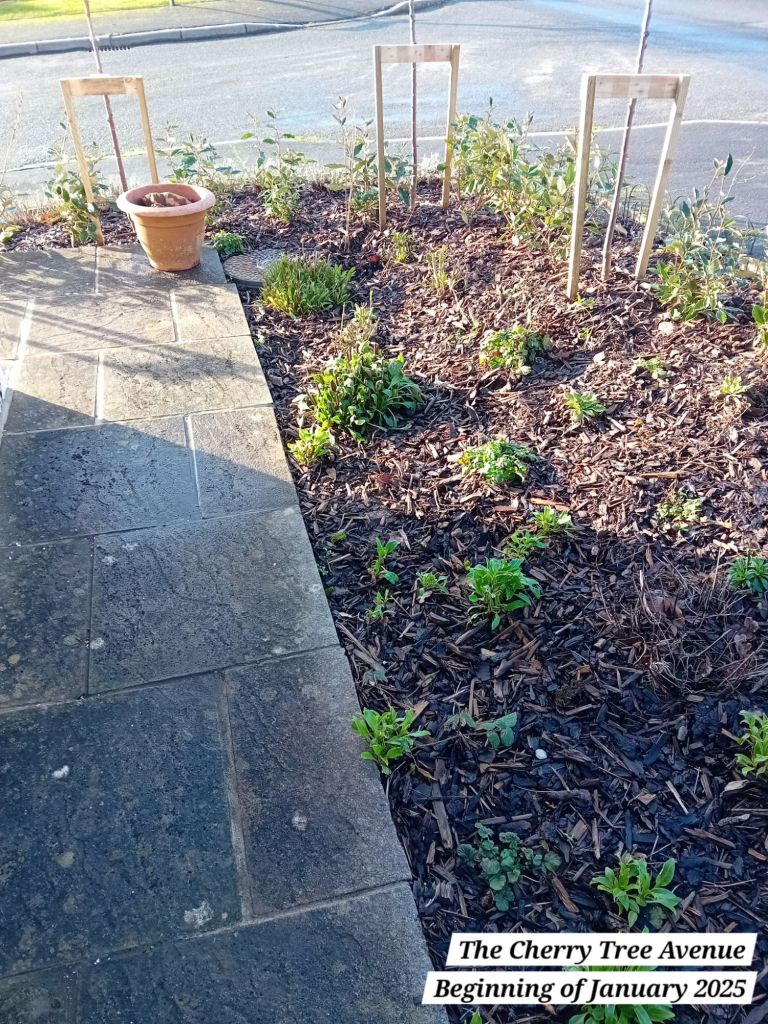
The additional two trees that I ordered were placed curving around the bend into The Woodland Garden (see photo below). This is also where the lavender hedging ends. The effect of both of those design choices is that the trees and the lavender lead your eye gently round the curve and down the avenue of trees. I think this works much better than just a straight line of trees that abruptly stops before the curve.
Here is another photograph that shows the avenue of cherry trees edging The Woodland Border and linking both gardens together:
Conclusion
All in all, it has been a long but very rewarding process working on the front gardens since 2023 and I really cannot wait to see what all the cherry trees look like in Spring 2025!
My aim with the design choices I made was to create a neat, but interesting and wildlife-friendly array of plants, linking each garden to each other for continuity, whilst also creating a sense that each garden section is slightly different from the other. I think I have managed to achieve that in a relatively short space of time.
The trees will also eventually provide privacy for the front of the property, without completely blocking out light. They will also provide year-round structure and interest.
I hope you enjoying reading today’s longer post! Stay tuned for the next post to come on Wednesday! Until then, happy gardening 🙂


Leave a comment