
Hello and welcome back to my blog!
It has been such warm and sunny weather here recently, so different to the cold Spring we had last year in the UK. I’ve been able to get so much done recently out in the sunshine.
Today’s post shows you one of the projects I’ve been working on this week, along with some other, smaller, gardening jobs.
The Woodland Garden: Creating hinged lids for the compost bays
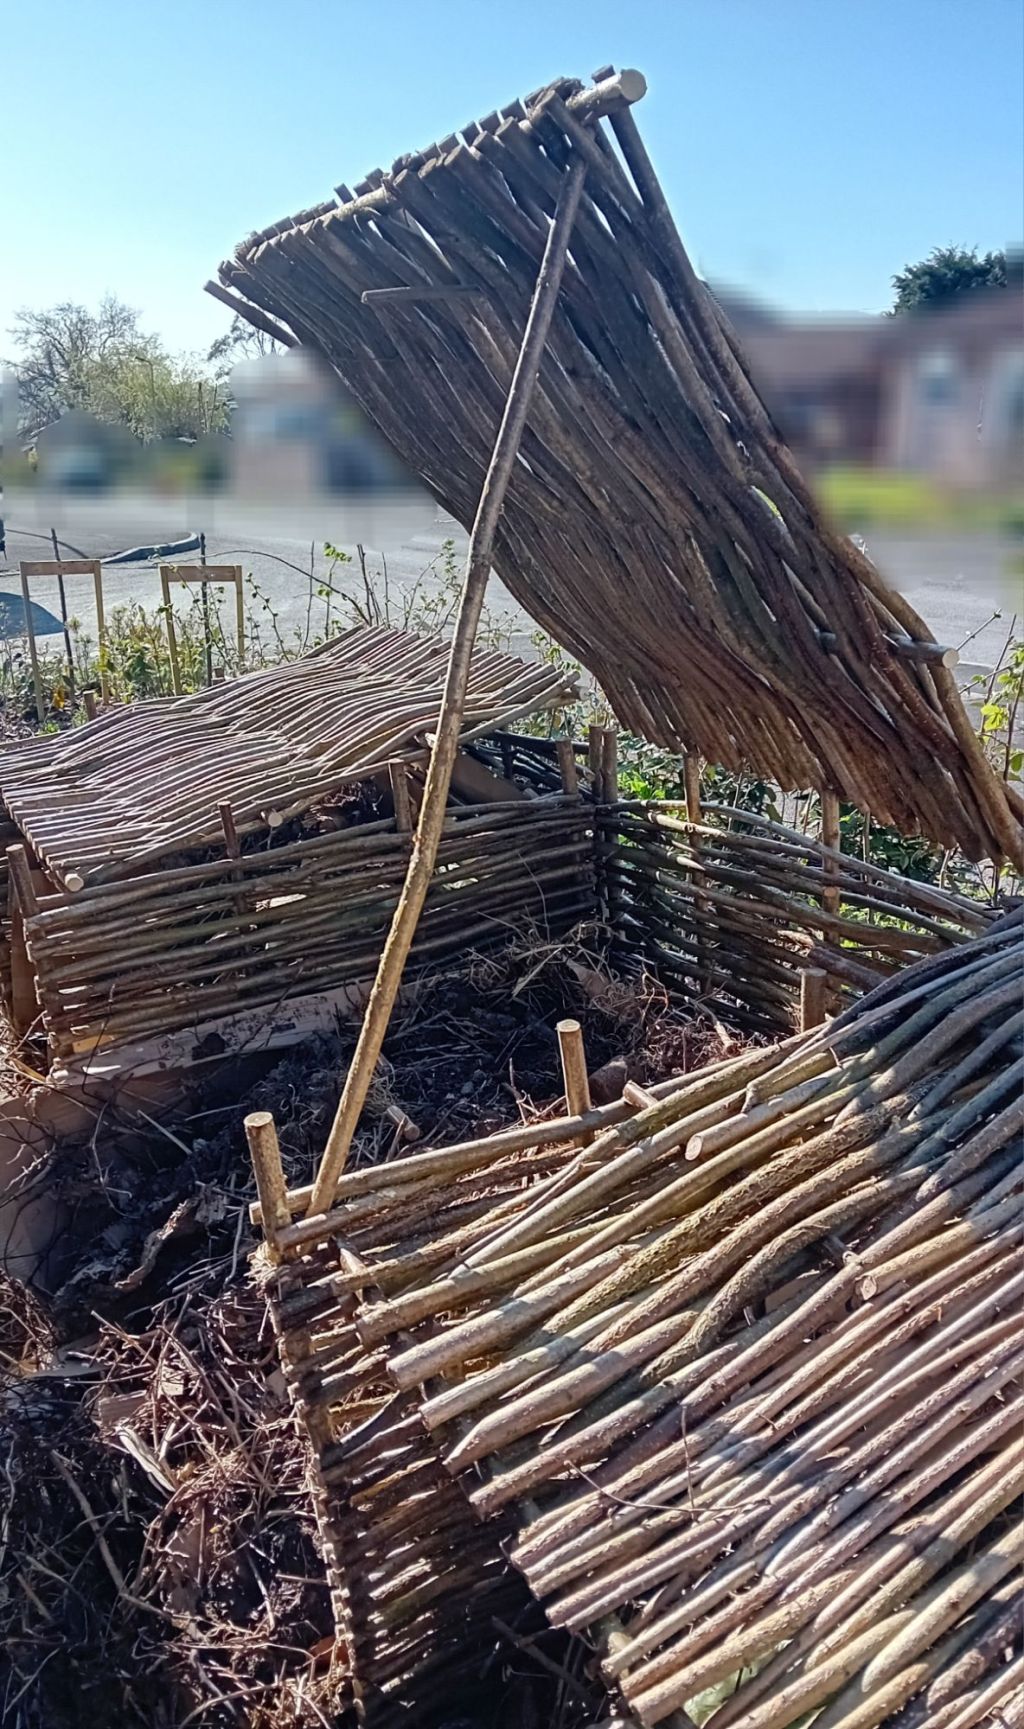
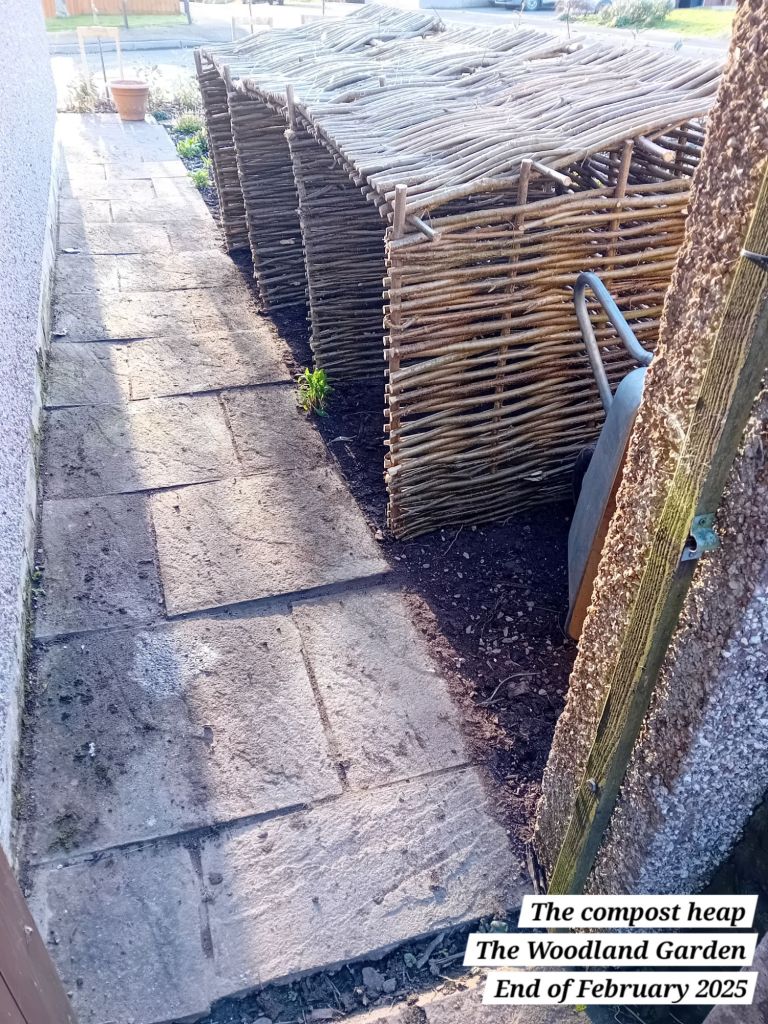
If you follow my blog, you’ll know that I build a four bay compost site in The Woodland Garden in February this year:
In the last two weeks, the Mr and I then moved all of the old compost heap in Teddy’s Garden over to the new compost bays in The Woodland Garden. Here was the old compost bay before and after clearing:

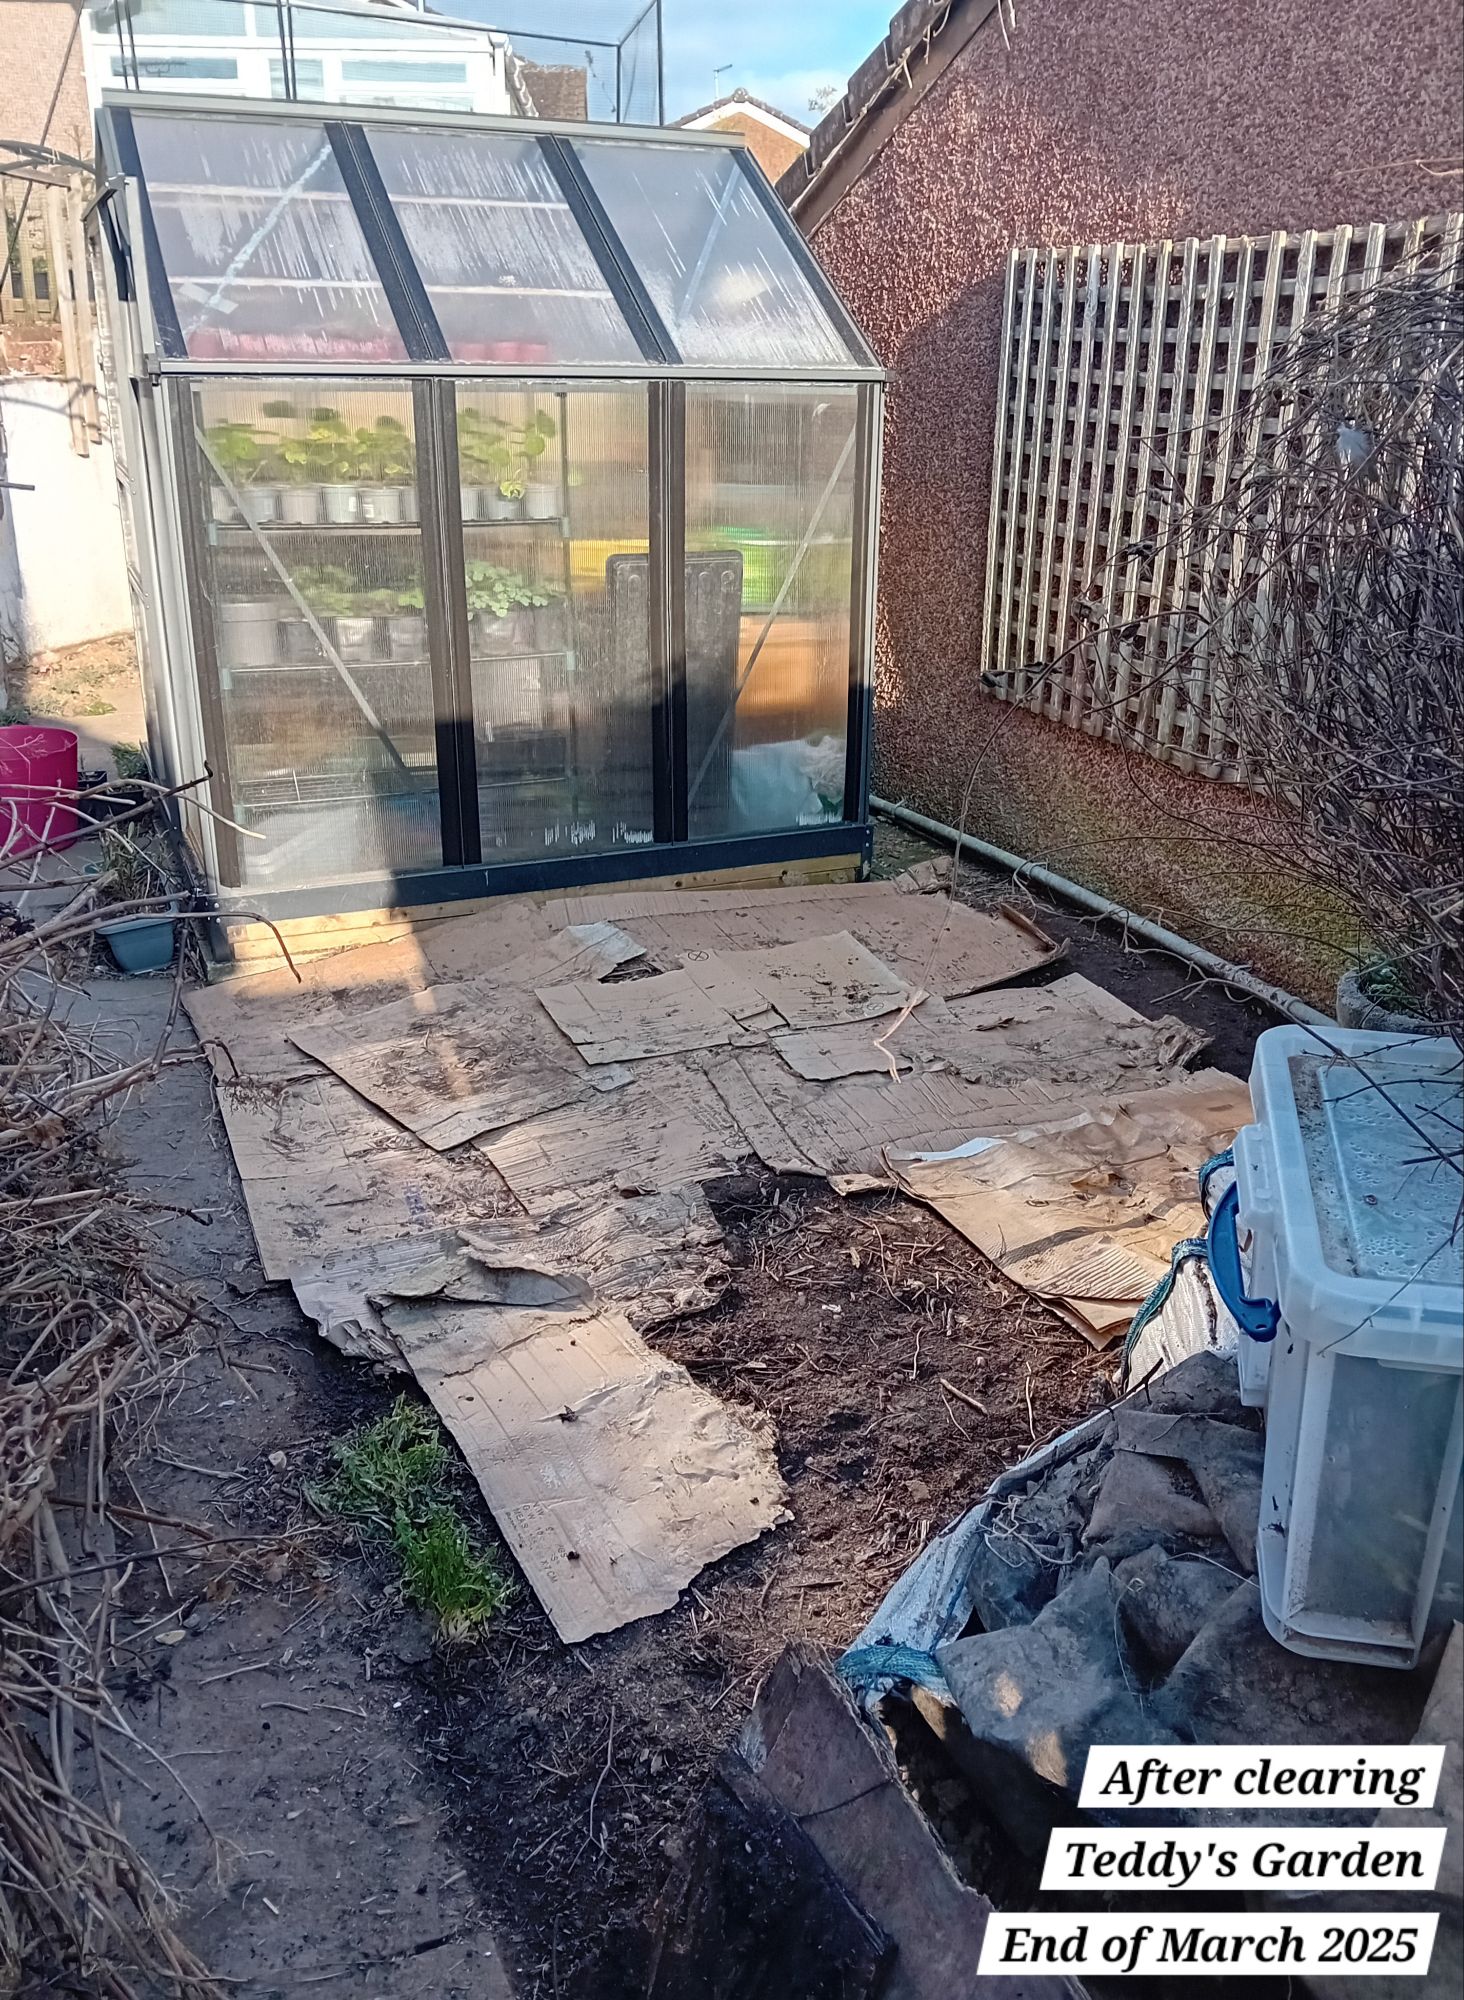
We found a good few inches of compost at the bottom of this heap and the final bay of the composting bays is currently filled with that ready to go compost. I have been able to use that for potting up new plants and potting on.
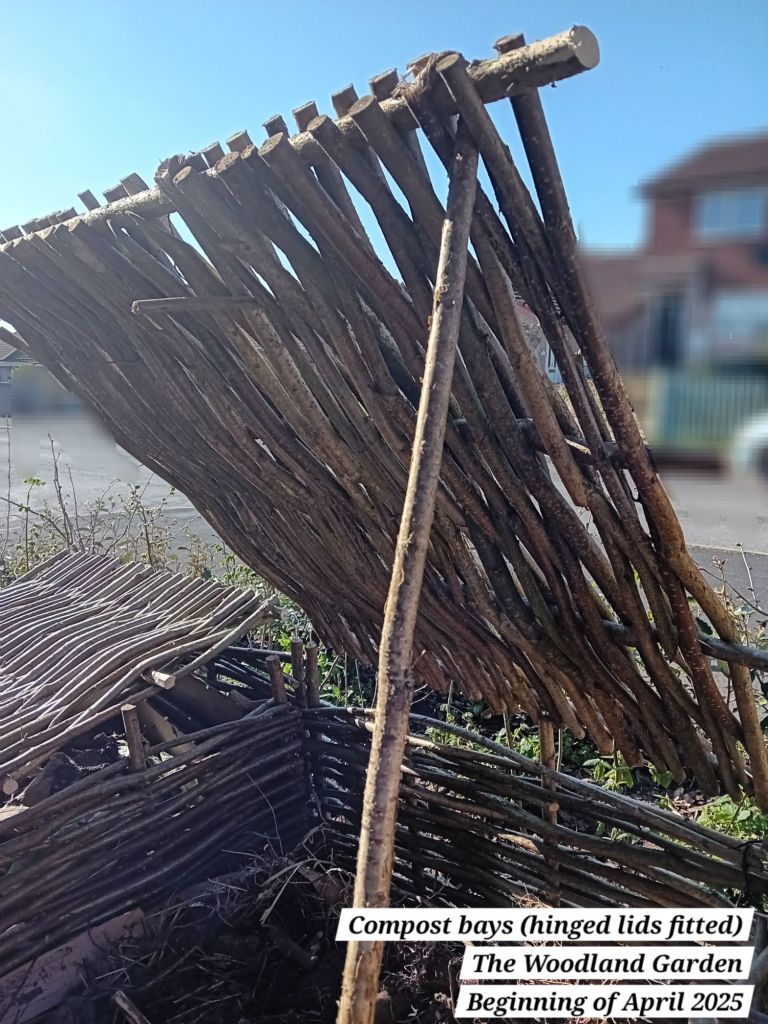
One of the final tasks that needed to be completed for the compost bays was to figure out how to make the lids lift up on a hinge. Therefore, over the last weekend, I spent a couple of hours in the afternoon crafting my own system.
I had initially considered having all the lids connected and to have it lift up altogether, but I realised that the combined weight made that more difficult, and also, it wasn’t going to be necessary or entirely practical to have to lift all the lids just to access one bay.
The lids had been left all zip tied together, to prevent them shifting, so I removed all of these zip ties first:

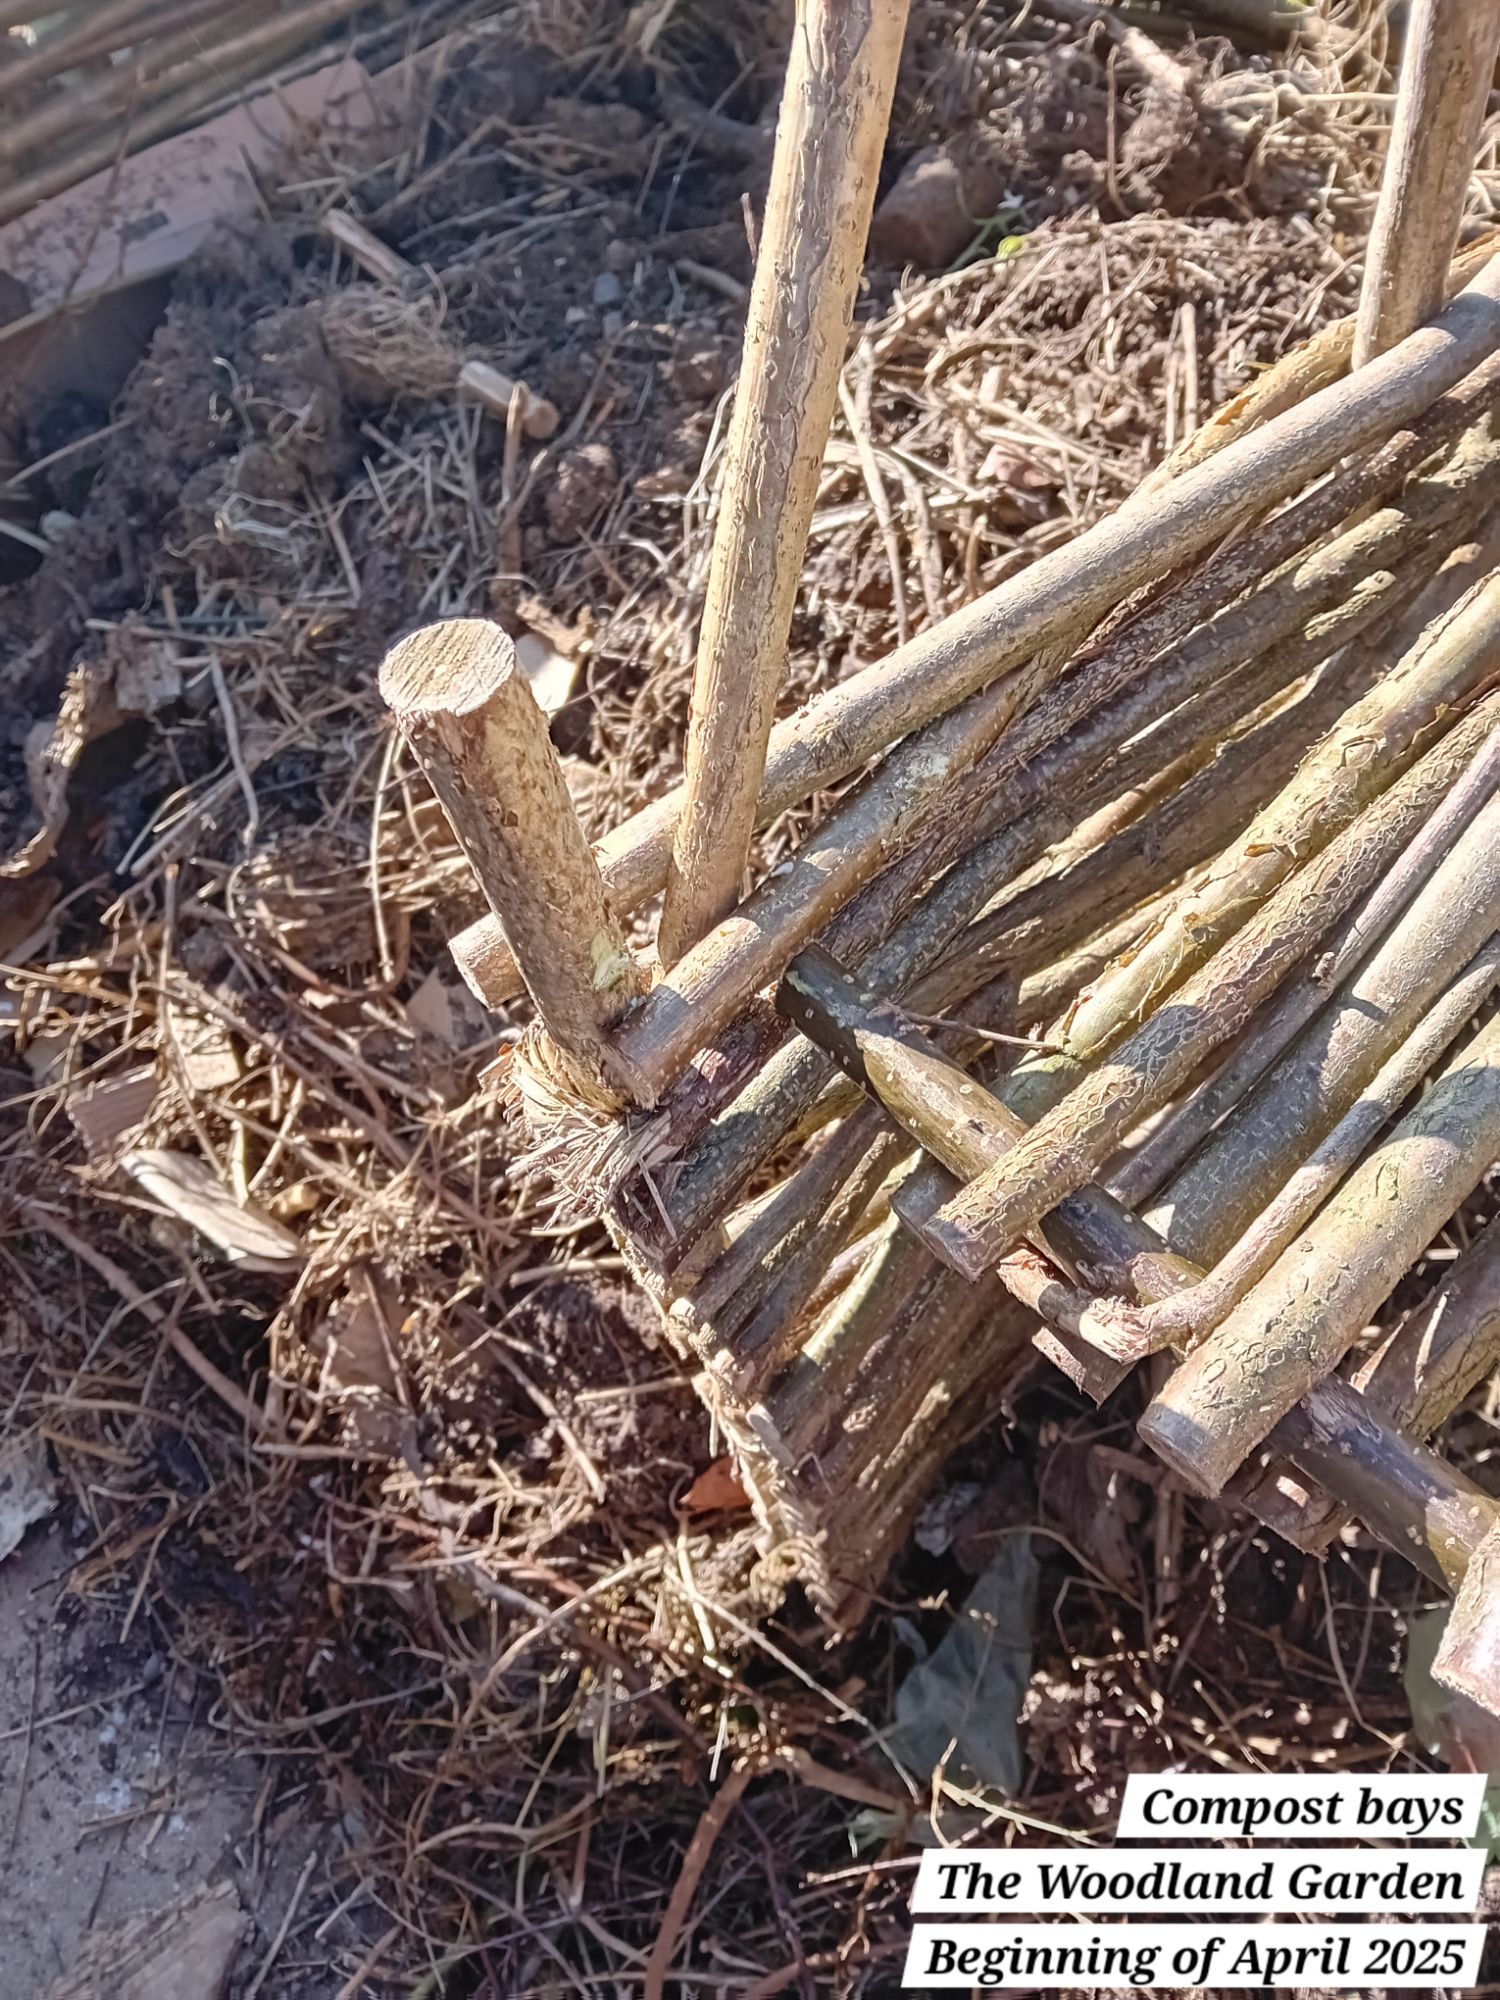
To make each section hinge, I used metal eyelets. These are eyelets that I have been using with wires, for supporting climbing plants around the garden.
I installed eyelets along the uprights at the back of the compost bays, inserting them vertically:
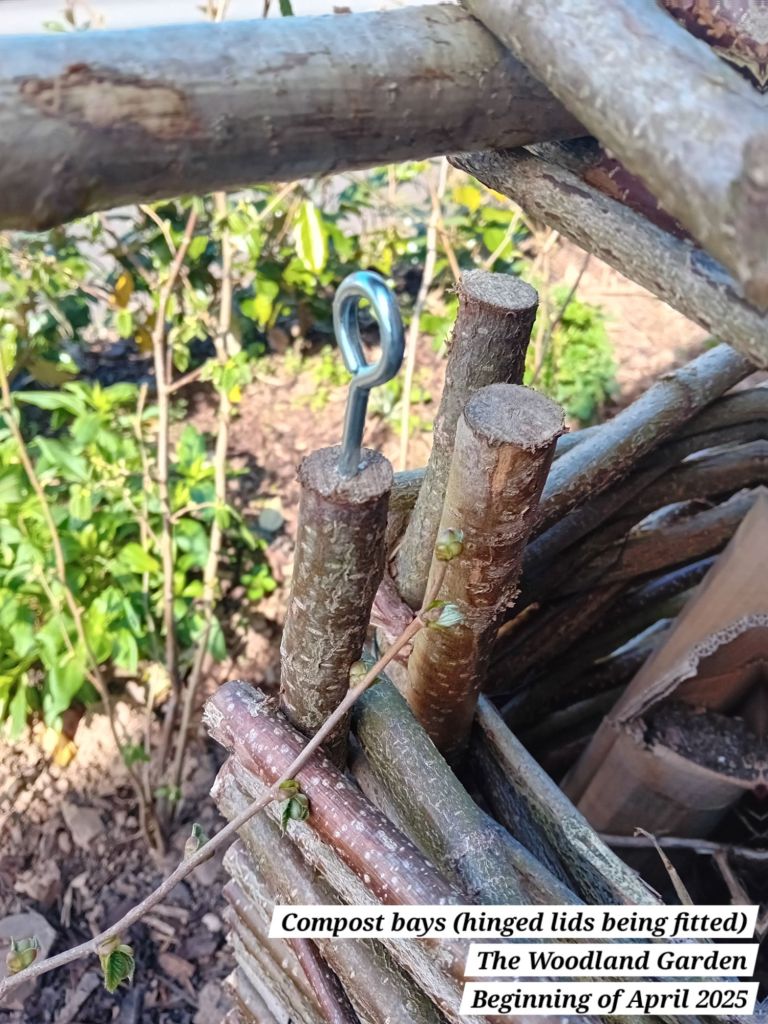
I then installed eyelets to the lids of each compost bay, inserting them horizontally:
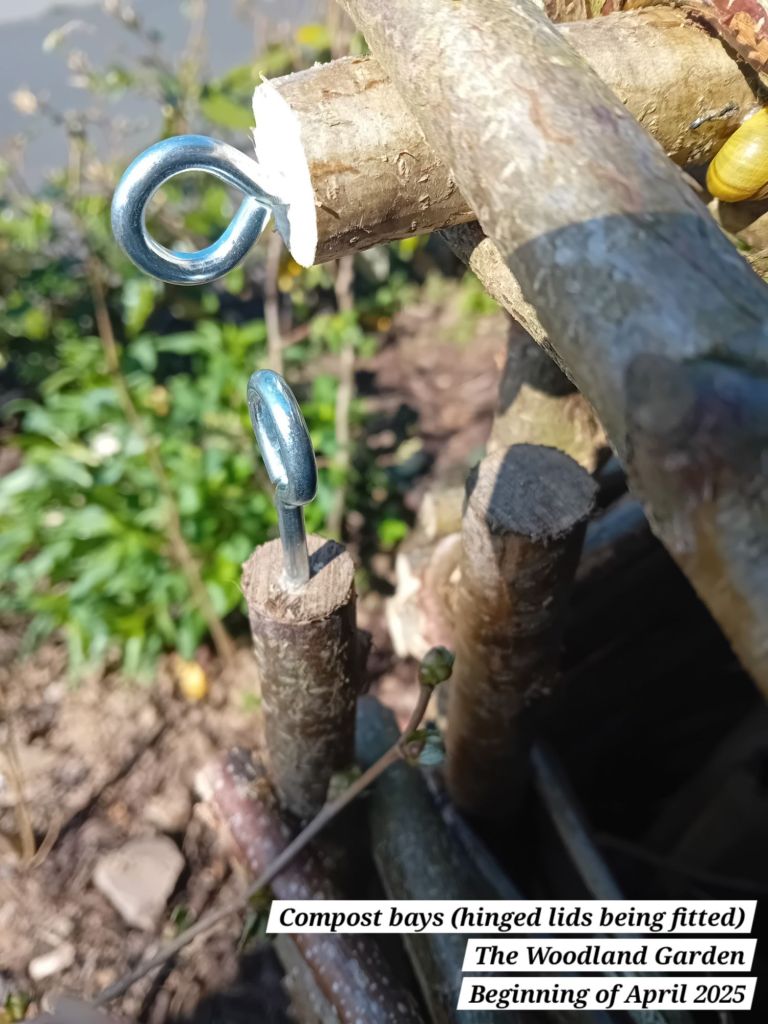
I pre-drilled each eyelet hole with a slightly smaller drill bit, to prevent the wood from splitting, which worked really well. I screwed in each eyelet using a screwdriver inserted into each eyelet to turn them as needed.
I then used pliers to open up the horizontal eyelets slightly, so that they could be hooked onto the back vertical eyelets:
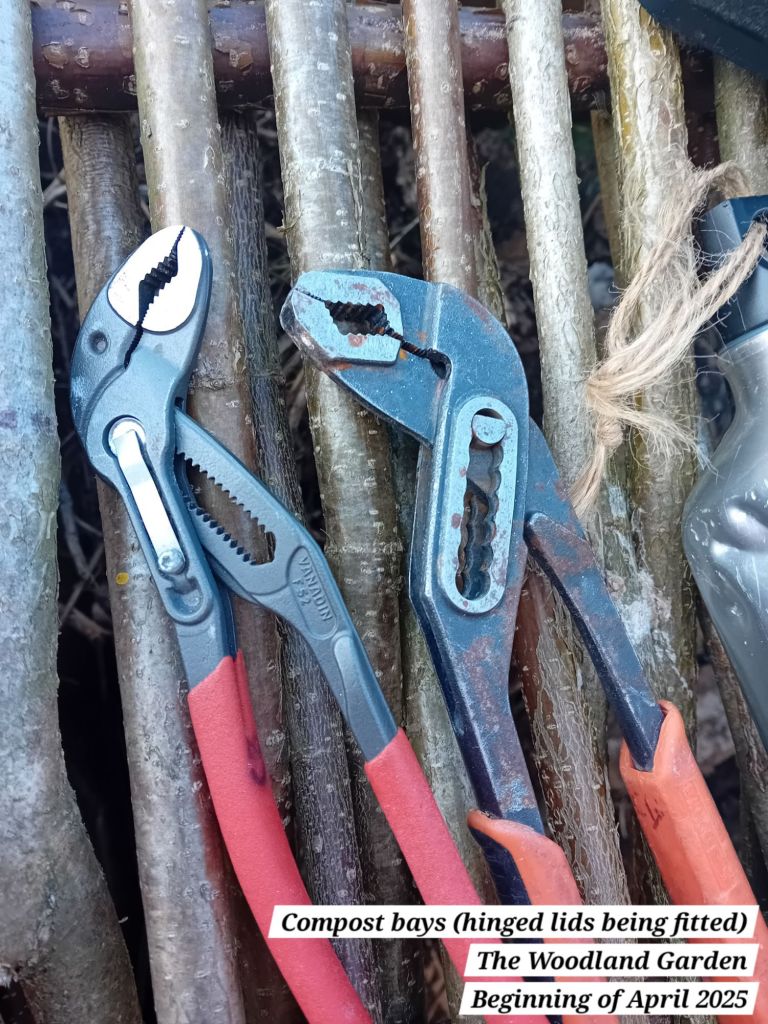

After the correct eyelets had been hooked together, I then used the same pliers to close the top eyelet back up:
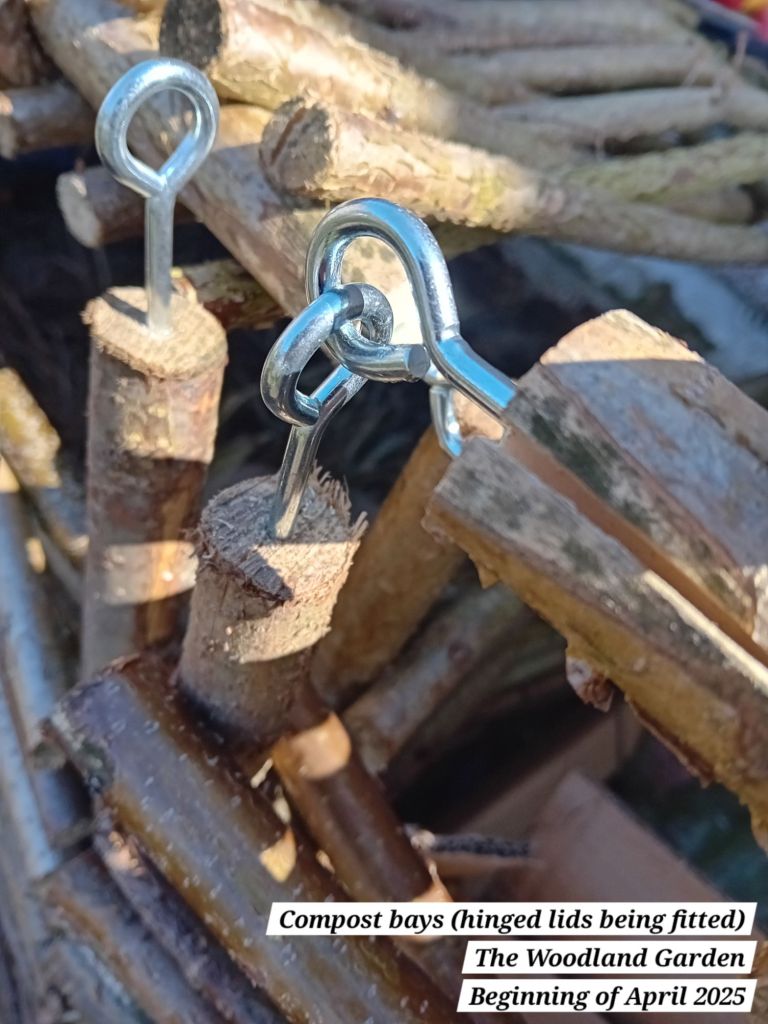
All but one panel lined up nicely without further intervention. On the third bay, I ended up flipping the lid over so that it would fit well. These are rustic woven hazel panels, so they have a good amount of give and they are not perfectly square, so adjusting the eyelets by screwing some of the horizontal ones in deeper to account for changes in the width of some panels was necessary.
I then used my pruning saw to take off the excess length from each lid, so that they would not catch on the lids next to it:

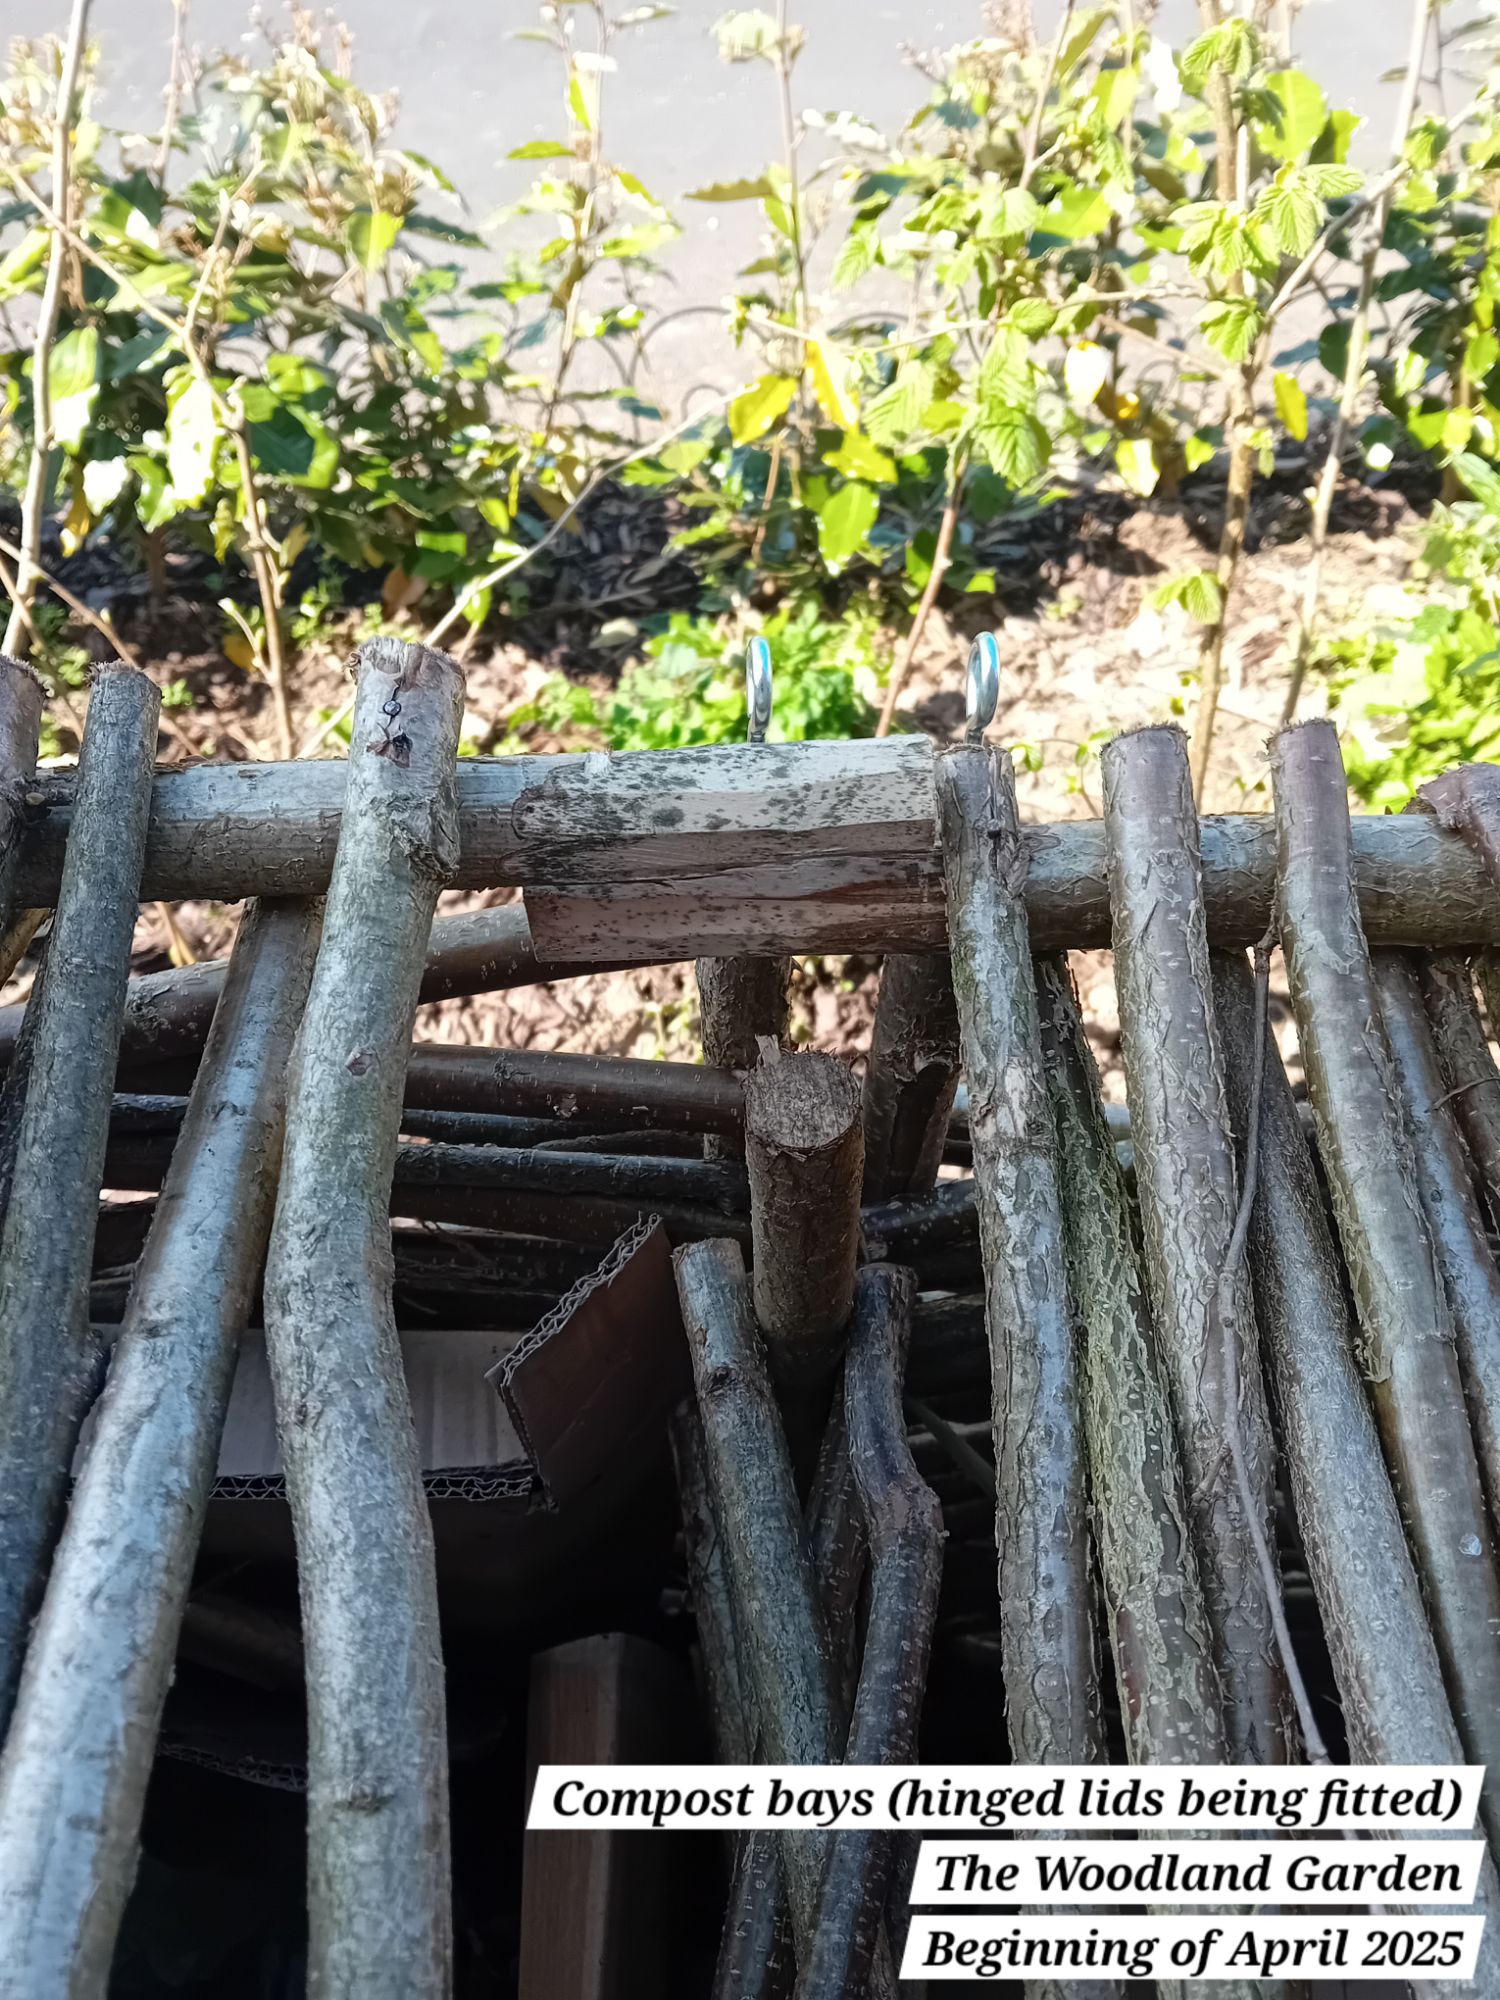
All the offcuts of hazel just got thrown straight back into the first compost bay!
After I had fitted my makeshift hinges for each lid and they were all working well, I needed to figure out how I would prop up each lid. I was originally going to find some scrap wood from our garage, but then I realised that I had a spare stick that I had taken from the middle panel (the width needed slightly reducing).
That stick fit perfectly, wedged into the bottom panel and into the lid it was supporting – no hinge or anything else needed!

I will just keep this stick to one side and use it to prop up lids as needed.
Other jobs
If you follow me on Instagram or Facebook, you will be able to view short videos of the below jobs. The video for the potting up of the Japanese anemones is uploaded and the dahlia video will be uploaded in due course.
Japanese anemone
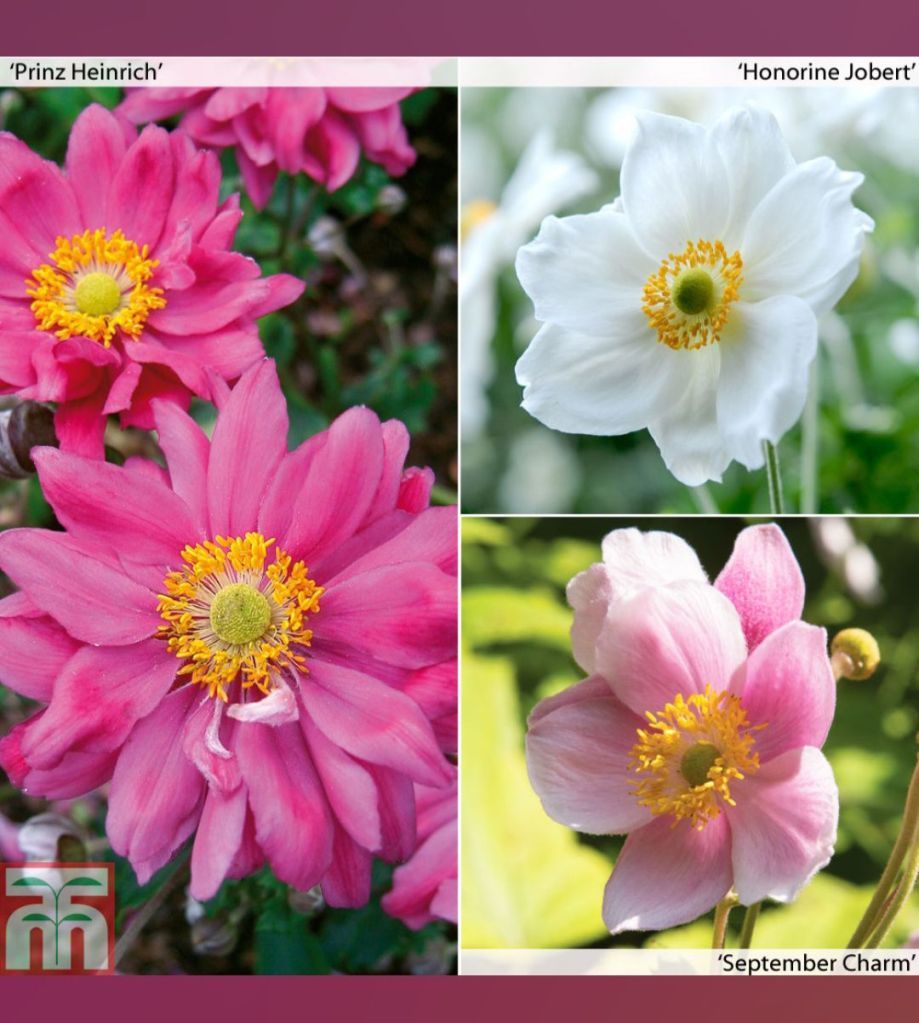
Other things I have been doing this week includes potting up a mixture of bare root japanese anemone, which I used our homemade compost for:
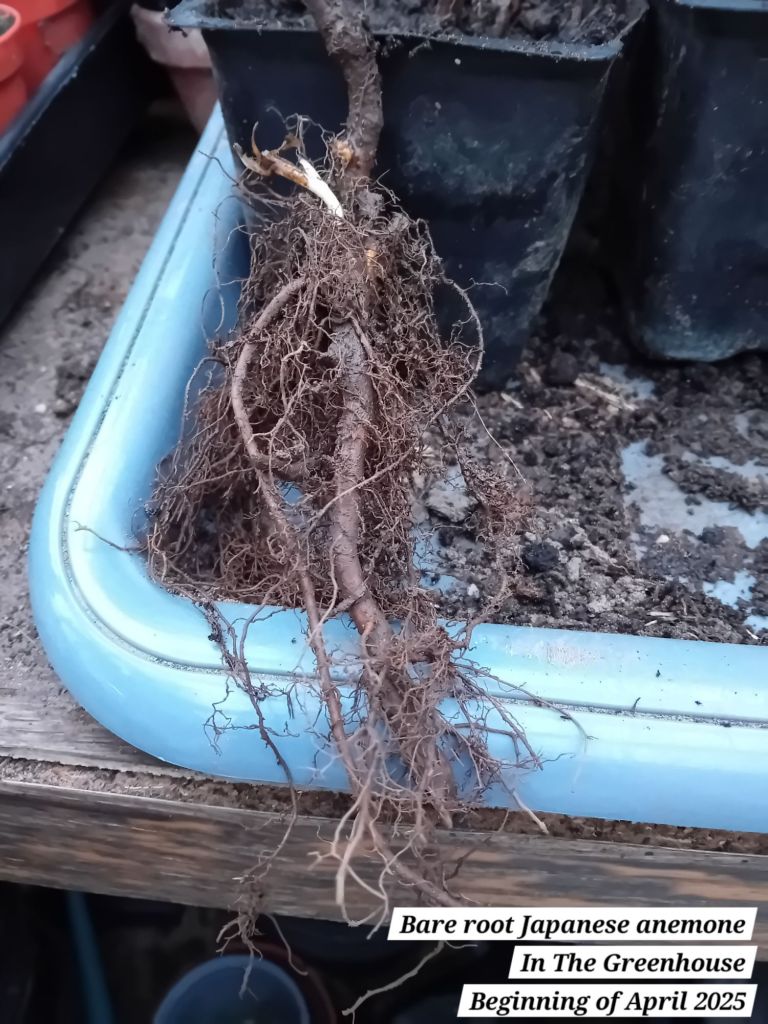
These are a mixture from Thompson and Morgan:
These are just sitting in my greenhouse now and will be left to grow. Once they are ready, I will be planting them out.
Dahlias: ‘Rebecca’s World’ and ‘ Café au Lait’
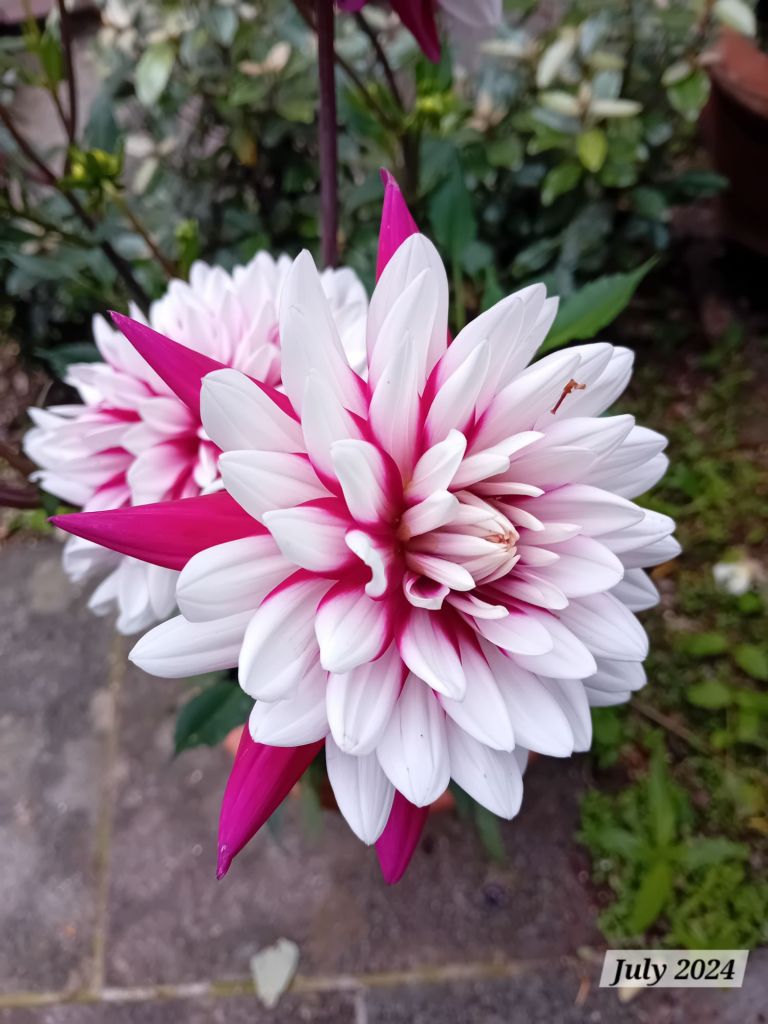
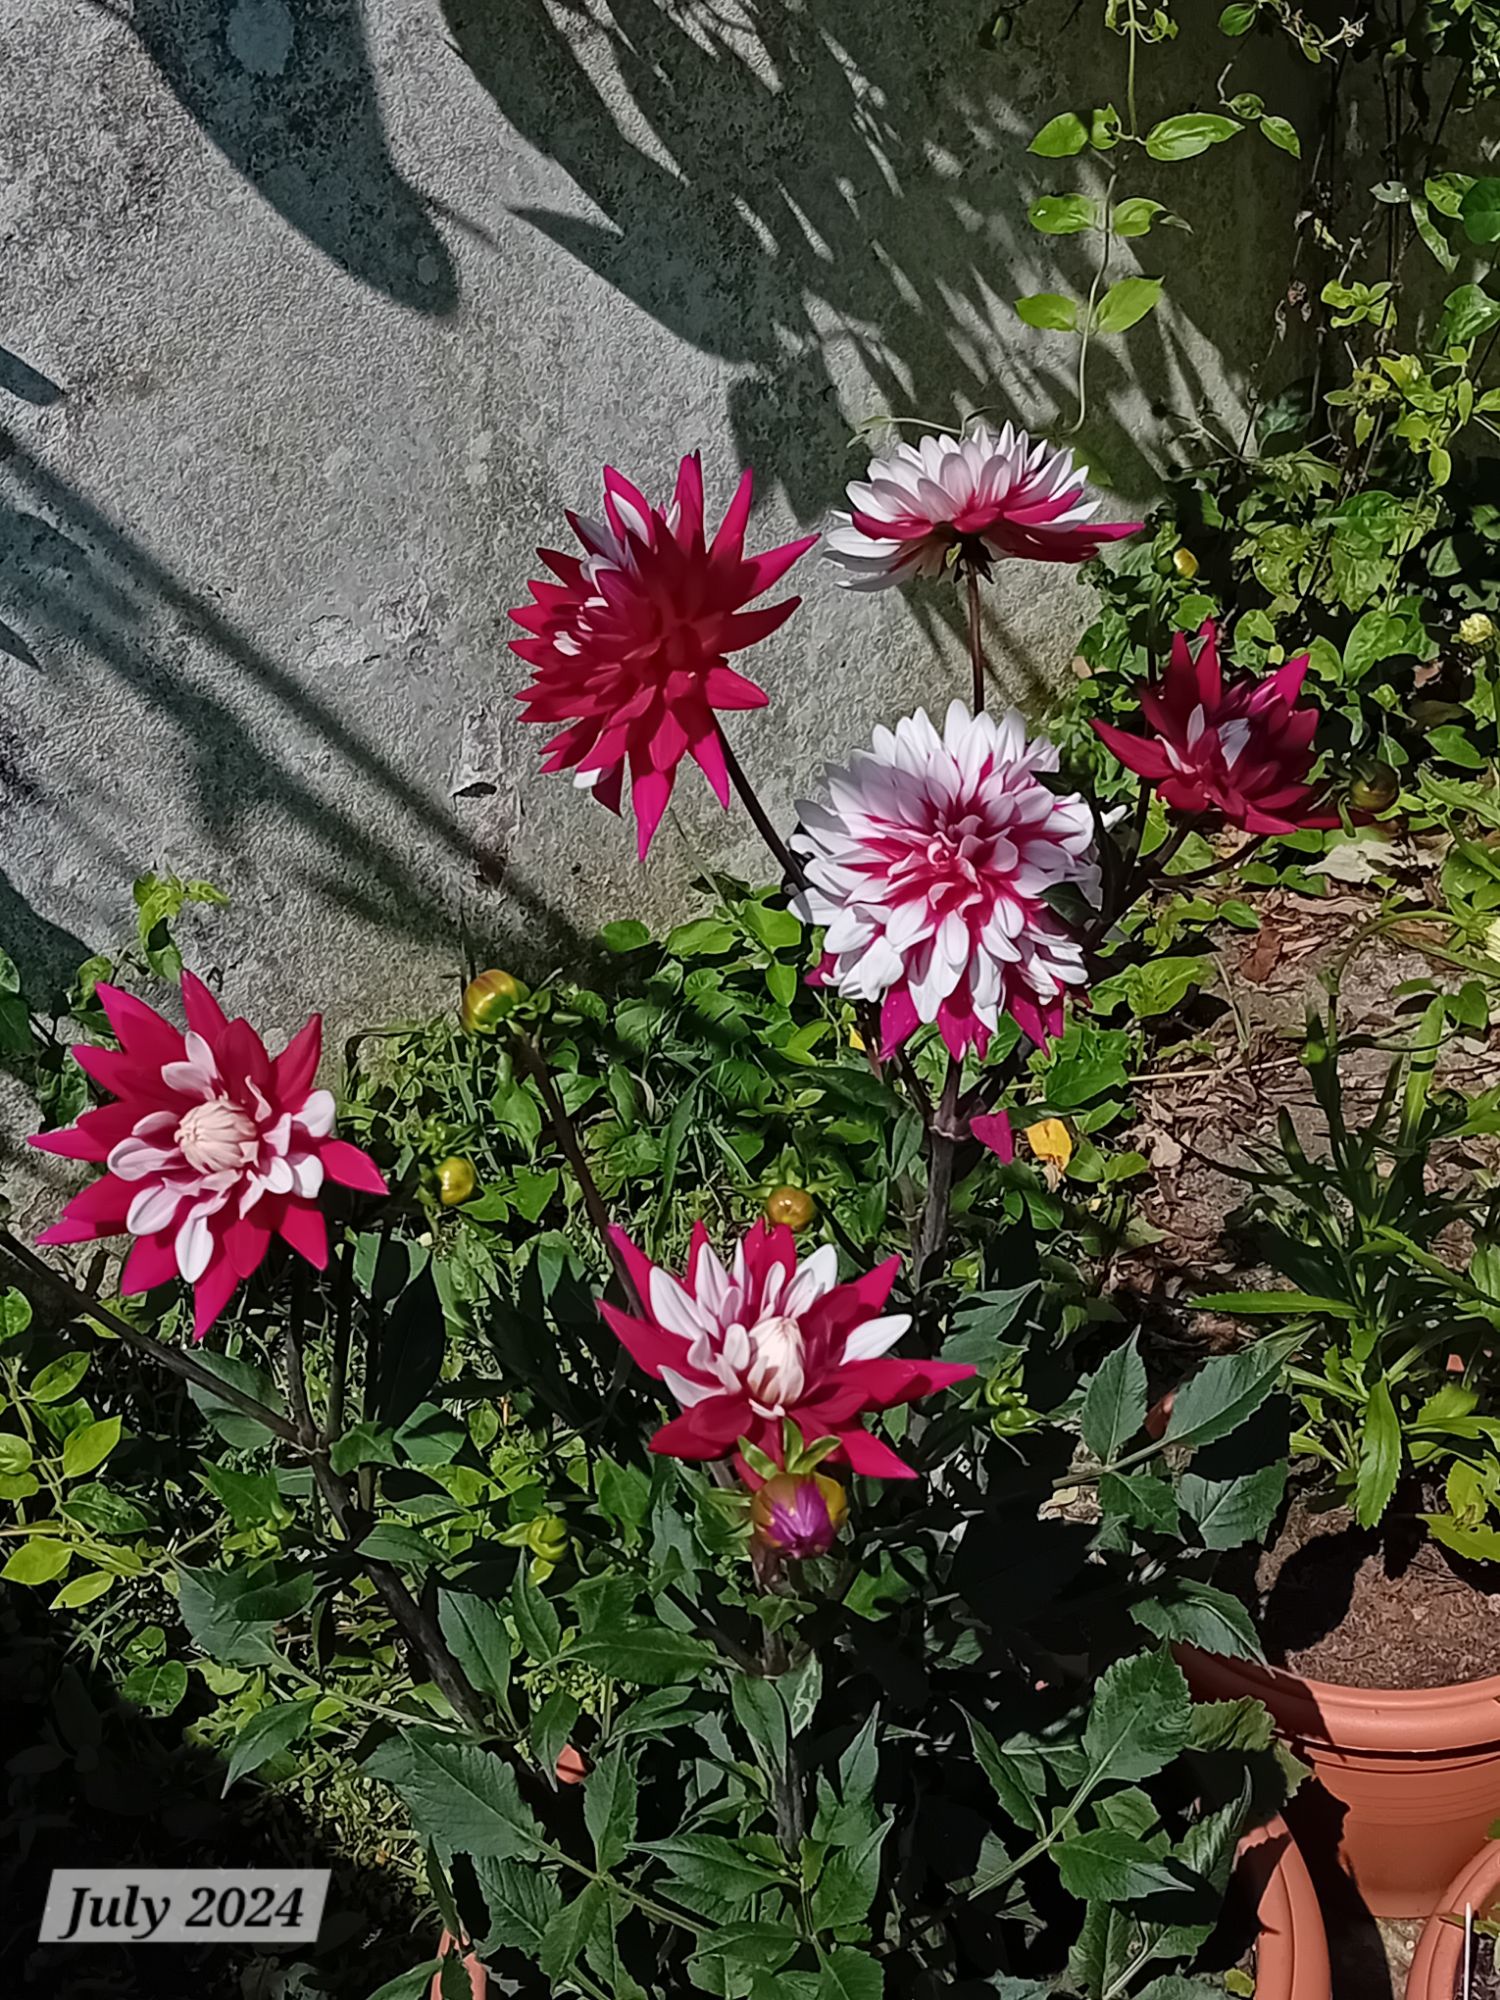
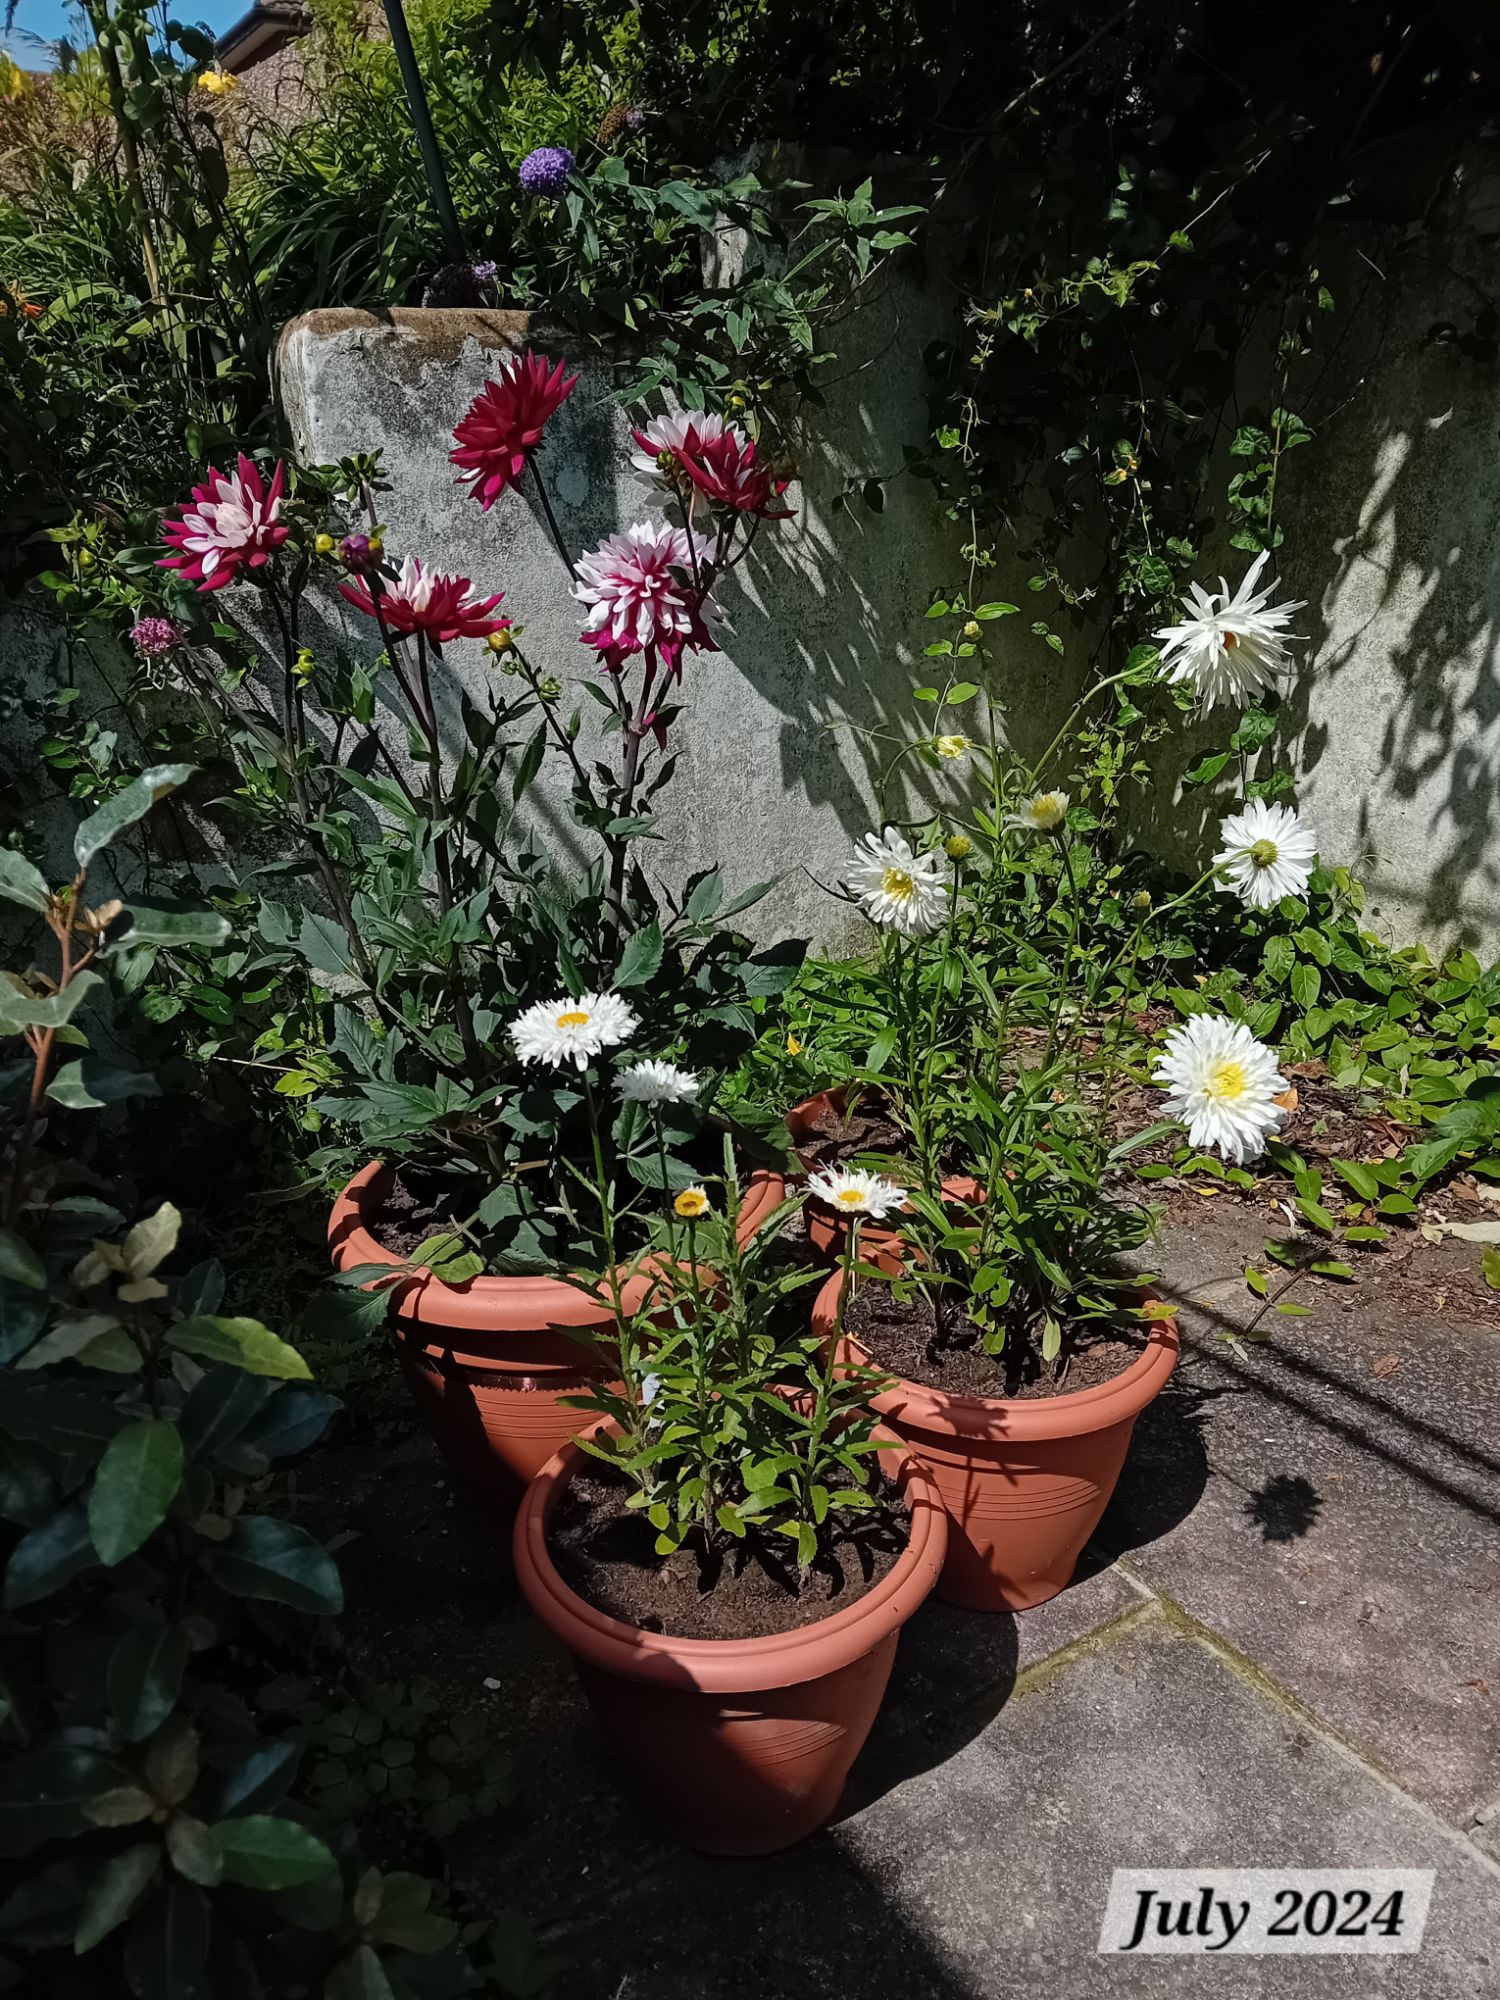
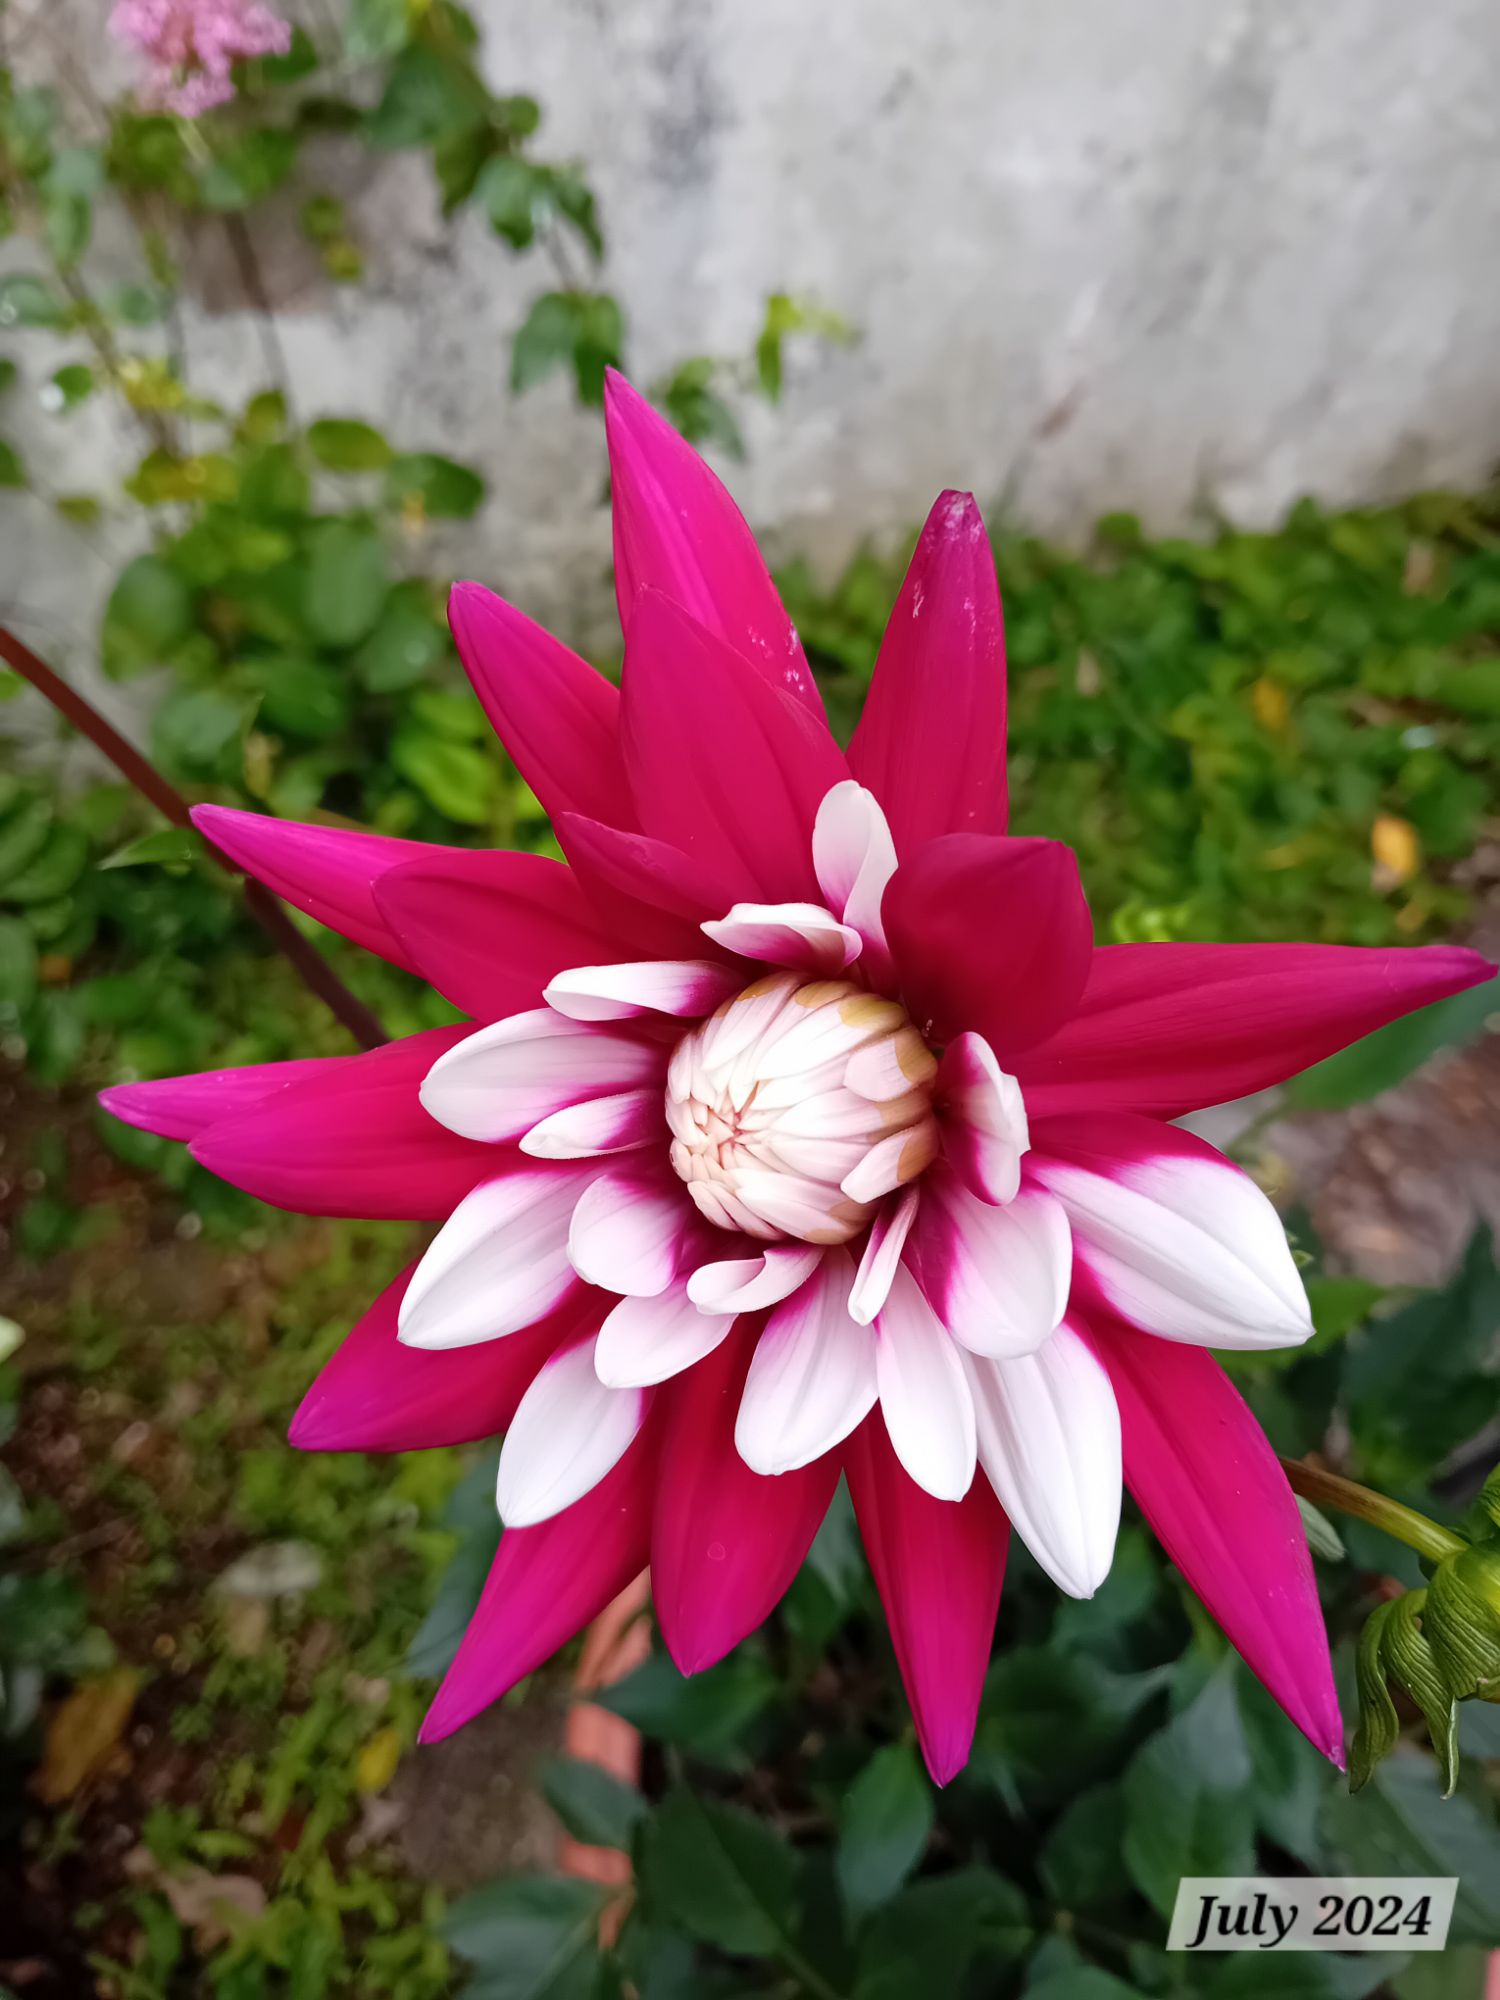
I also potted up my dahlias for this year. I am growing ‘Rebecca’s World’ and ‘Café au Lait’ again. ‘Rebecca’s World’ is an established dahlia that the Mr and I saw one weekend last year in our local garden centre, loved it, and it came home with us. It grew in a large pot in The Honeysuckle Nook last year:
I had zero success with my ‘Café au Lait; dahlias last year, that I posted about here: Starting off Café au Lait dahlias
Last year, they sprouted well indoors, but when I moved them outside to begin hardening off, they were all gradually eaten in the slug army that took over last year 😦 This was despite me using slug tape and wildlife friendly slug pellets!
This year, I am starting them off again indoors in pots and when they move to outside, I will be using beer traps, wildlife friendly pellets and nightly checks whilst they are still young. I have recently used a beer trap (and the same wildlife friendly slug pellets) in a group of Japanese anemones in The Wild Borders, that were being eaten by slugs, and that has worked really effectively. I am hoping the beer traps will be just as effective in protecting my dahlias this year!
That’s all for today, I hope you enjoyed seeing what I have been getting up to! I am still working on the project for Teddy’s Garden and I recently installed some new items in The Fruit Garden. I will be back again on Wednesday next week! I hope you join me then to see more updates 🙂
Until then, happy gardening 🙂


Leave a comment