

Hello and welcome back to my blog!
Over the last week, I have been working away in The Wild Borders, giving it a general tidy up and also making various changes. Read on to see why the power drill even got an outing in the garden this month…
In addition to the above, I have made a start on what will eventually be two large borders right outside the windows that look onto the gardens at the back of the property. I have called these these borders ‘The Window Boxes’. Read on to find out more about that and to see the photos!
New readers to my blog: If you are a new reader, you may like to read this post to see what the The Wild Borders used to look like in 2023 (a mess).
I also provided updates about these borders in:
Don’t forget that you can subscribe to my blog posts by completing the form below:
You can also follow my Facebook page:
Thank you for following along with my garden blog posts and I hope you enjoy this post!
Table of contents
The Wild Borders
I spent a number of days over the last week working in stages on areas of The Wild Borders. This included the following:
- A general tidy up
- Planting more roses
- Cutting the paving slabs and laying new slabs
- Planting some new hedging for the stairway entrance
Scroll down to each section below to read (and see) more.
A general tidy up
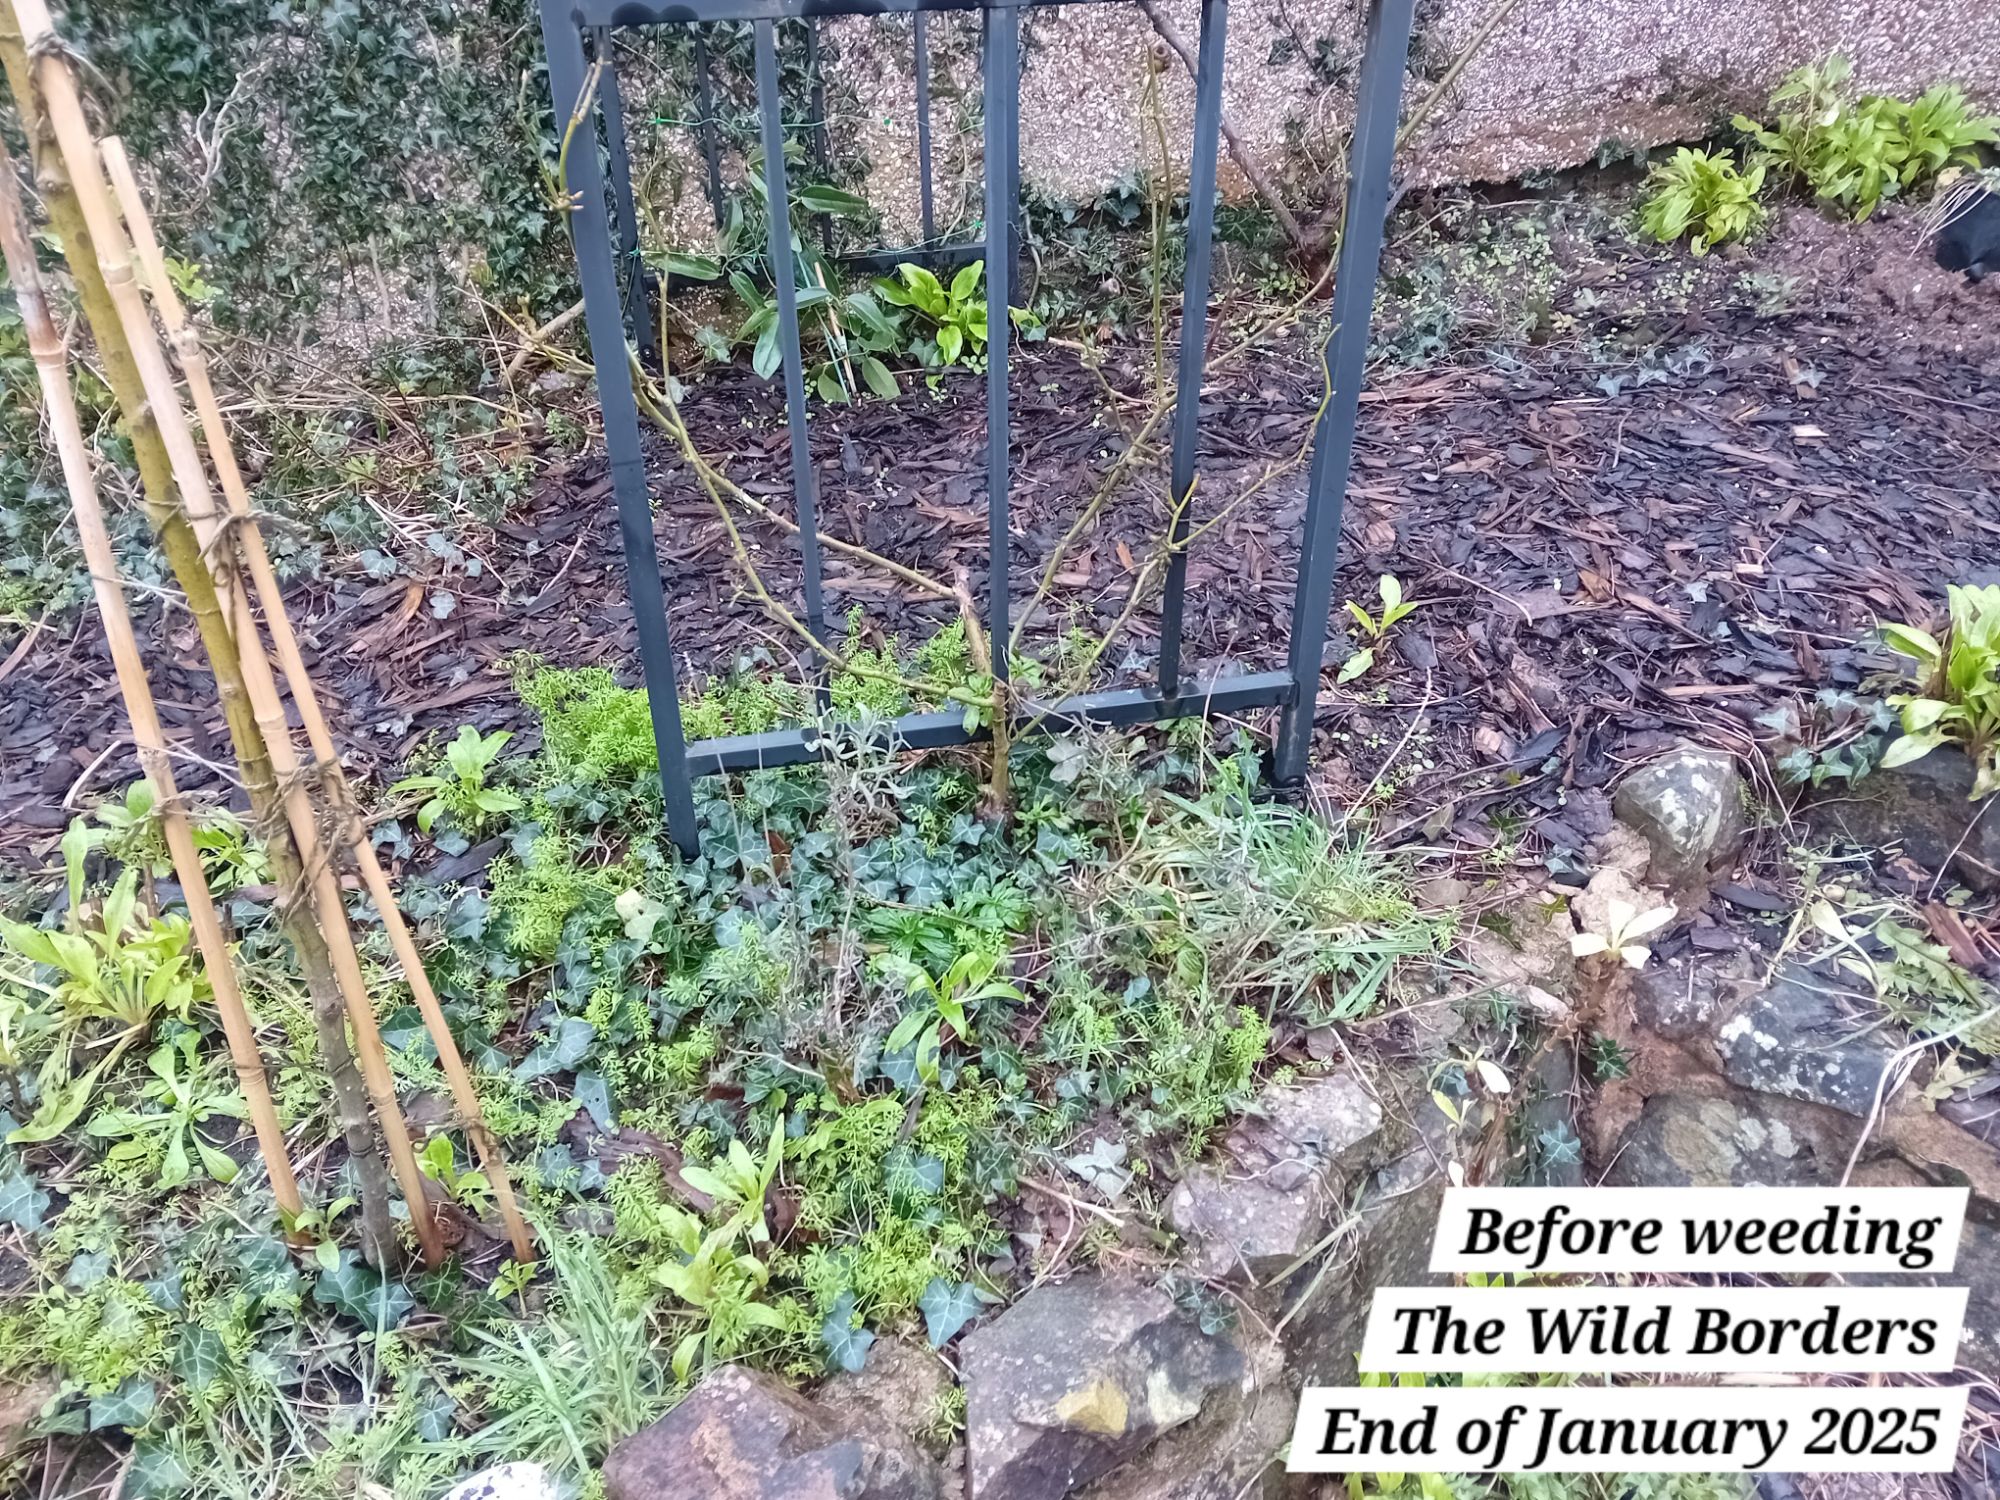
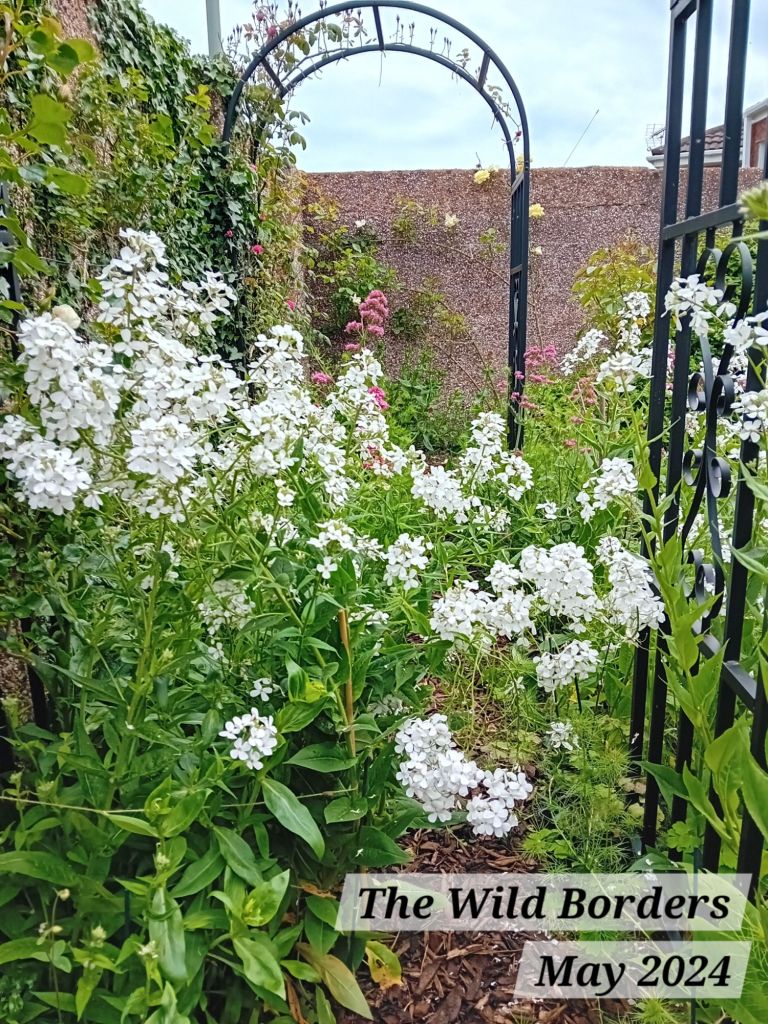
I started off weeding out all of the ivy that had scrambled its way through the borders and down the wall at the front of the border. I will retain the ivy that is growing on the back of the left-side wall and also allow it to spread across the wall so that it disguises the pebble dash. I didn’t like the look of the ivy sprawling through the bed though, as I thought it looked untidy:
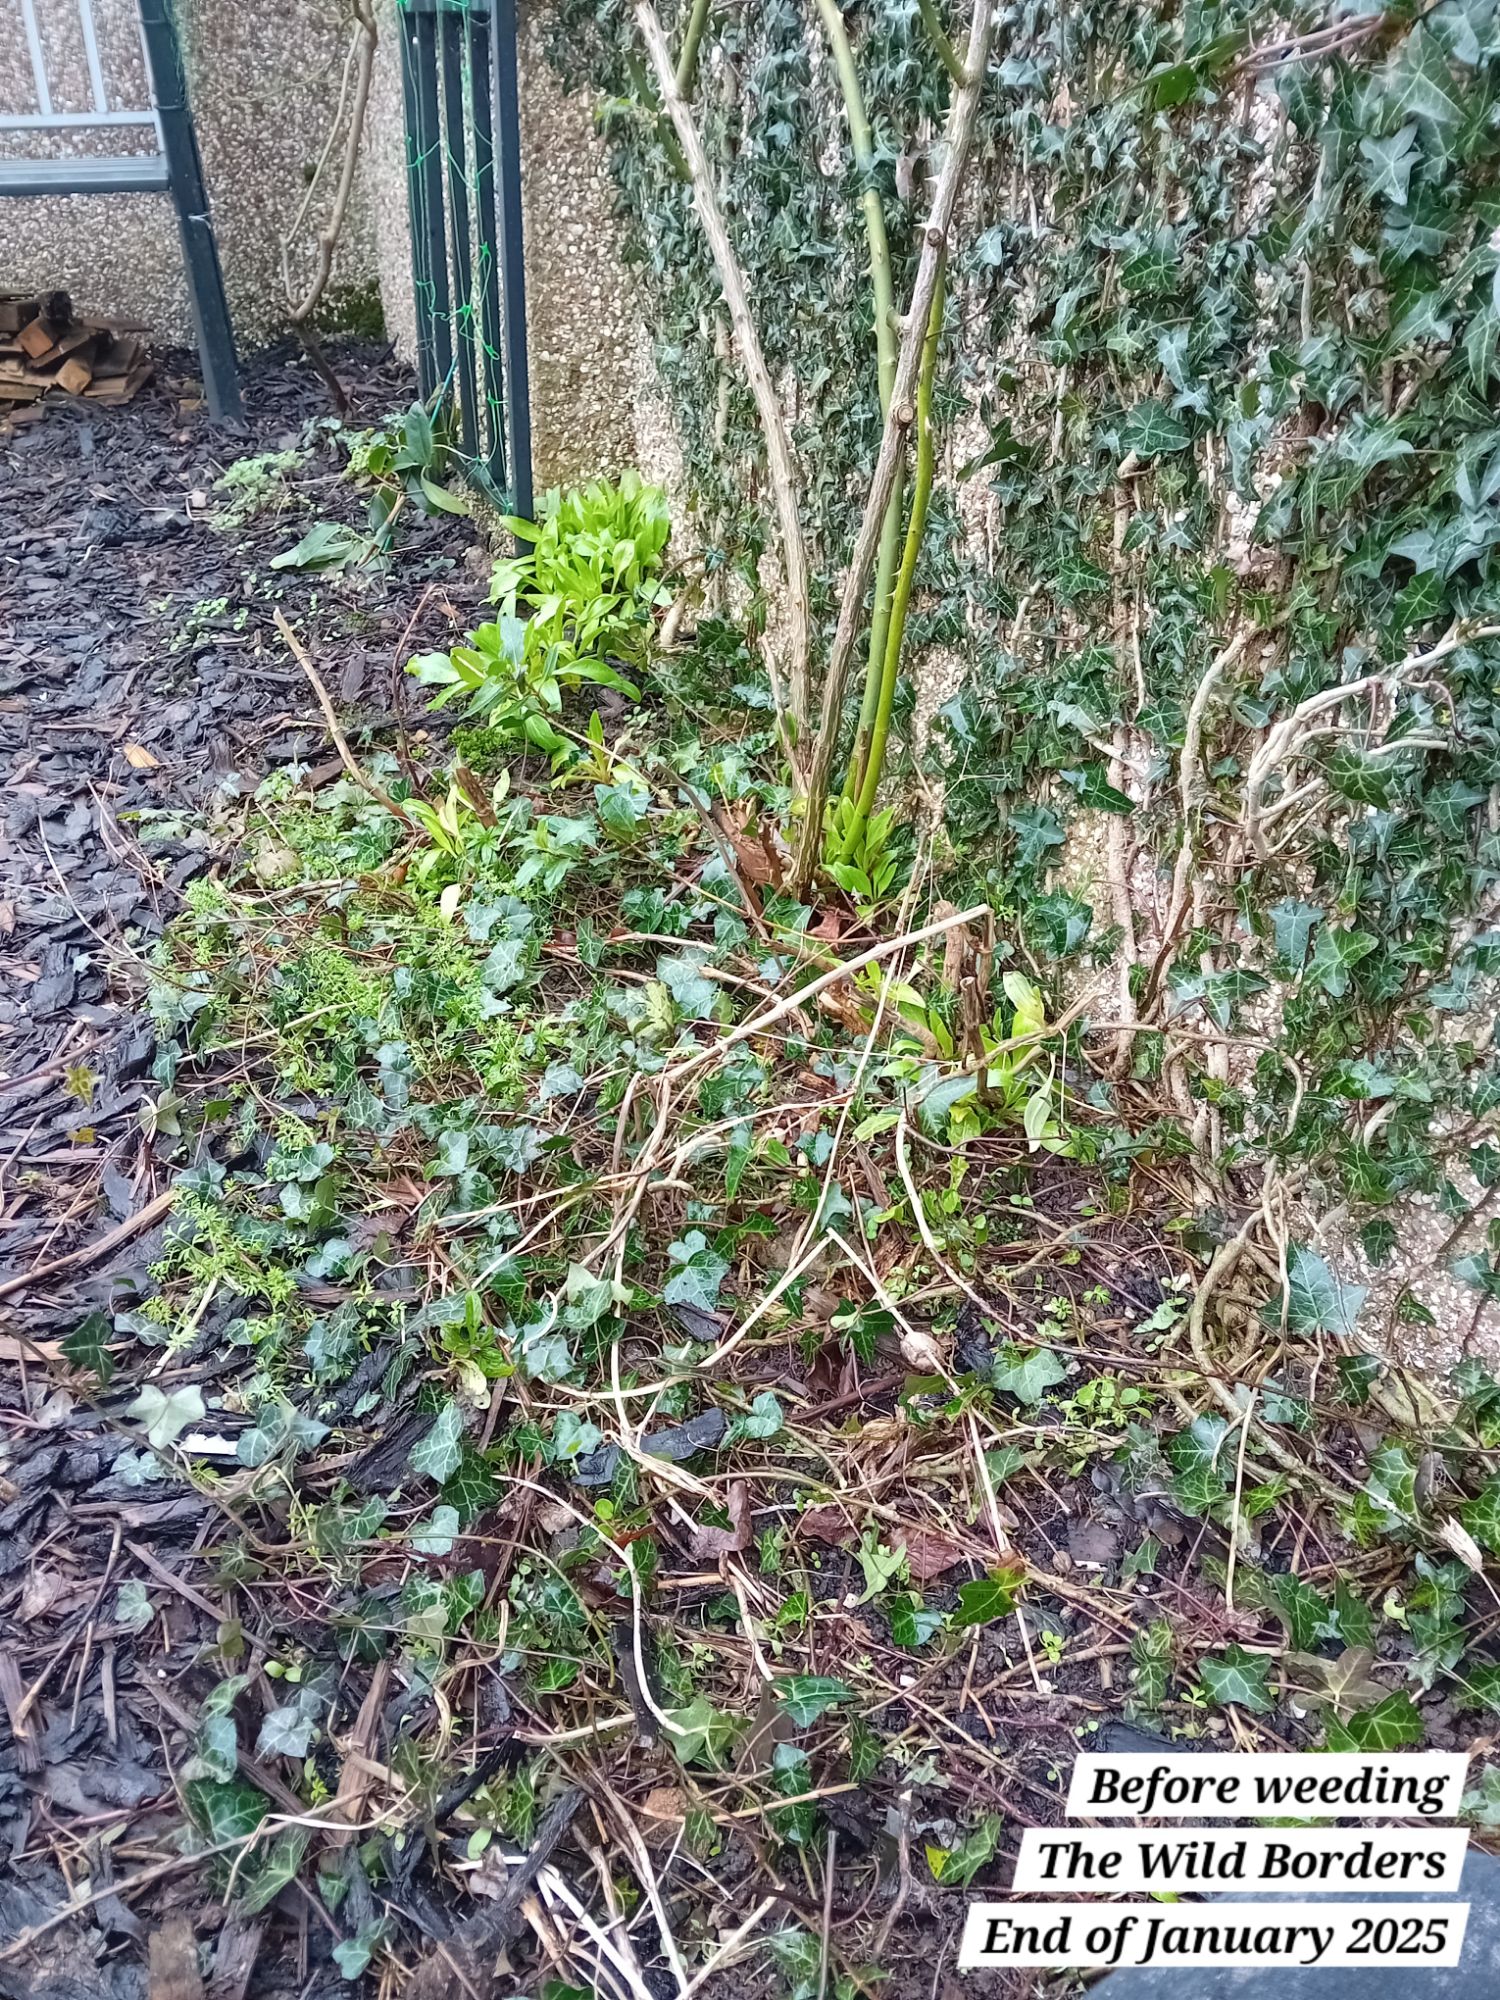
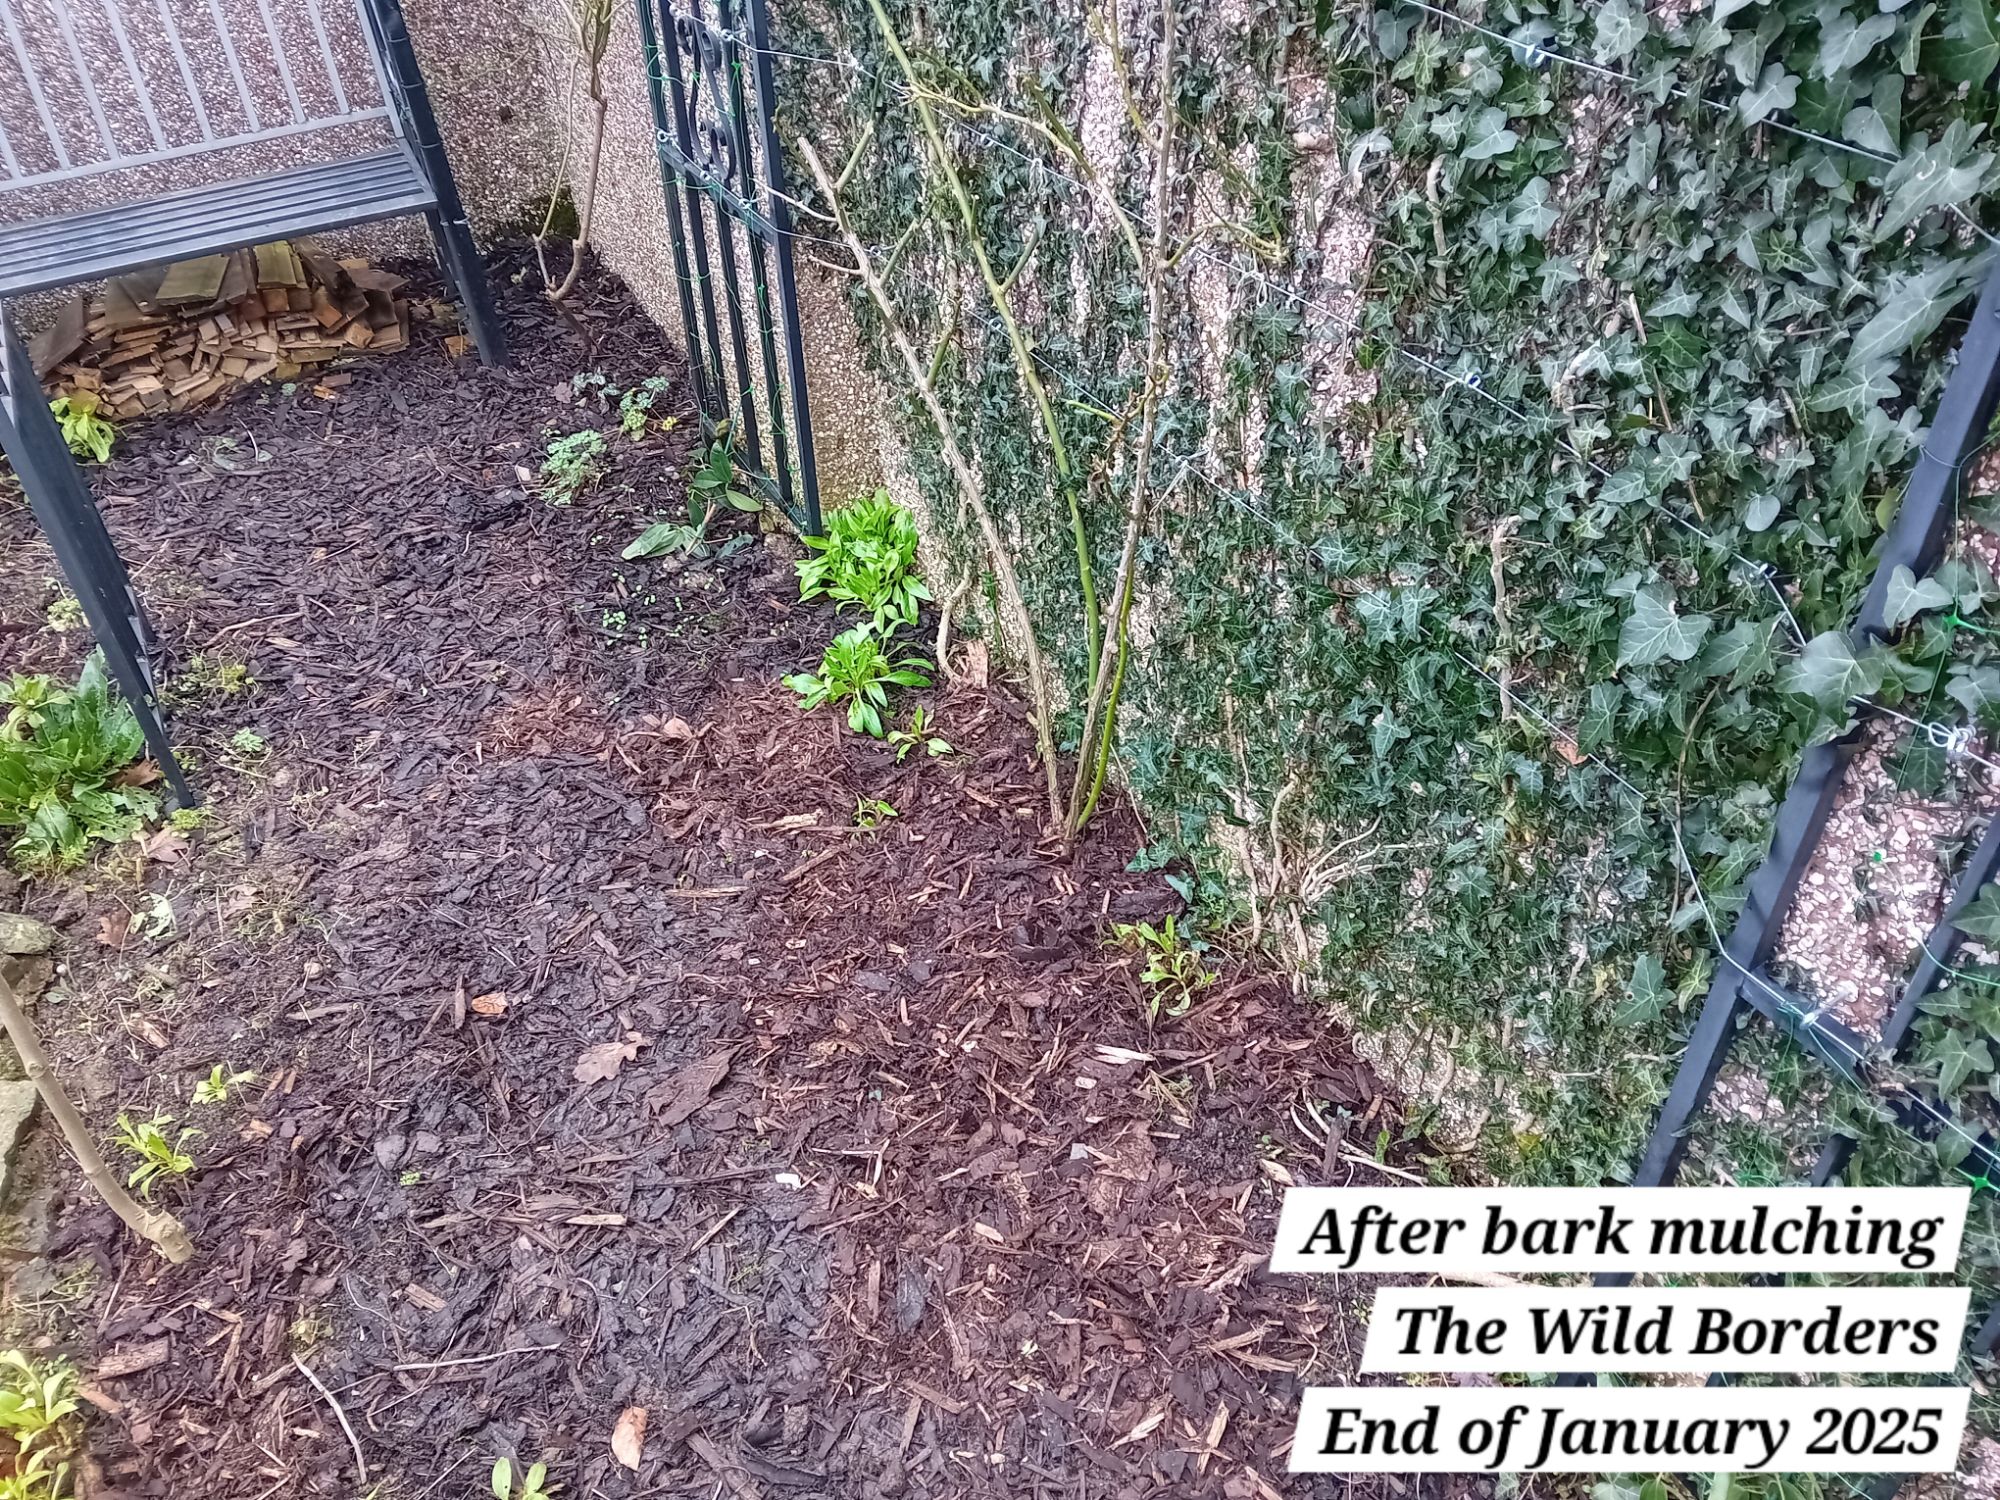
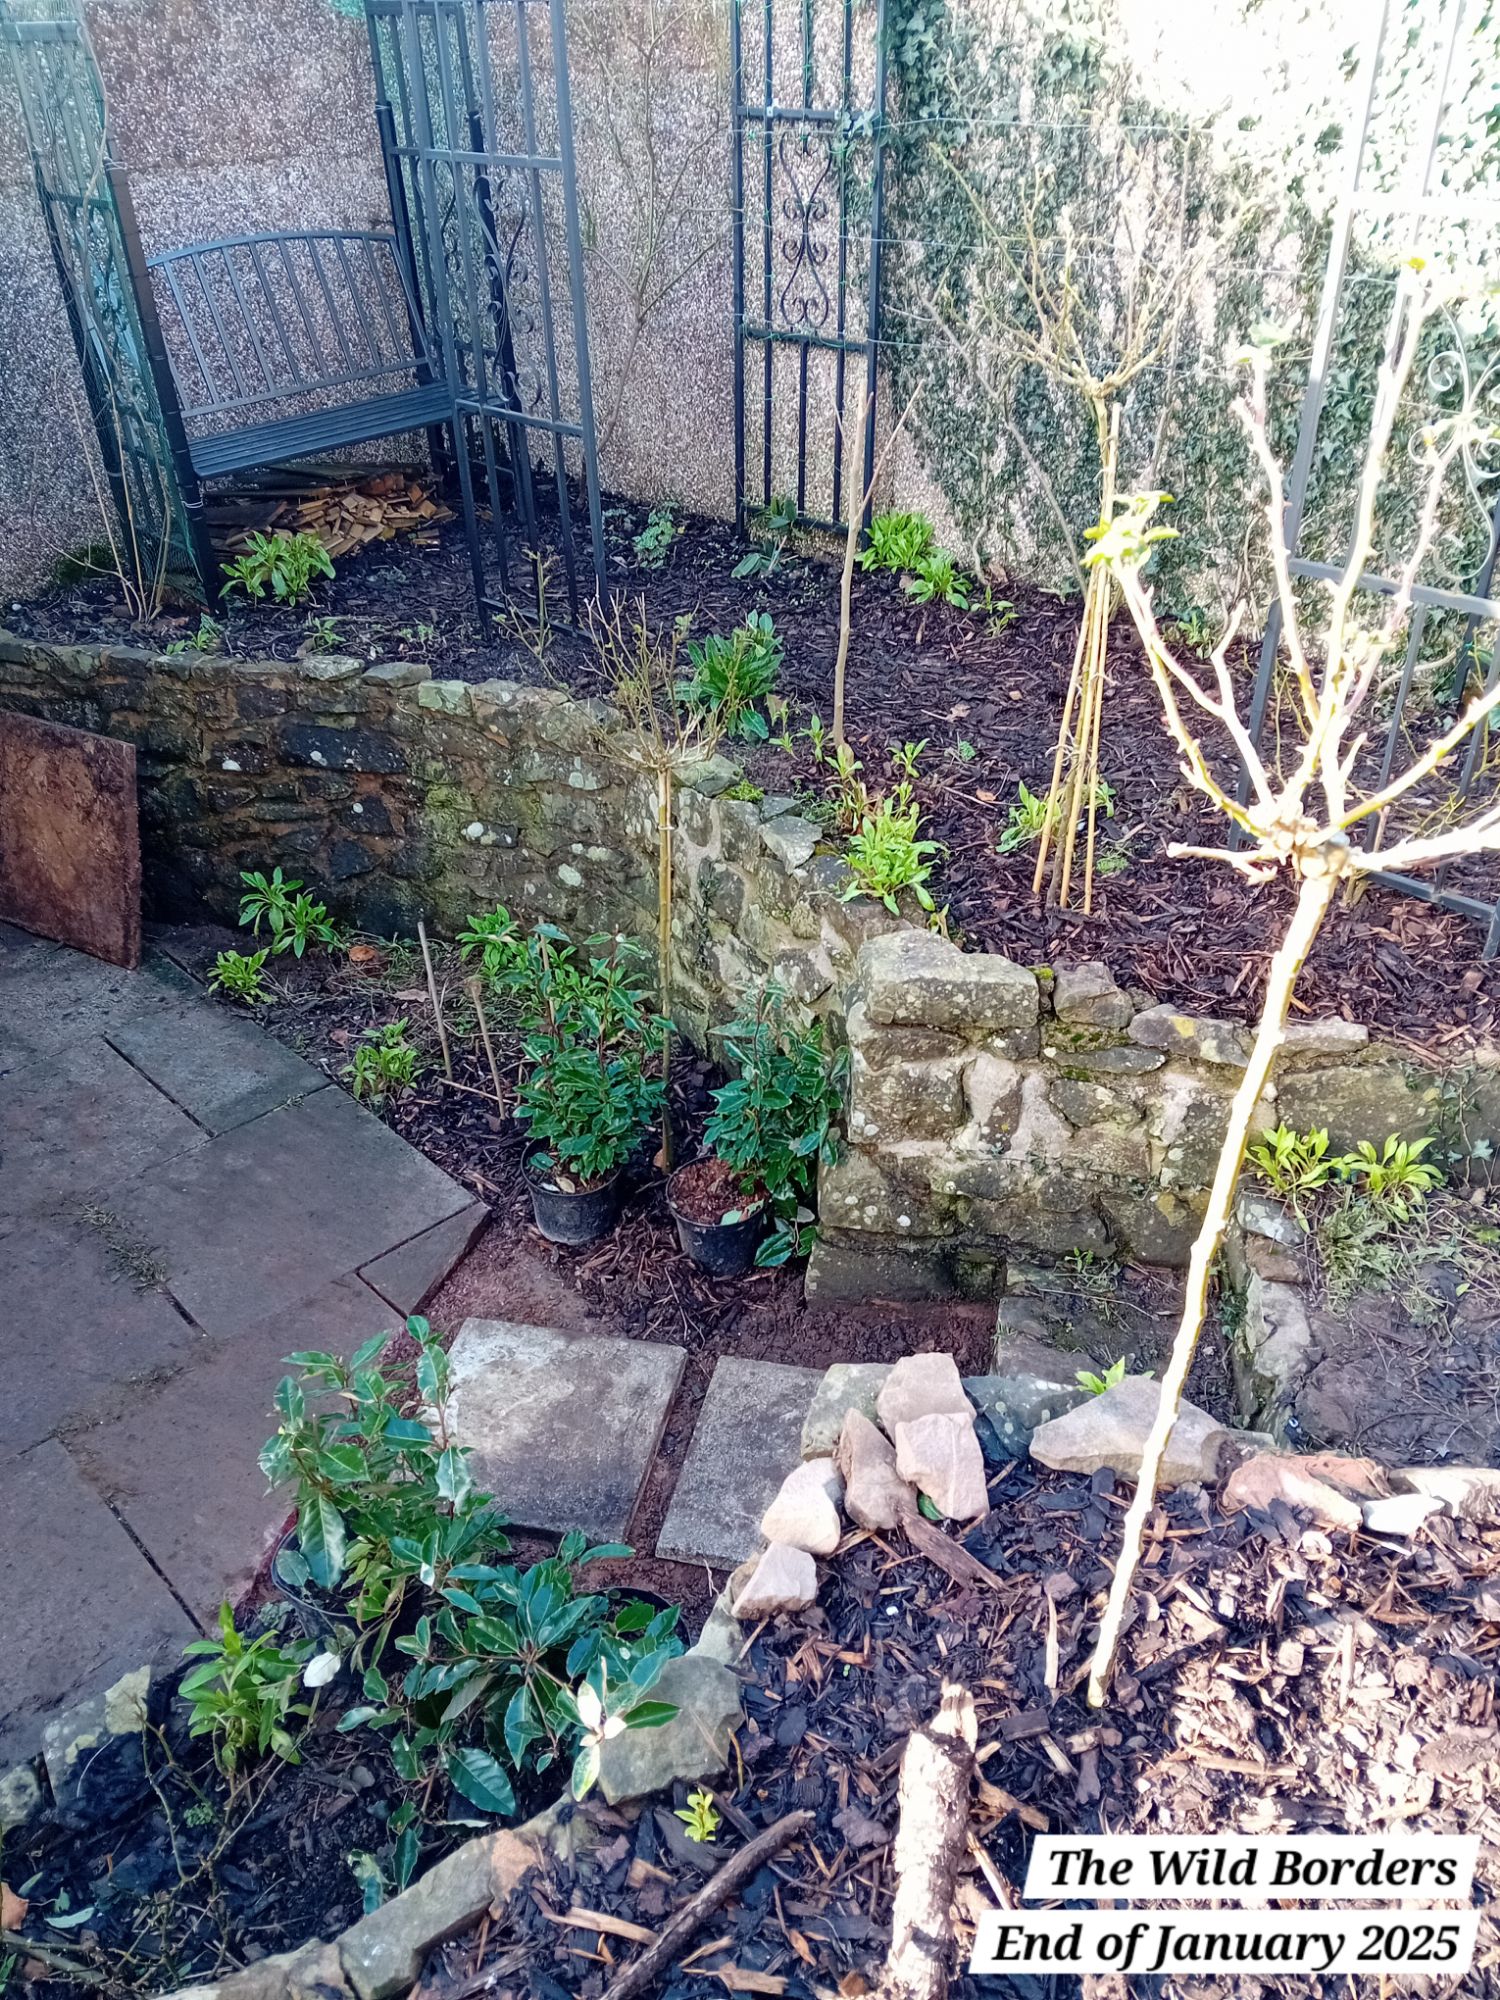
After a tidy up, the borders were already looking much better:

Planting more roses
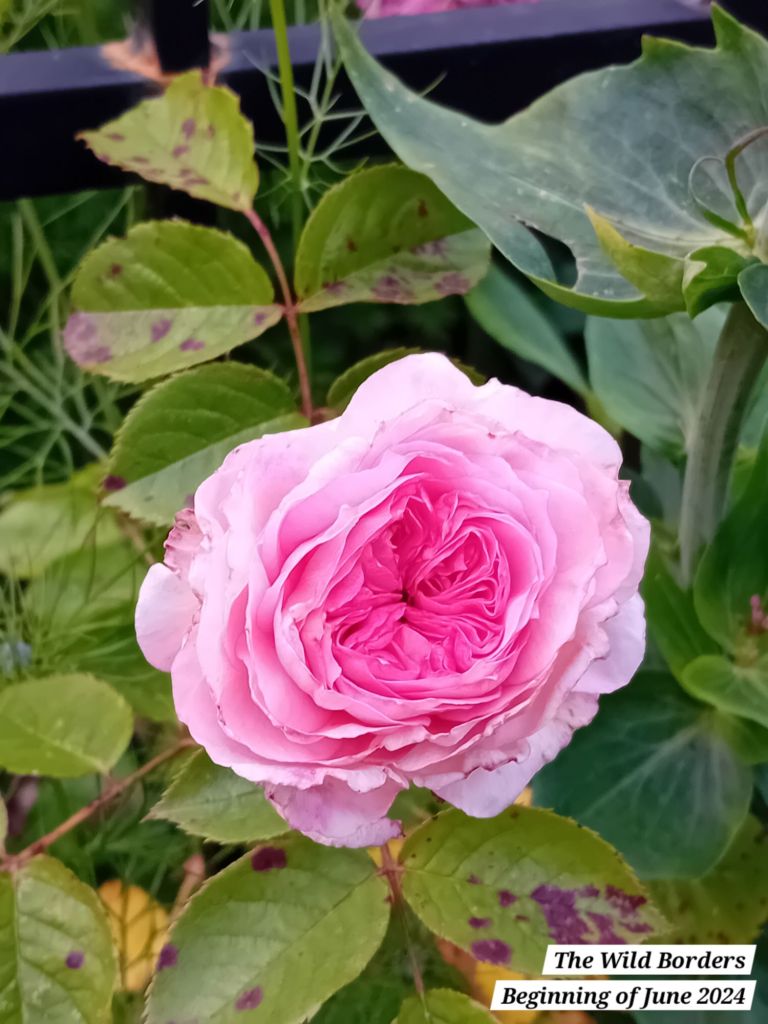
I then set to work planting out two more roses on the archways. These are both ‘James Galway’ roses.
You may recall that I am repeating this same climbing rose on the front of each archway, for continuity throughout the borders. Here is a photo reminding you of how the first of those roses (gifted to me by my best friend in 2023) flowered last year:
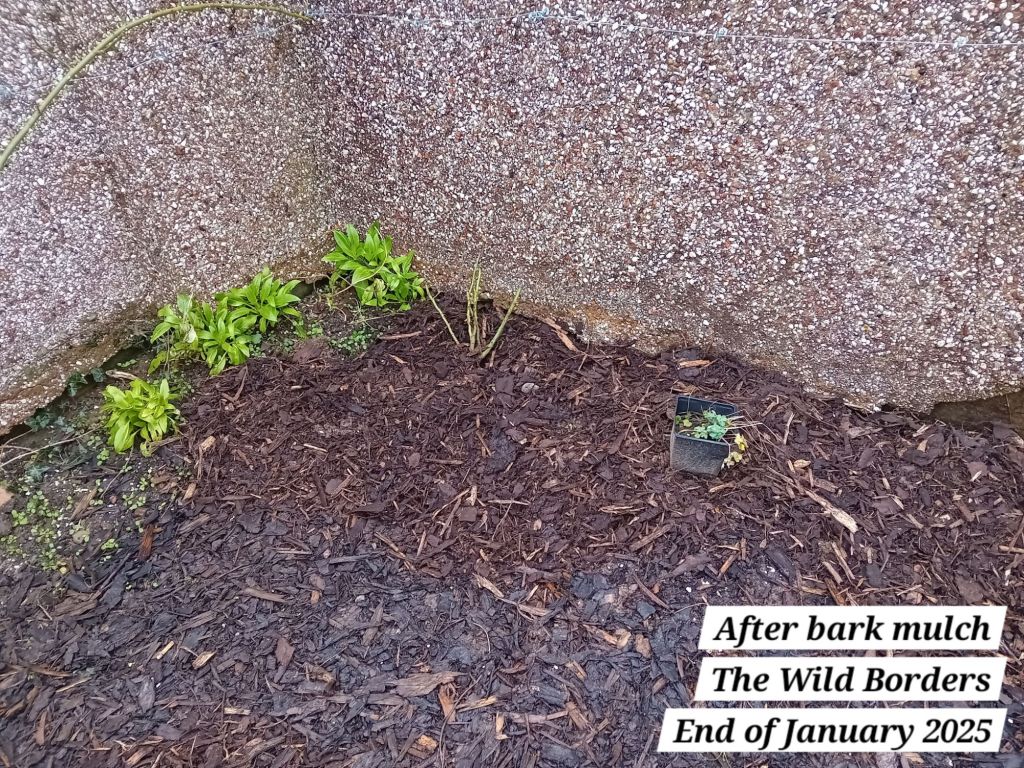
Here are photographs of both roses after planting:

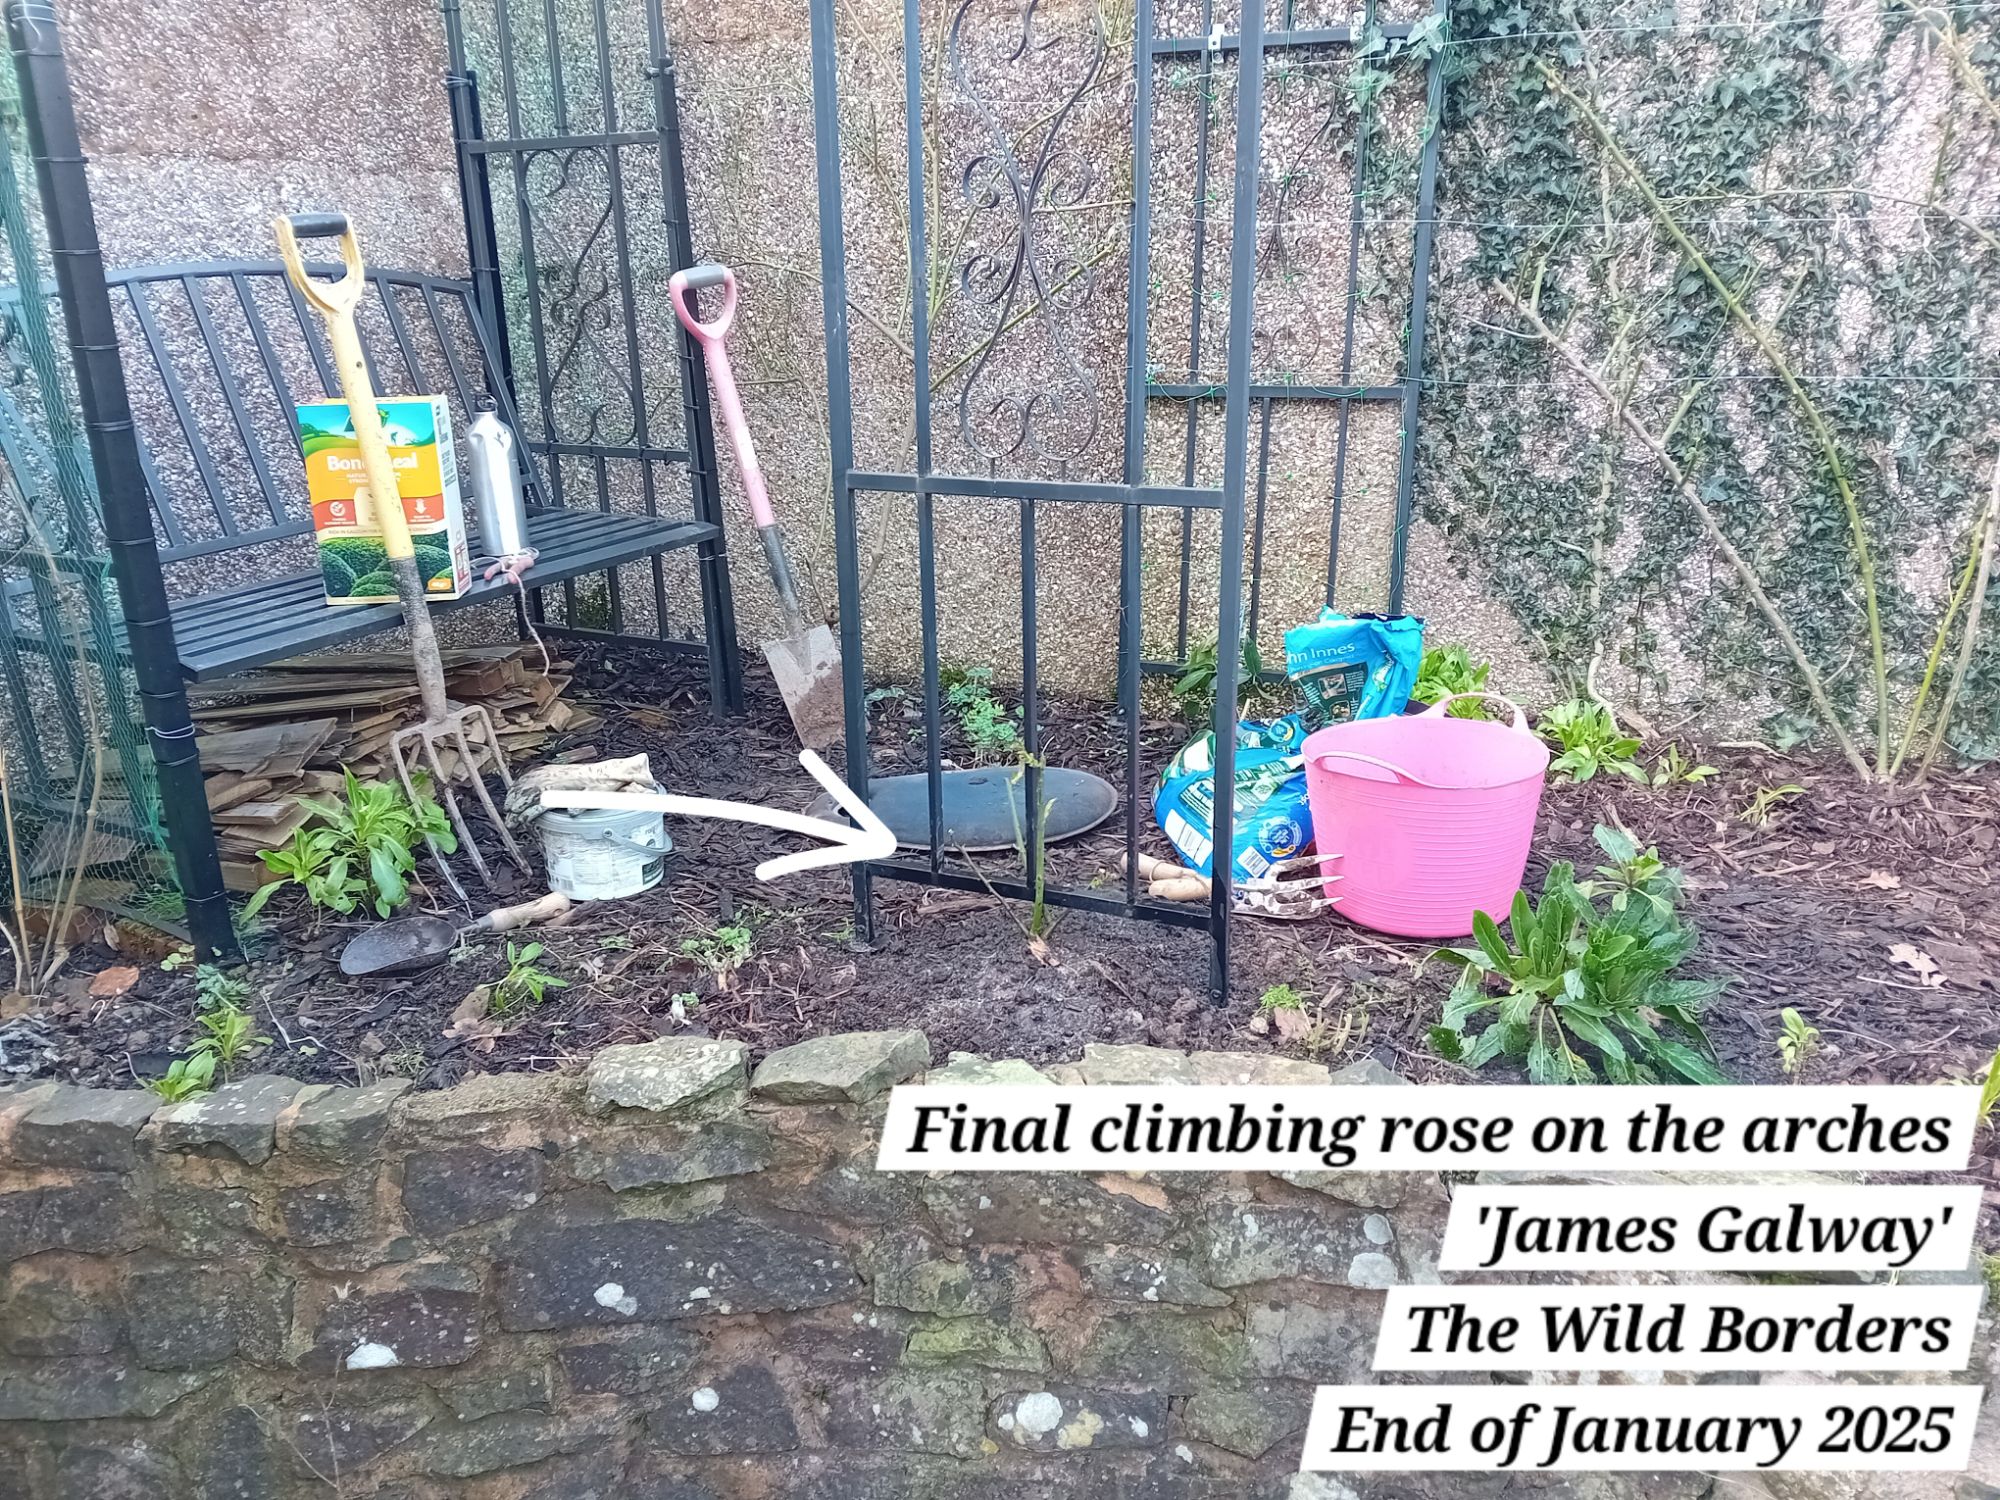
They don’t look like much yet, but in time they should grow to wrap up and around the front of both archways.
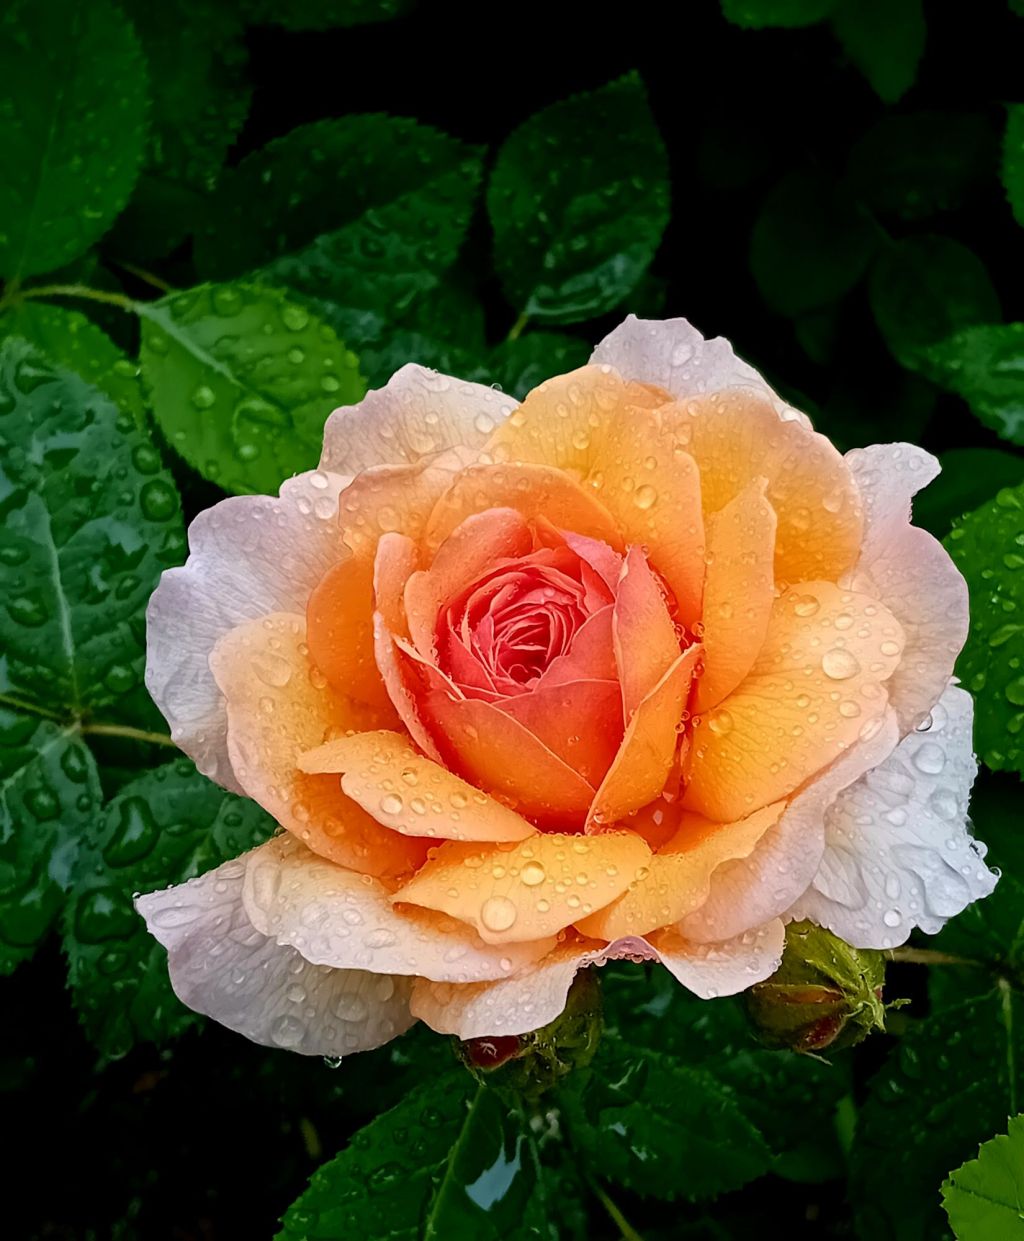
In the past few weeks, I also dug up the inherited yellow rose (variety unknown) and gifted this to my best friend:

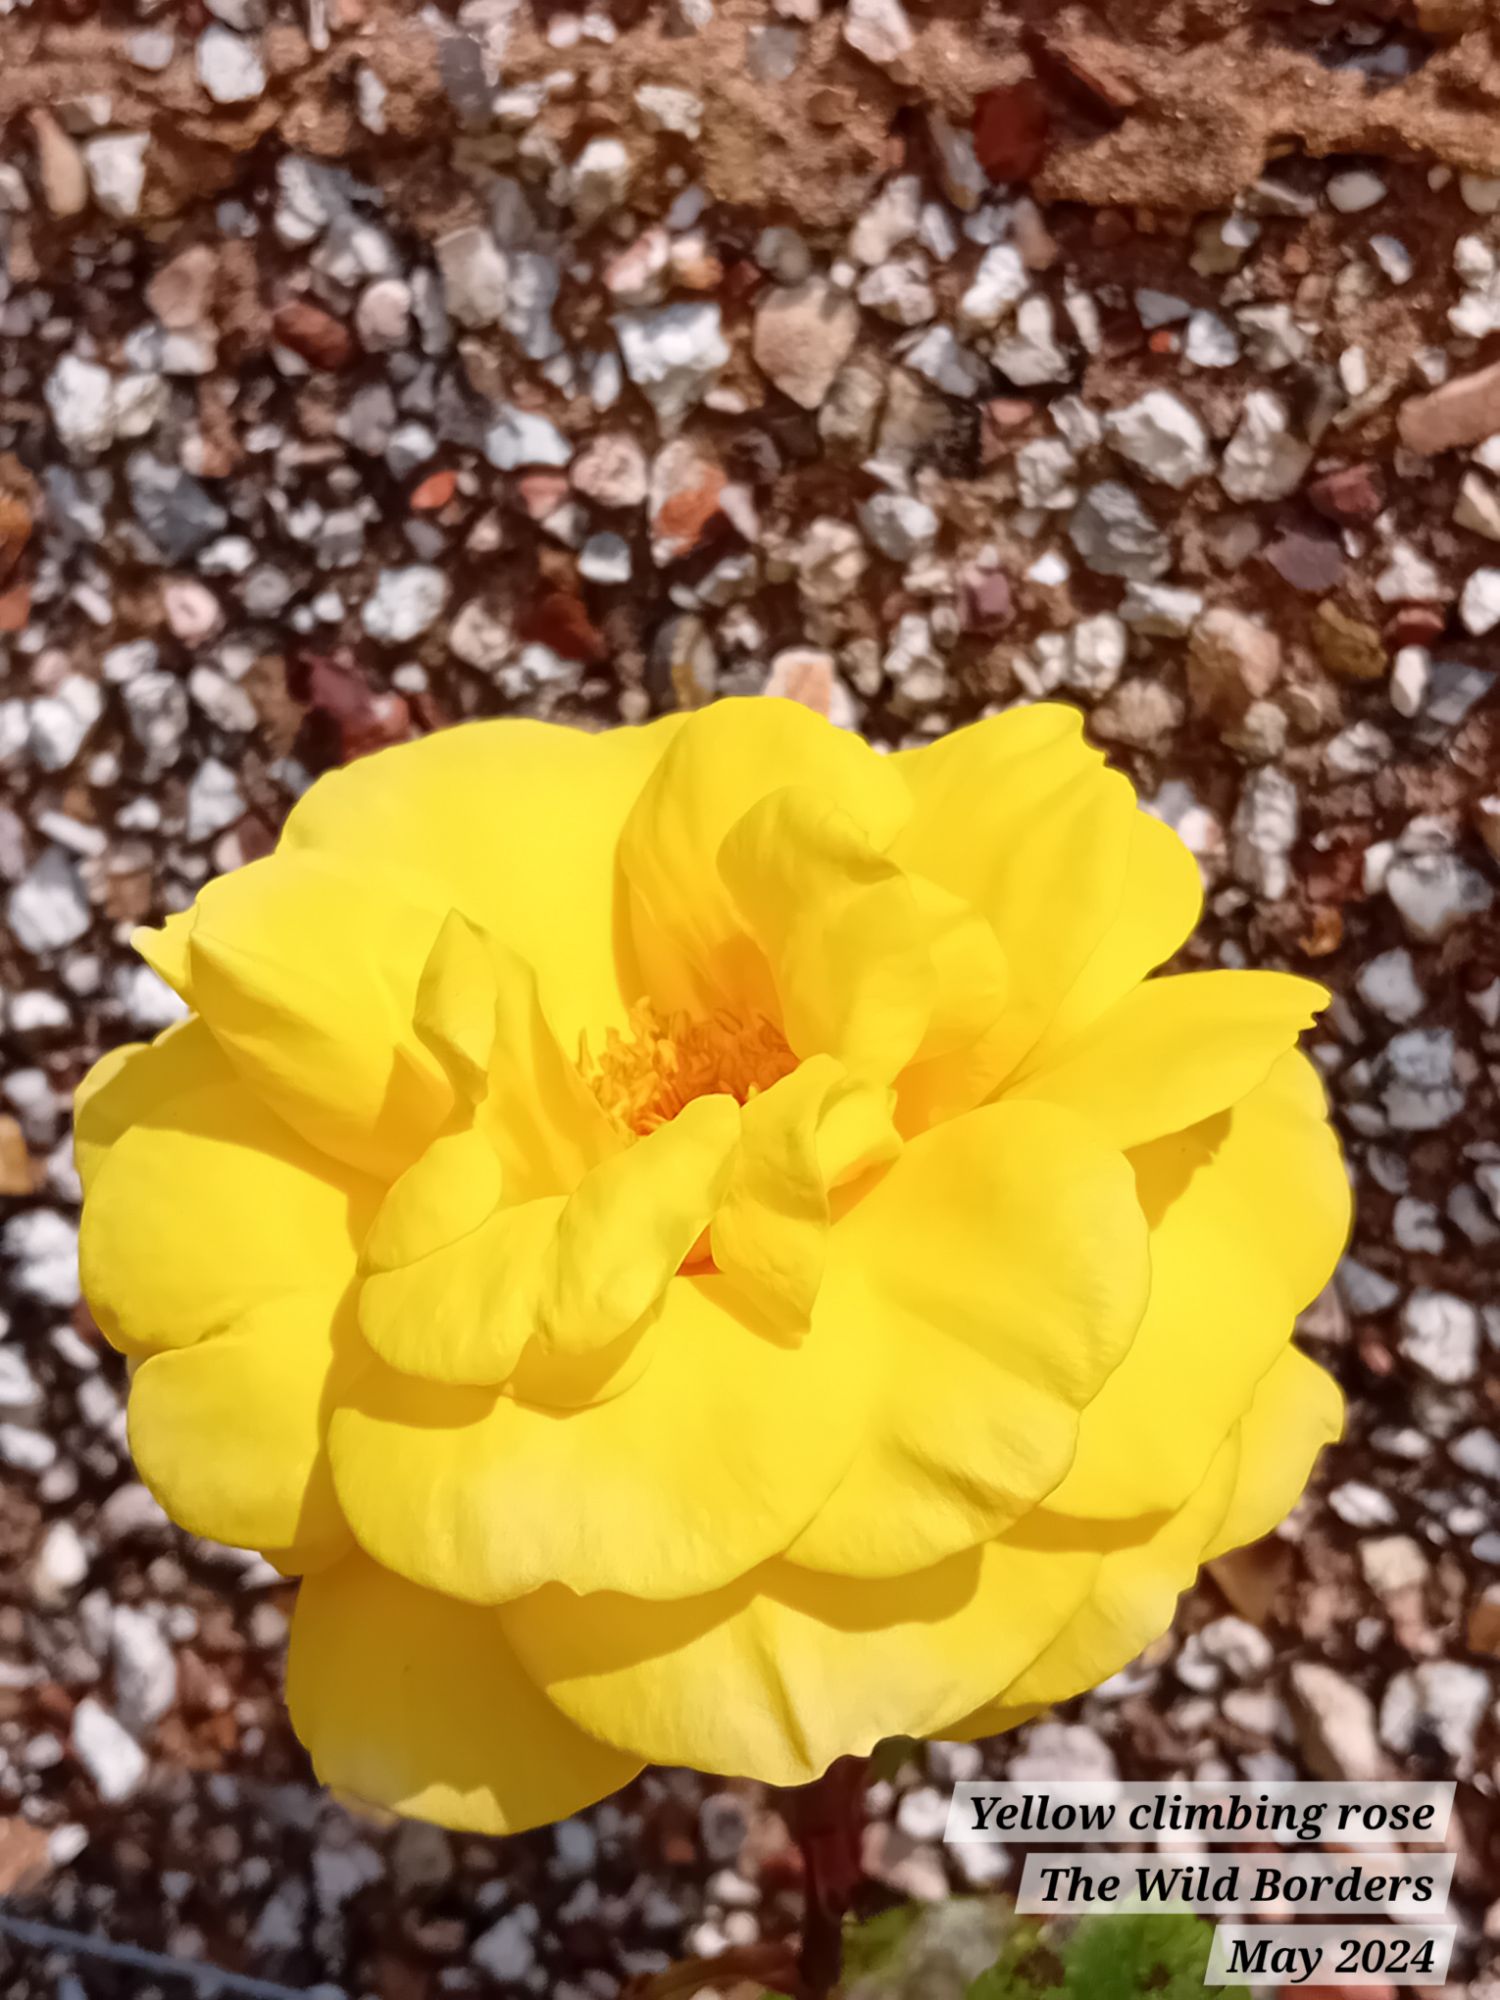
You may recall that the yellow rose was situated in the corner where both borders meet – see photo below – yellow rose pictured in the background:
After cutting the yellow rose back, digging it up and potting it up, it didn’t look like much anymore, but I am hoping it should root well and give some lovely blooms over the years to my best friend.

In the place of where the yellow rose was, I then planted out another of the bare root roses that I wrote about some months ago when I potted them up indoors (post here):
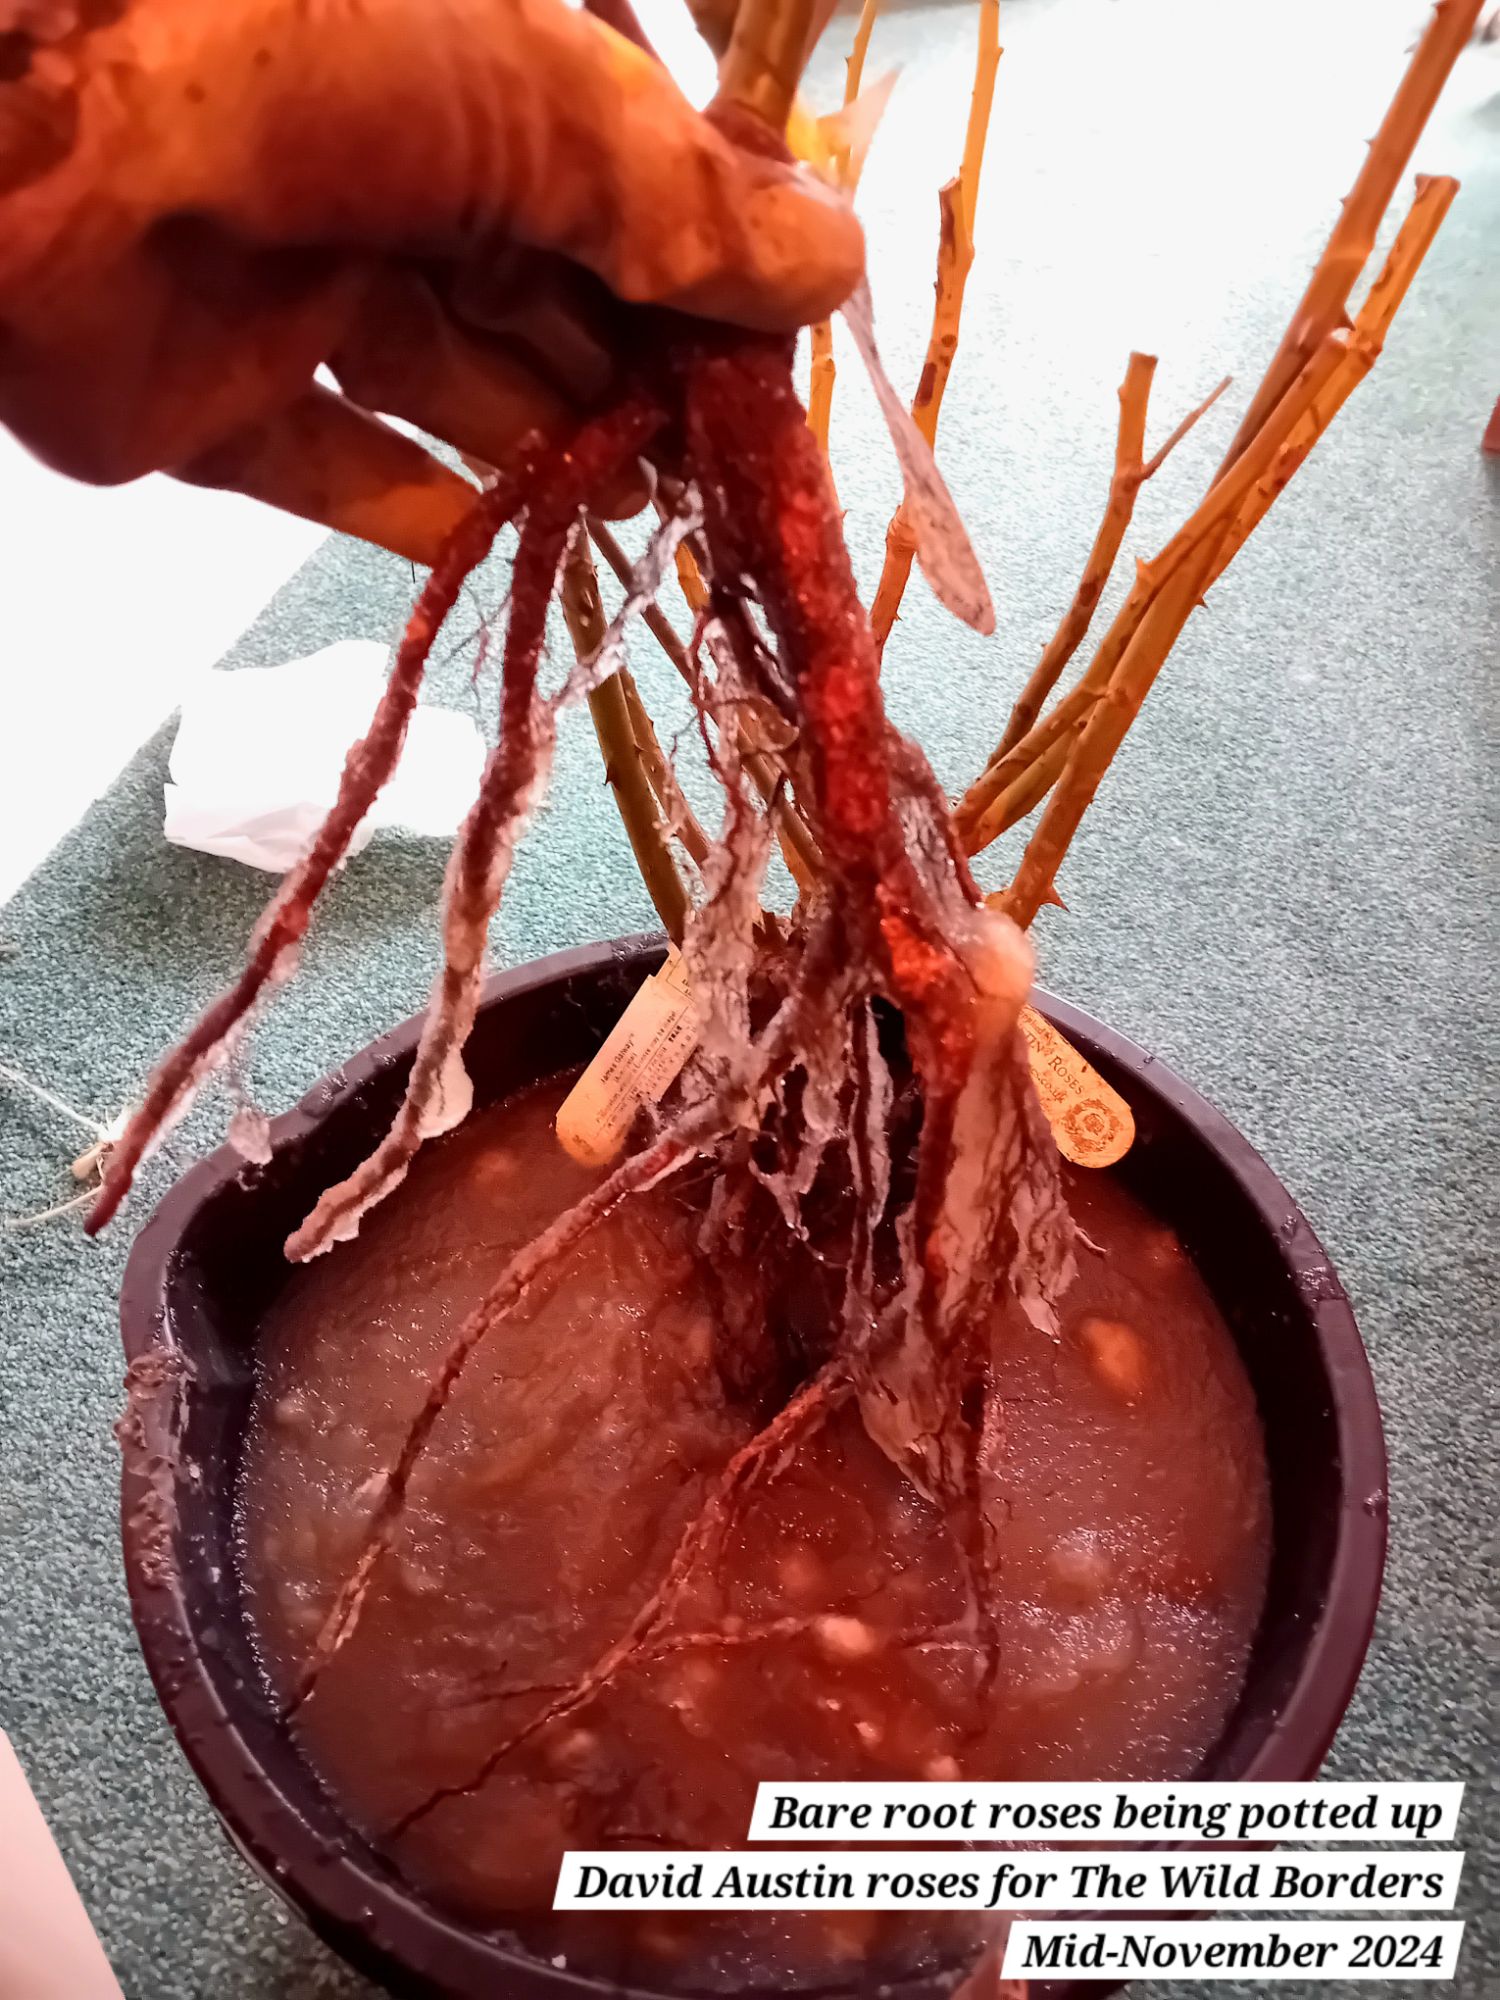
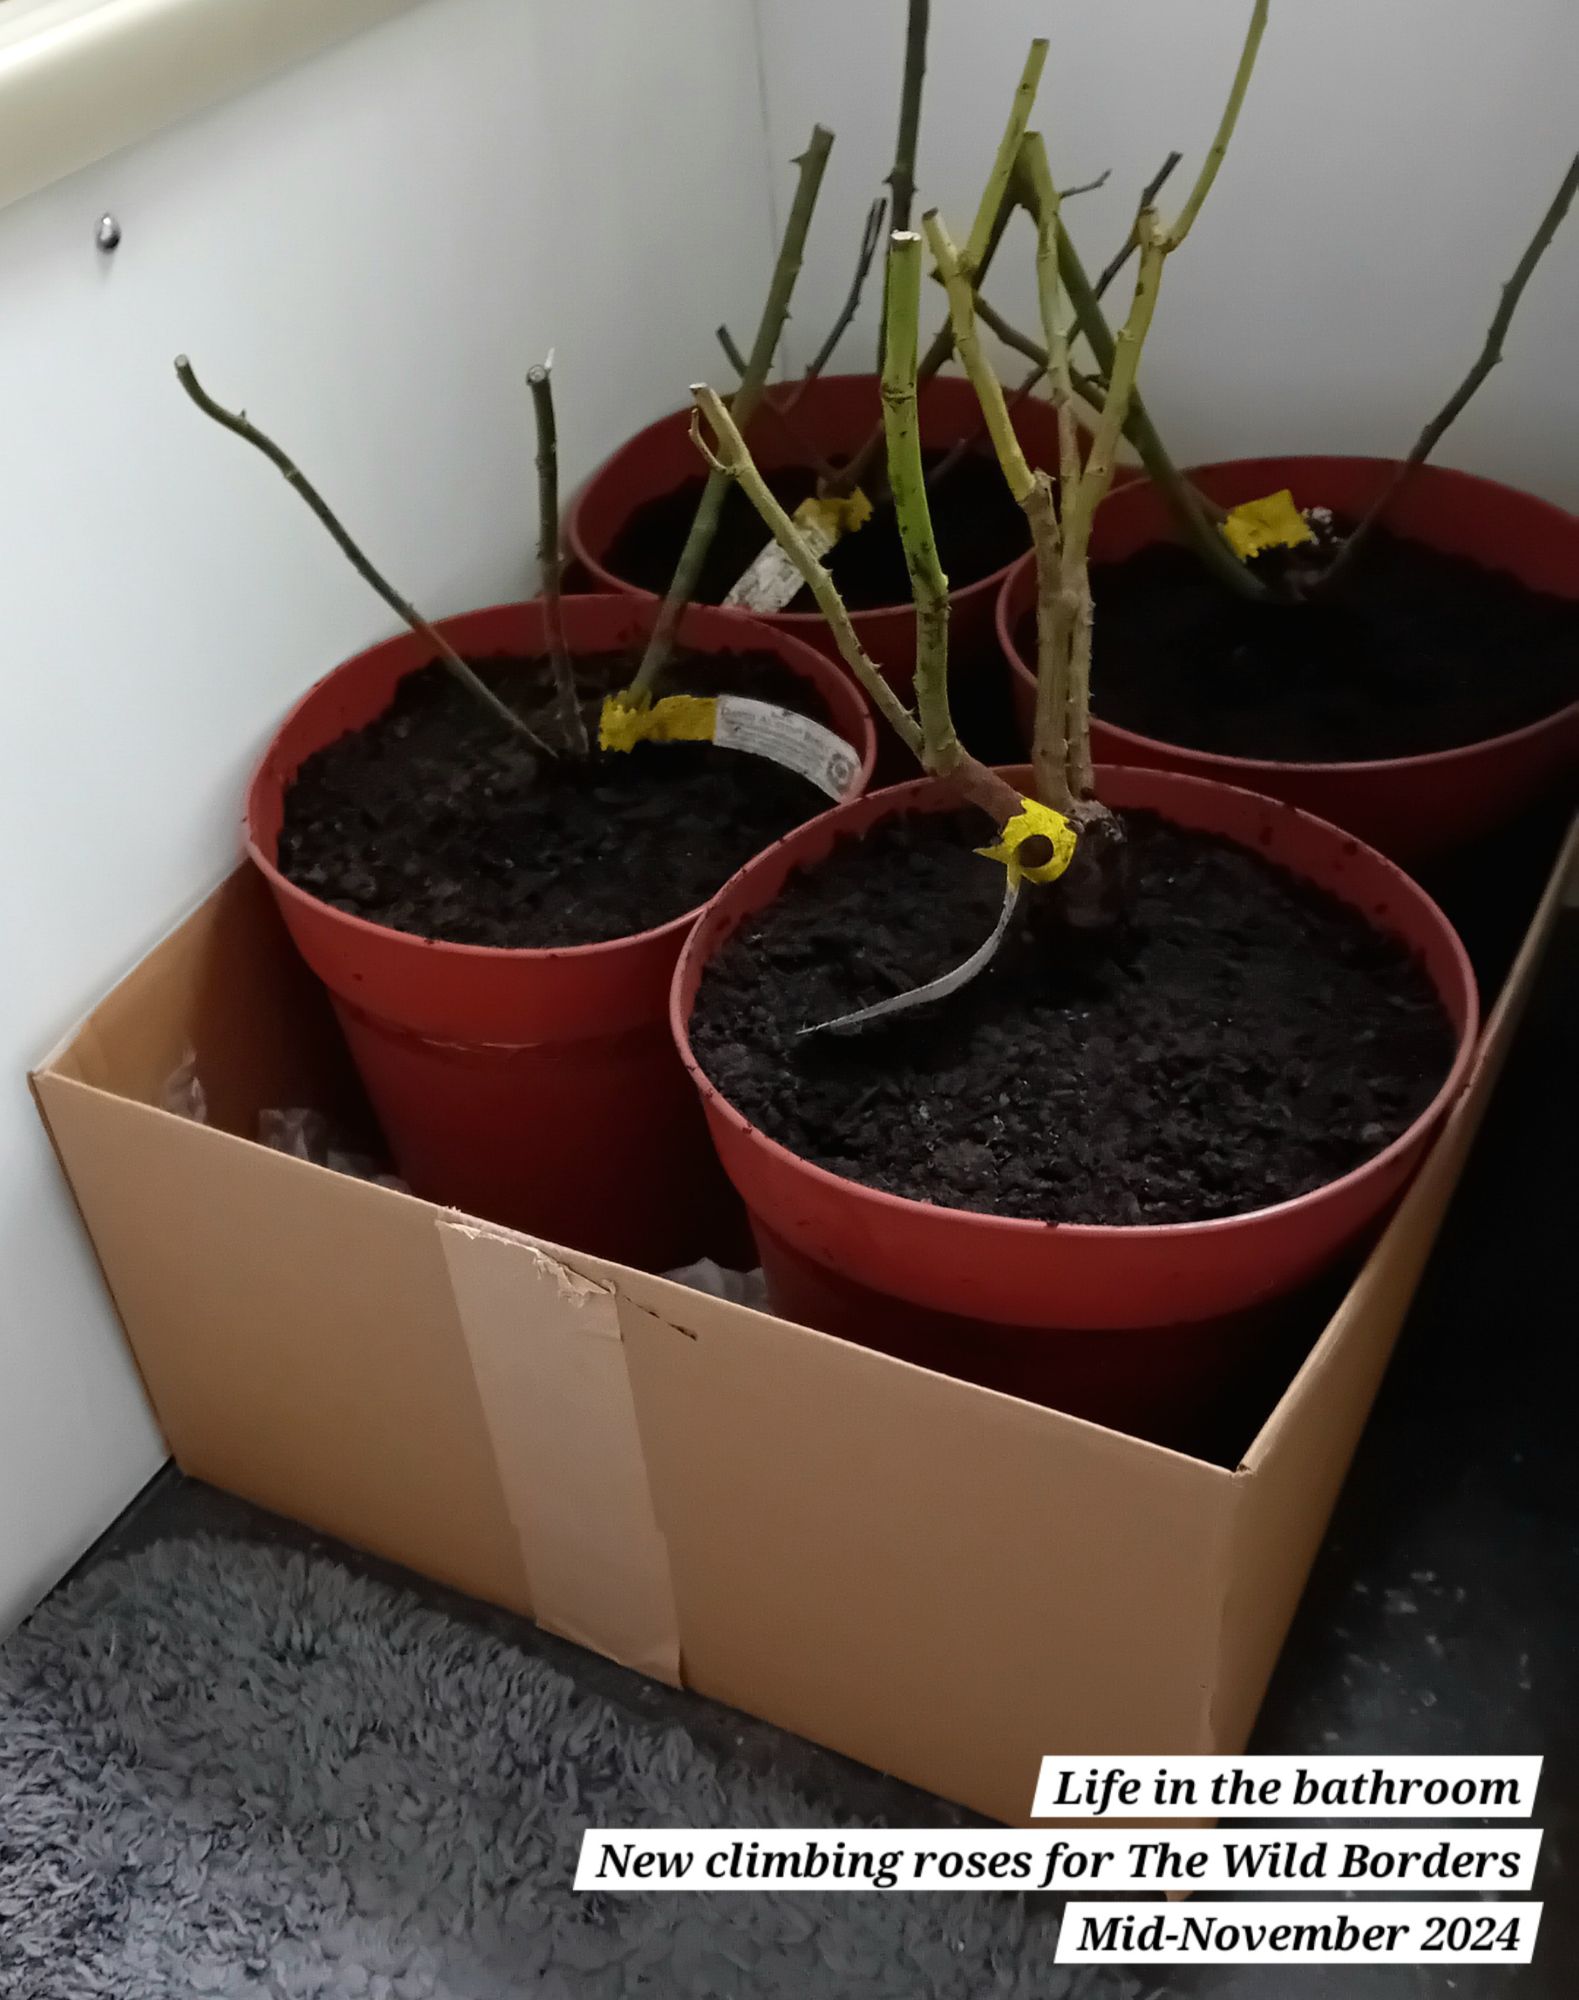
This is a white climbing rose, known as ‘Iceberg’:

You’ll notice that I moved this rose to the left slightly, so that it now sits centrally when looking down the border through the arches on the left-side border. This helps to create a focal point and I think it is more pleasing to the eye:
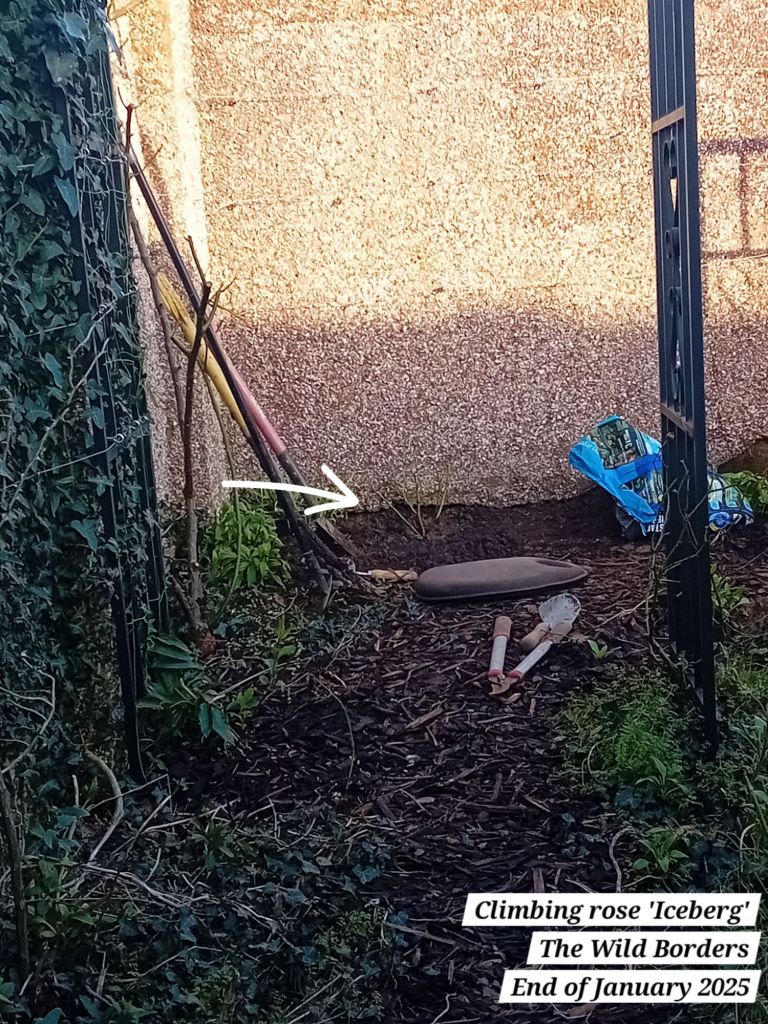
Moving it to the left also means it is less of a risk of spiking you as you walk up the stairs to turn into either border!
As the ‘Iceberg’ rose grows it will repeat the same colour scheme across The Wild Borders (pinks, whites and violets).
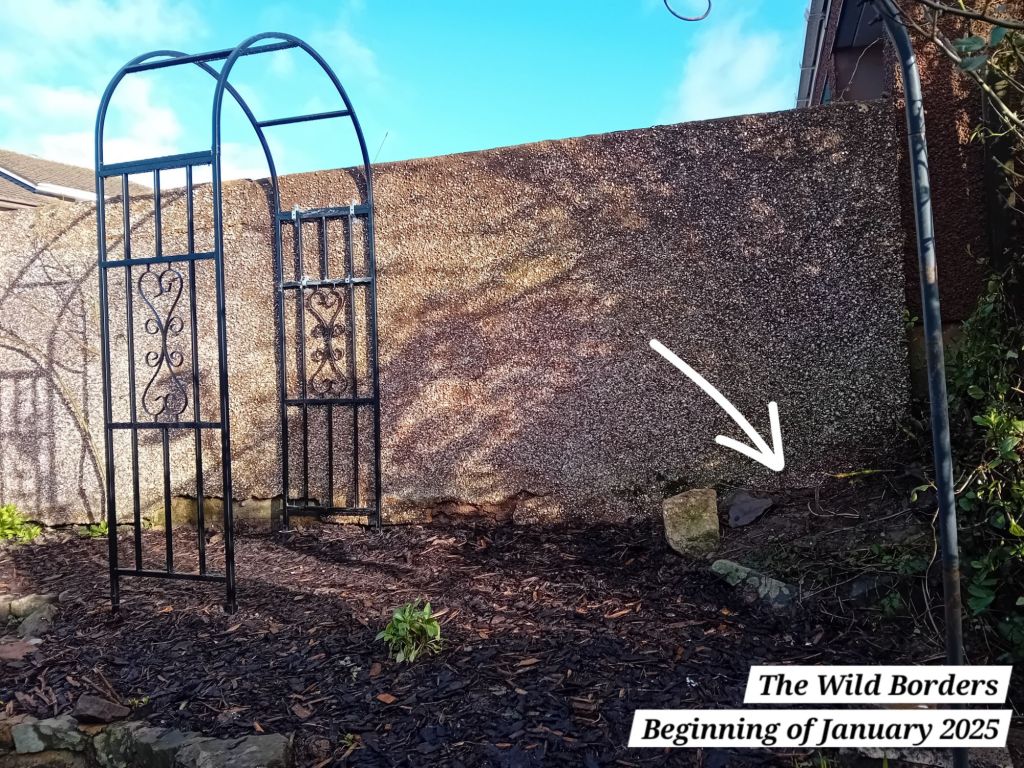
Now that those roses have been planted it means that the only remaining bare root rose for me to plant out is ‘The Generous Gardener’, which may possibly be my favourite rose in these borders. (Saving the best ’til last, obviously).
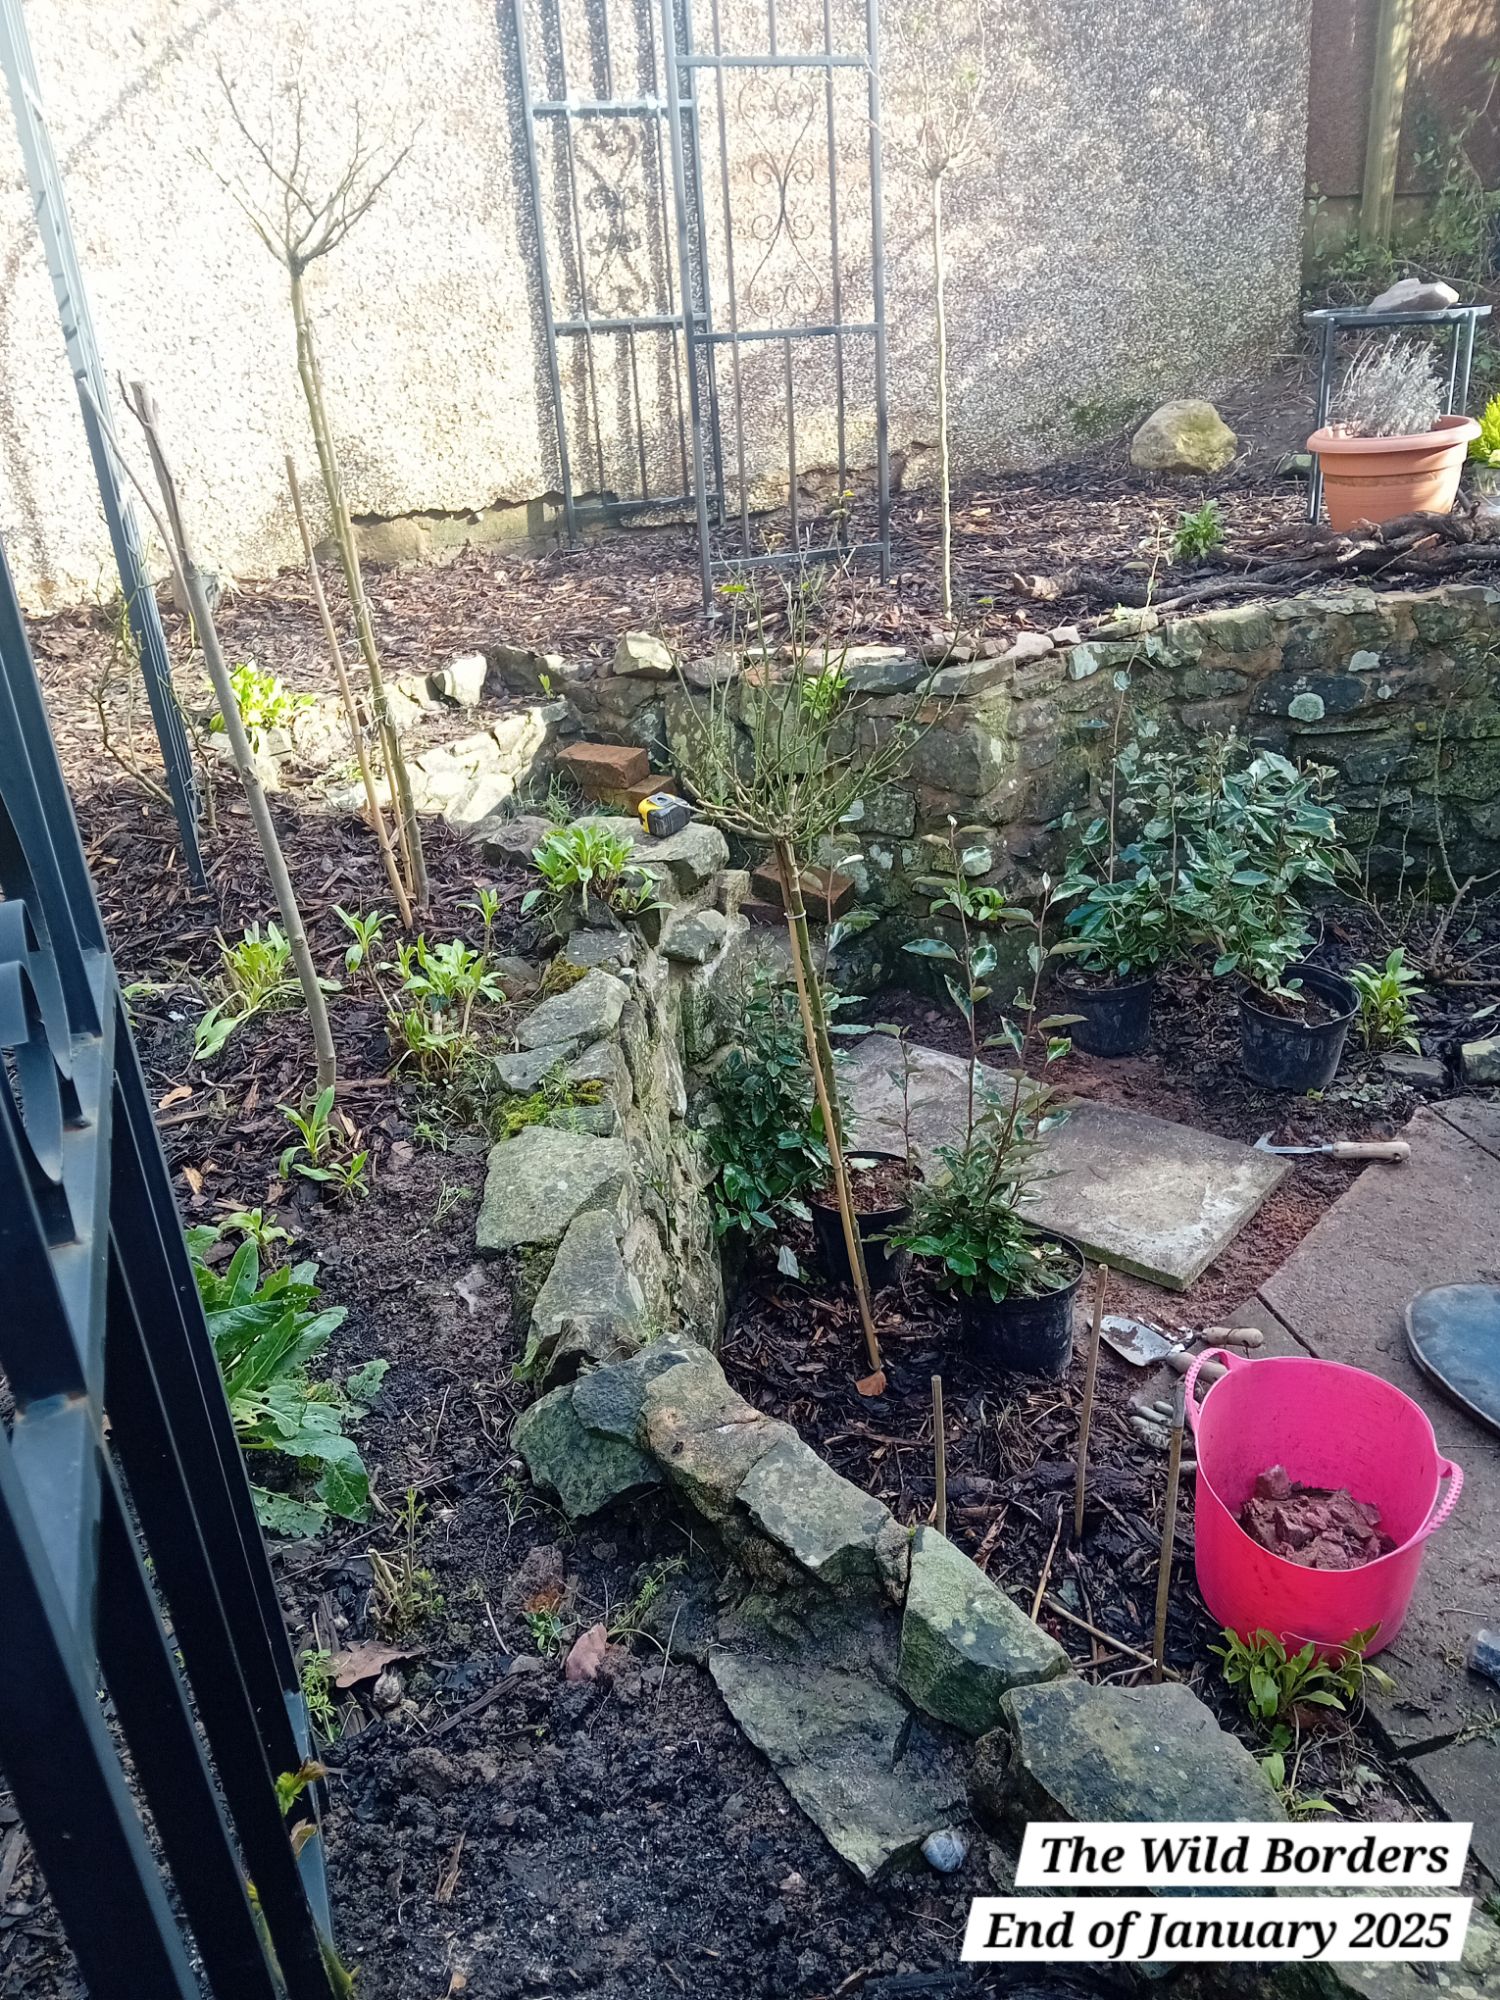
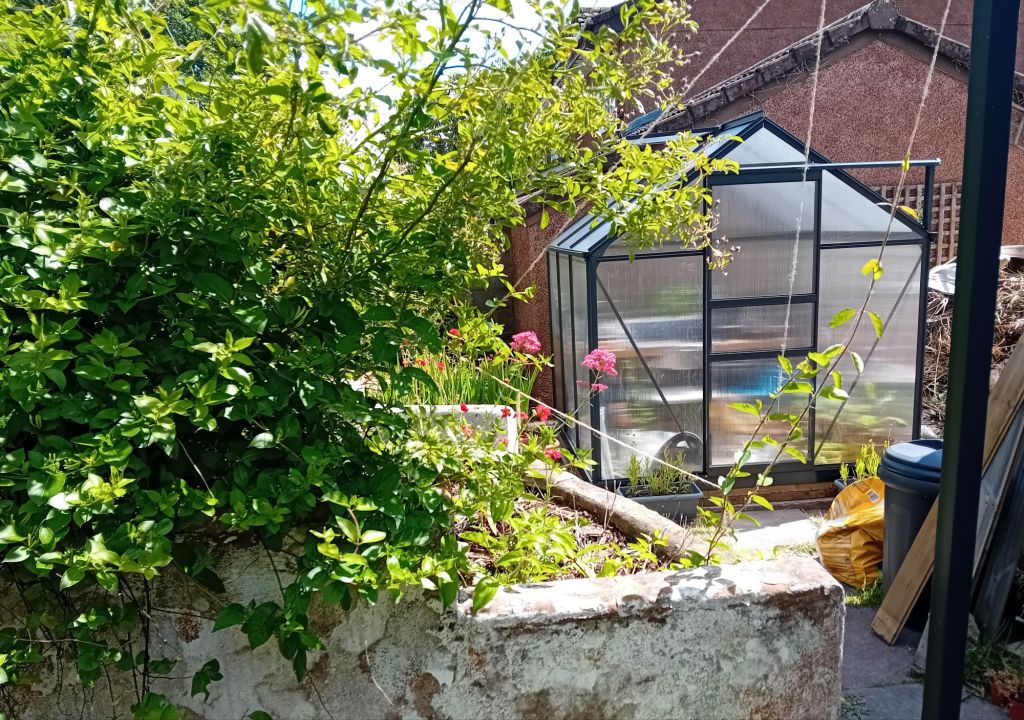
Before that rose can be planted out, the Mr and I need to drill out and fix metal wiring across the wall in the right-side border where the rose will grow (see photograph below for the back wall I am referring to). I also need to finish digging out the remaining soil that is mounded in the top right corner of the right-side border:
Cutting the paving slabs and laying new slabs
After feeling quite accomplished in getting the borders looking tidier and more roses in the ground, I started another day feeling inspired to further finesse these borders.
I have had various ideas bouncing around my head for a while on how to improve the appearance of the ‘entrance’ to the stairs in these borders, so that it invites you to walk up into the borders, rather than just stare at them from the ground below.
I laid out my ideas on the ground first and once I was happy with layout, I set to work:

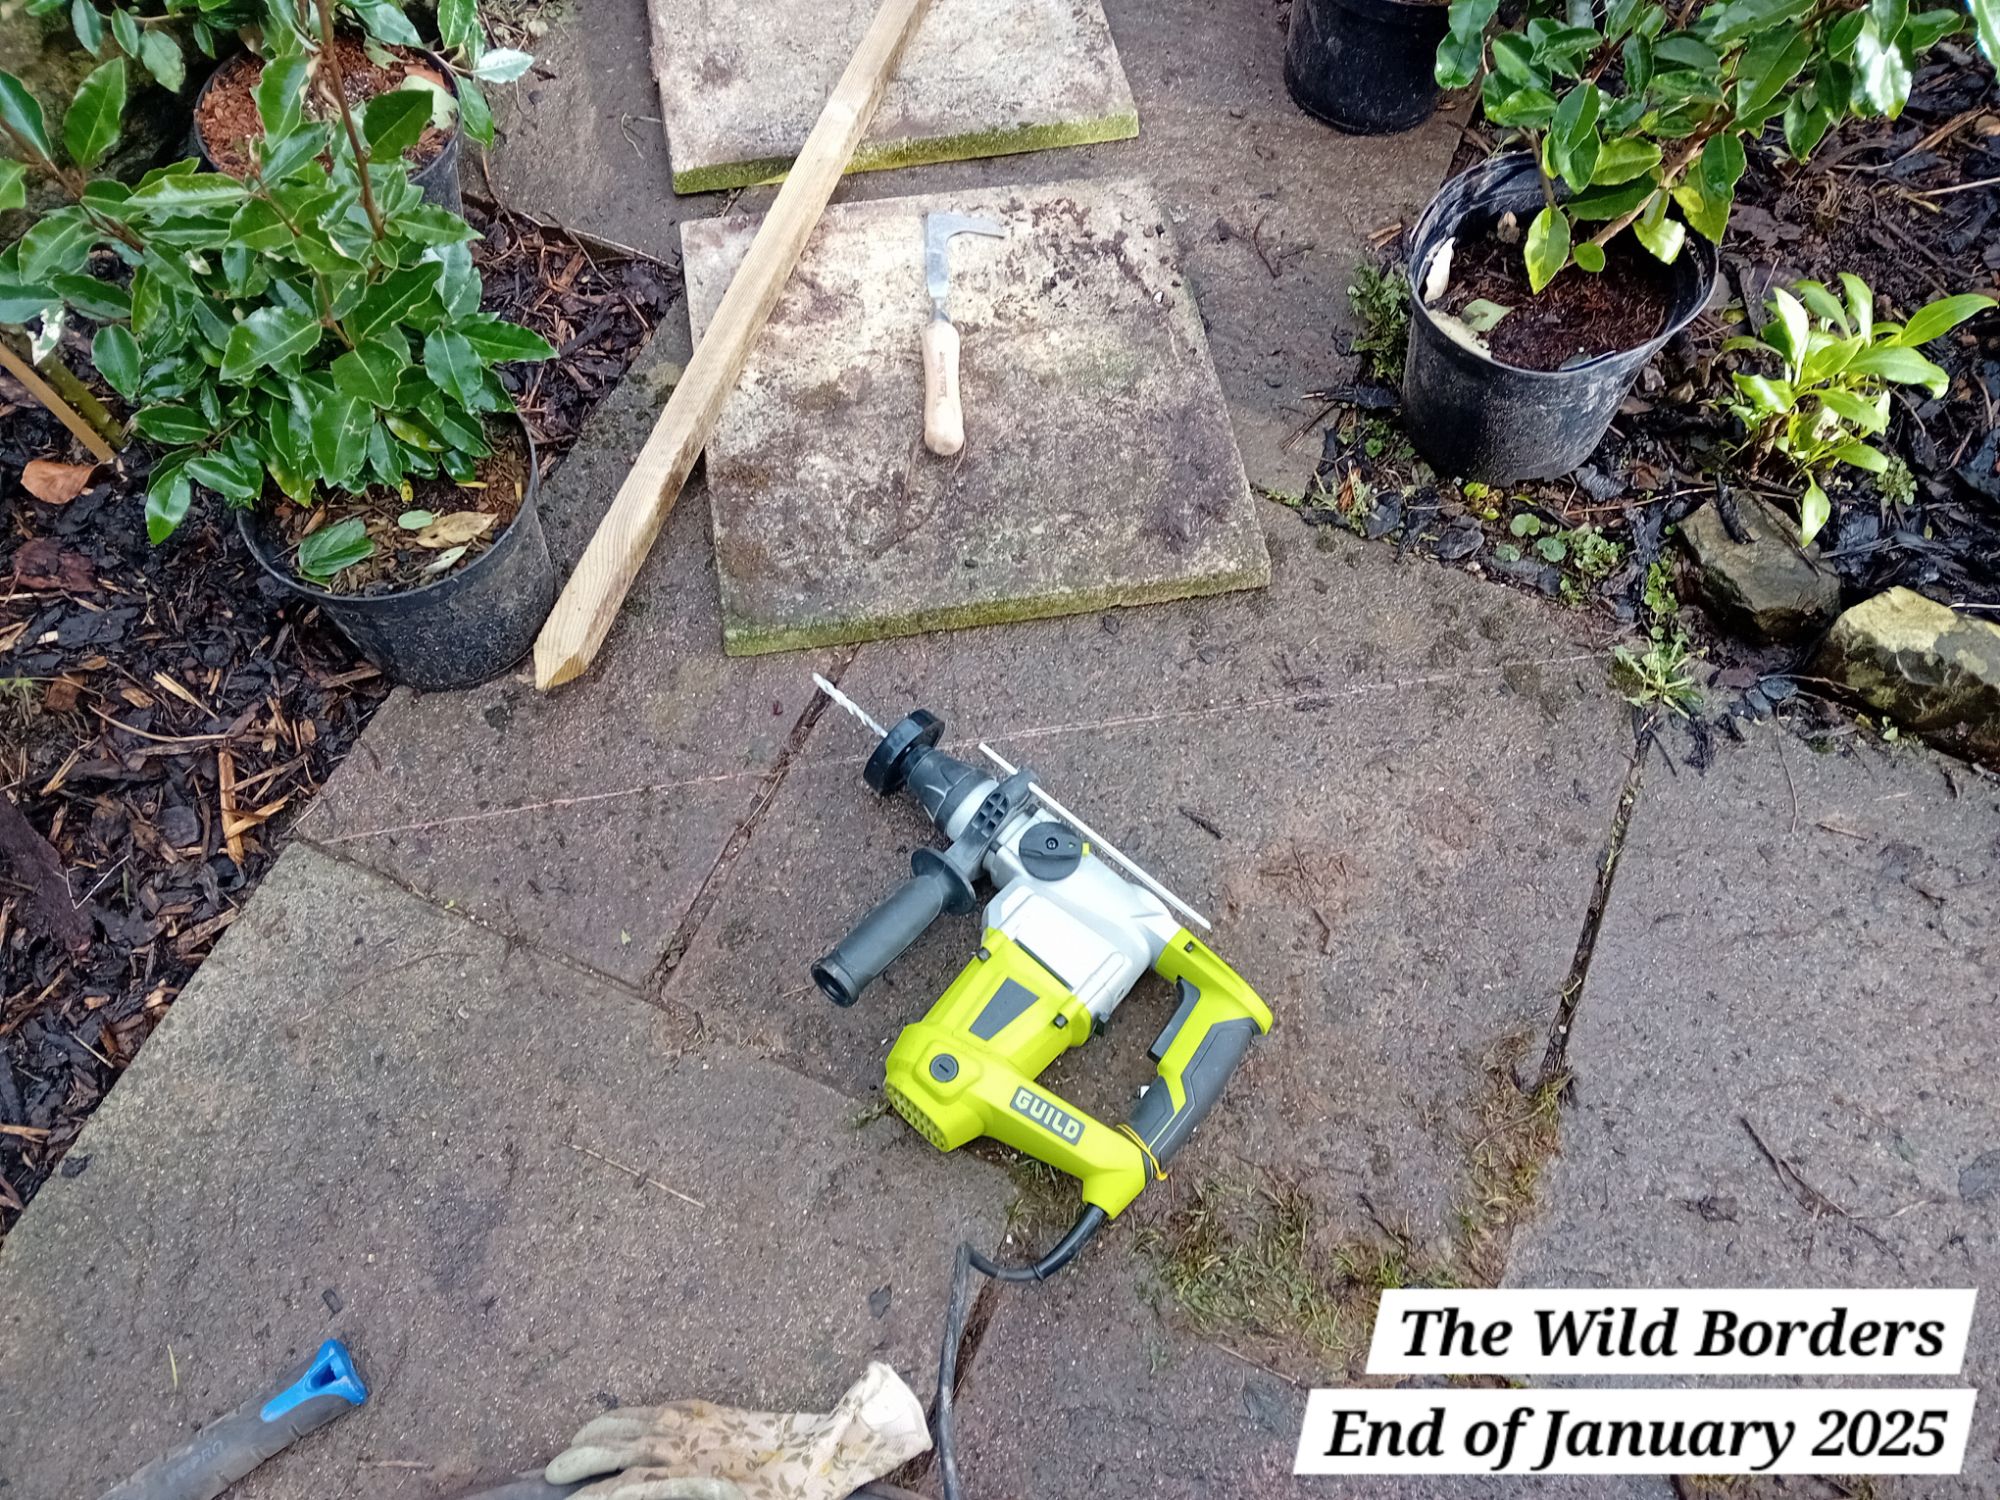
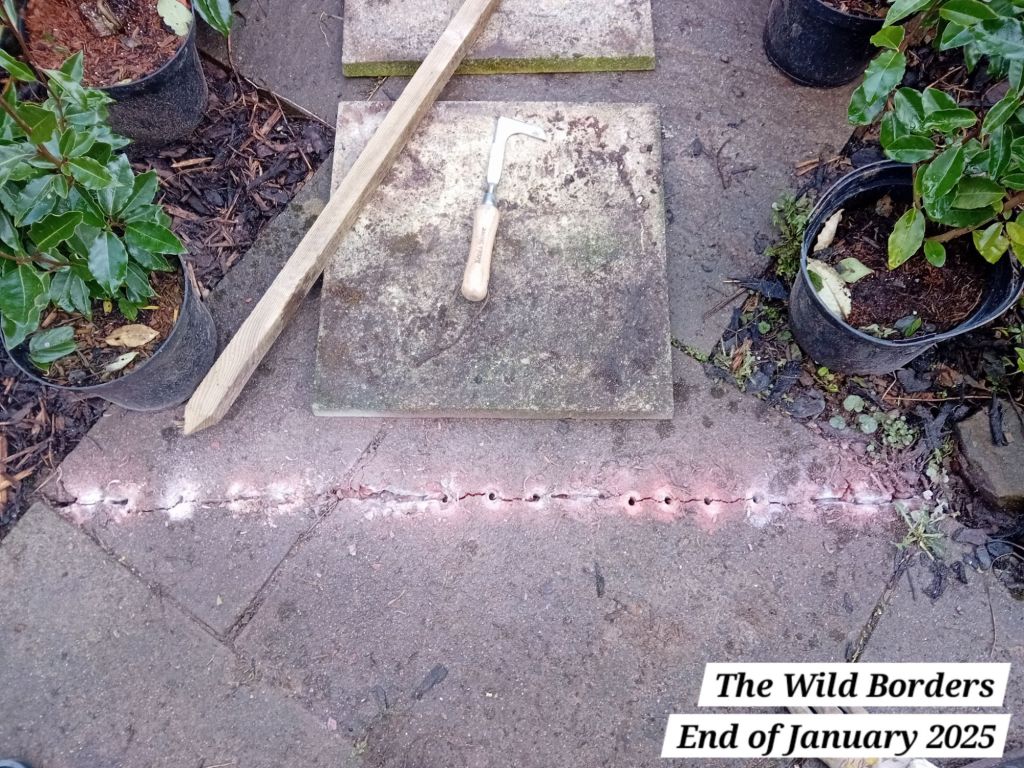
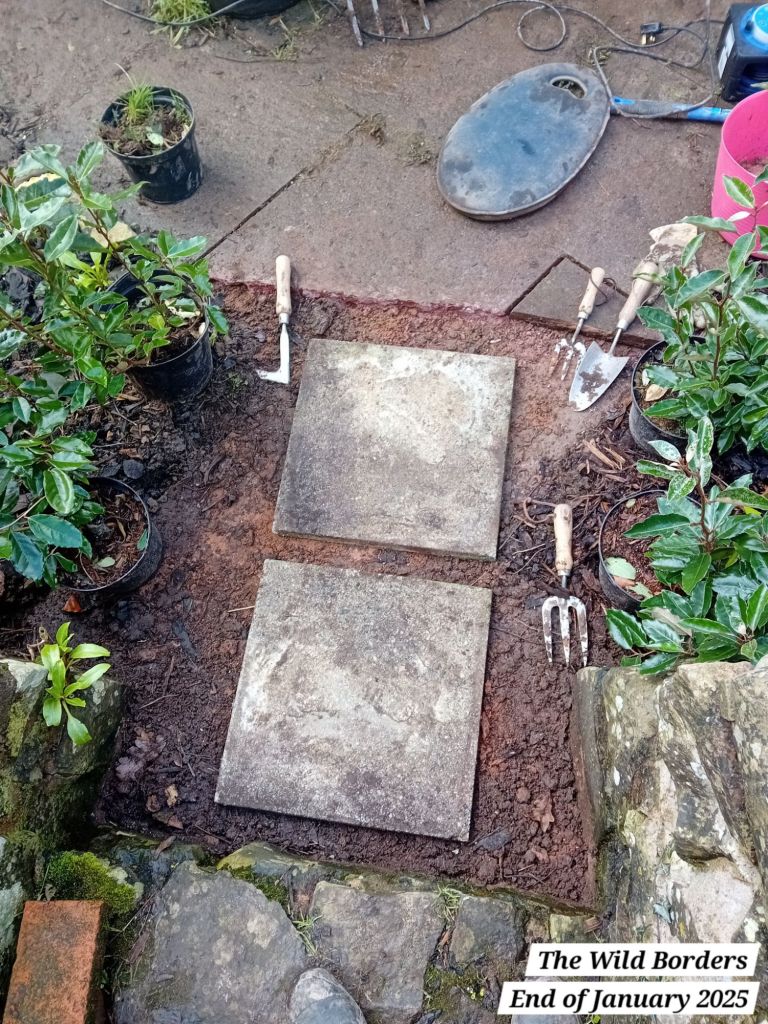
The first change I made was to cut diagonally into the paving slabs, mirroring the shape of the borders themselves and to give a very clear entrance to the borders. For this job, I scored on the slabs where I wanted to cut and then I just used our mains powered hammer drill and drilled into the slabs along the line (ear protectors at the ready):


I then used a chisel attachment on the drill and chiseled away at the cut:
The cut certainly wasn’t perfect and I lost the corner section of the smaller slab I wanted to retain, but as serendipity would have it, I found a piece that was almost a perfect fit from the slab pieces I removed from that area:
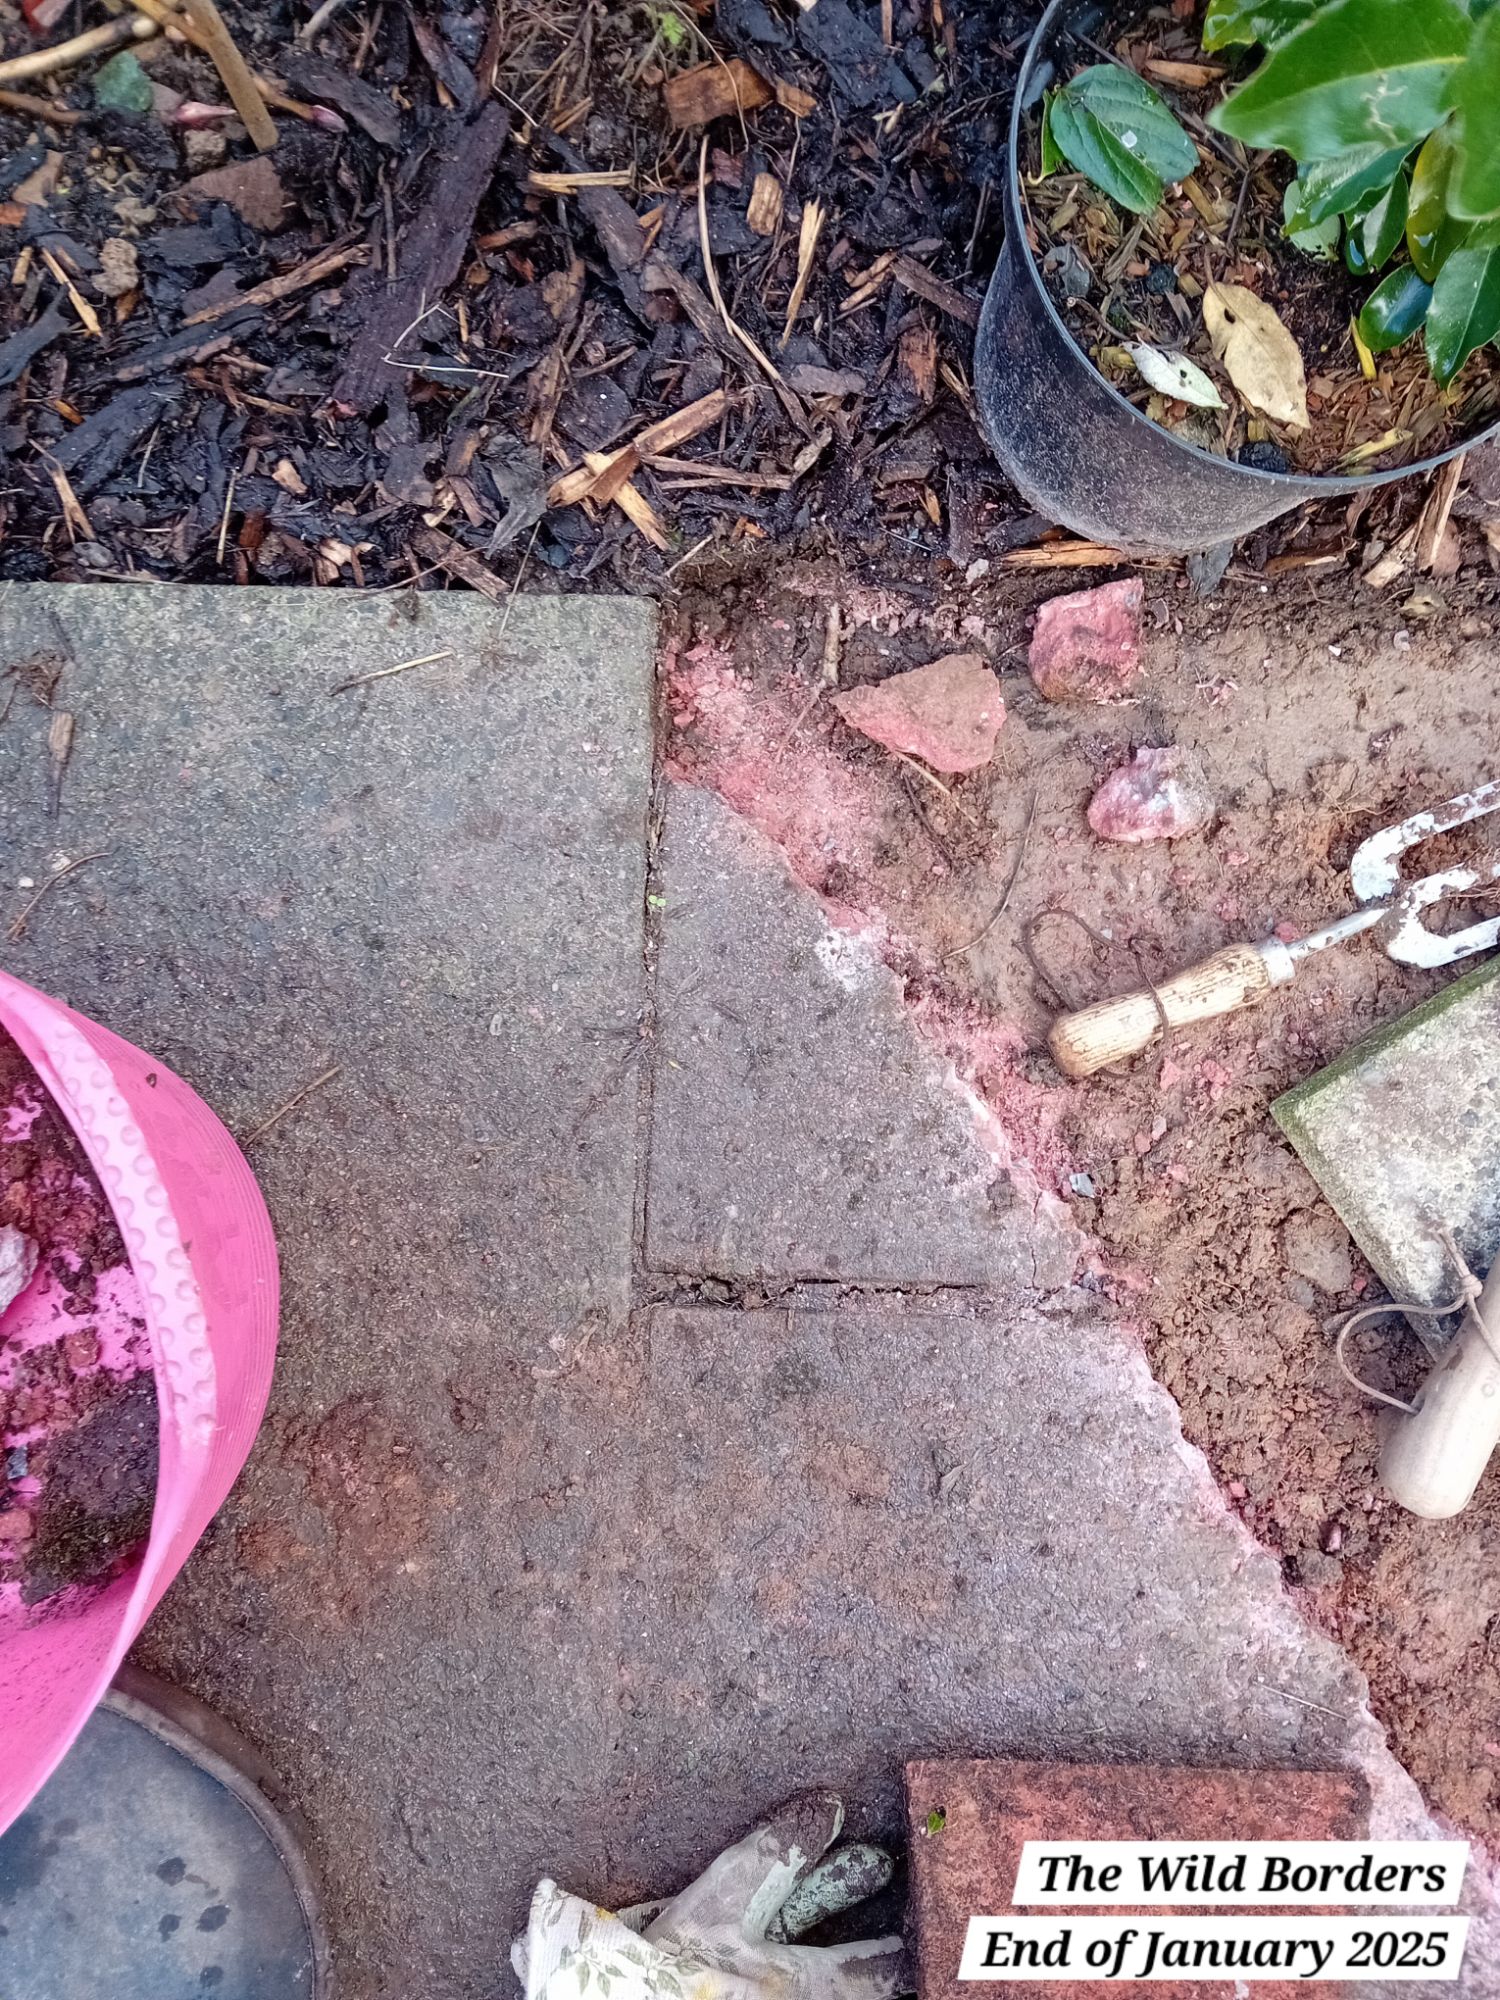
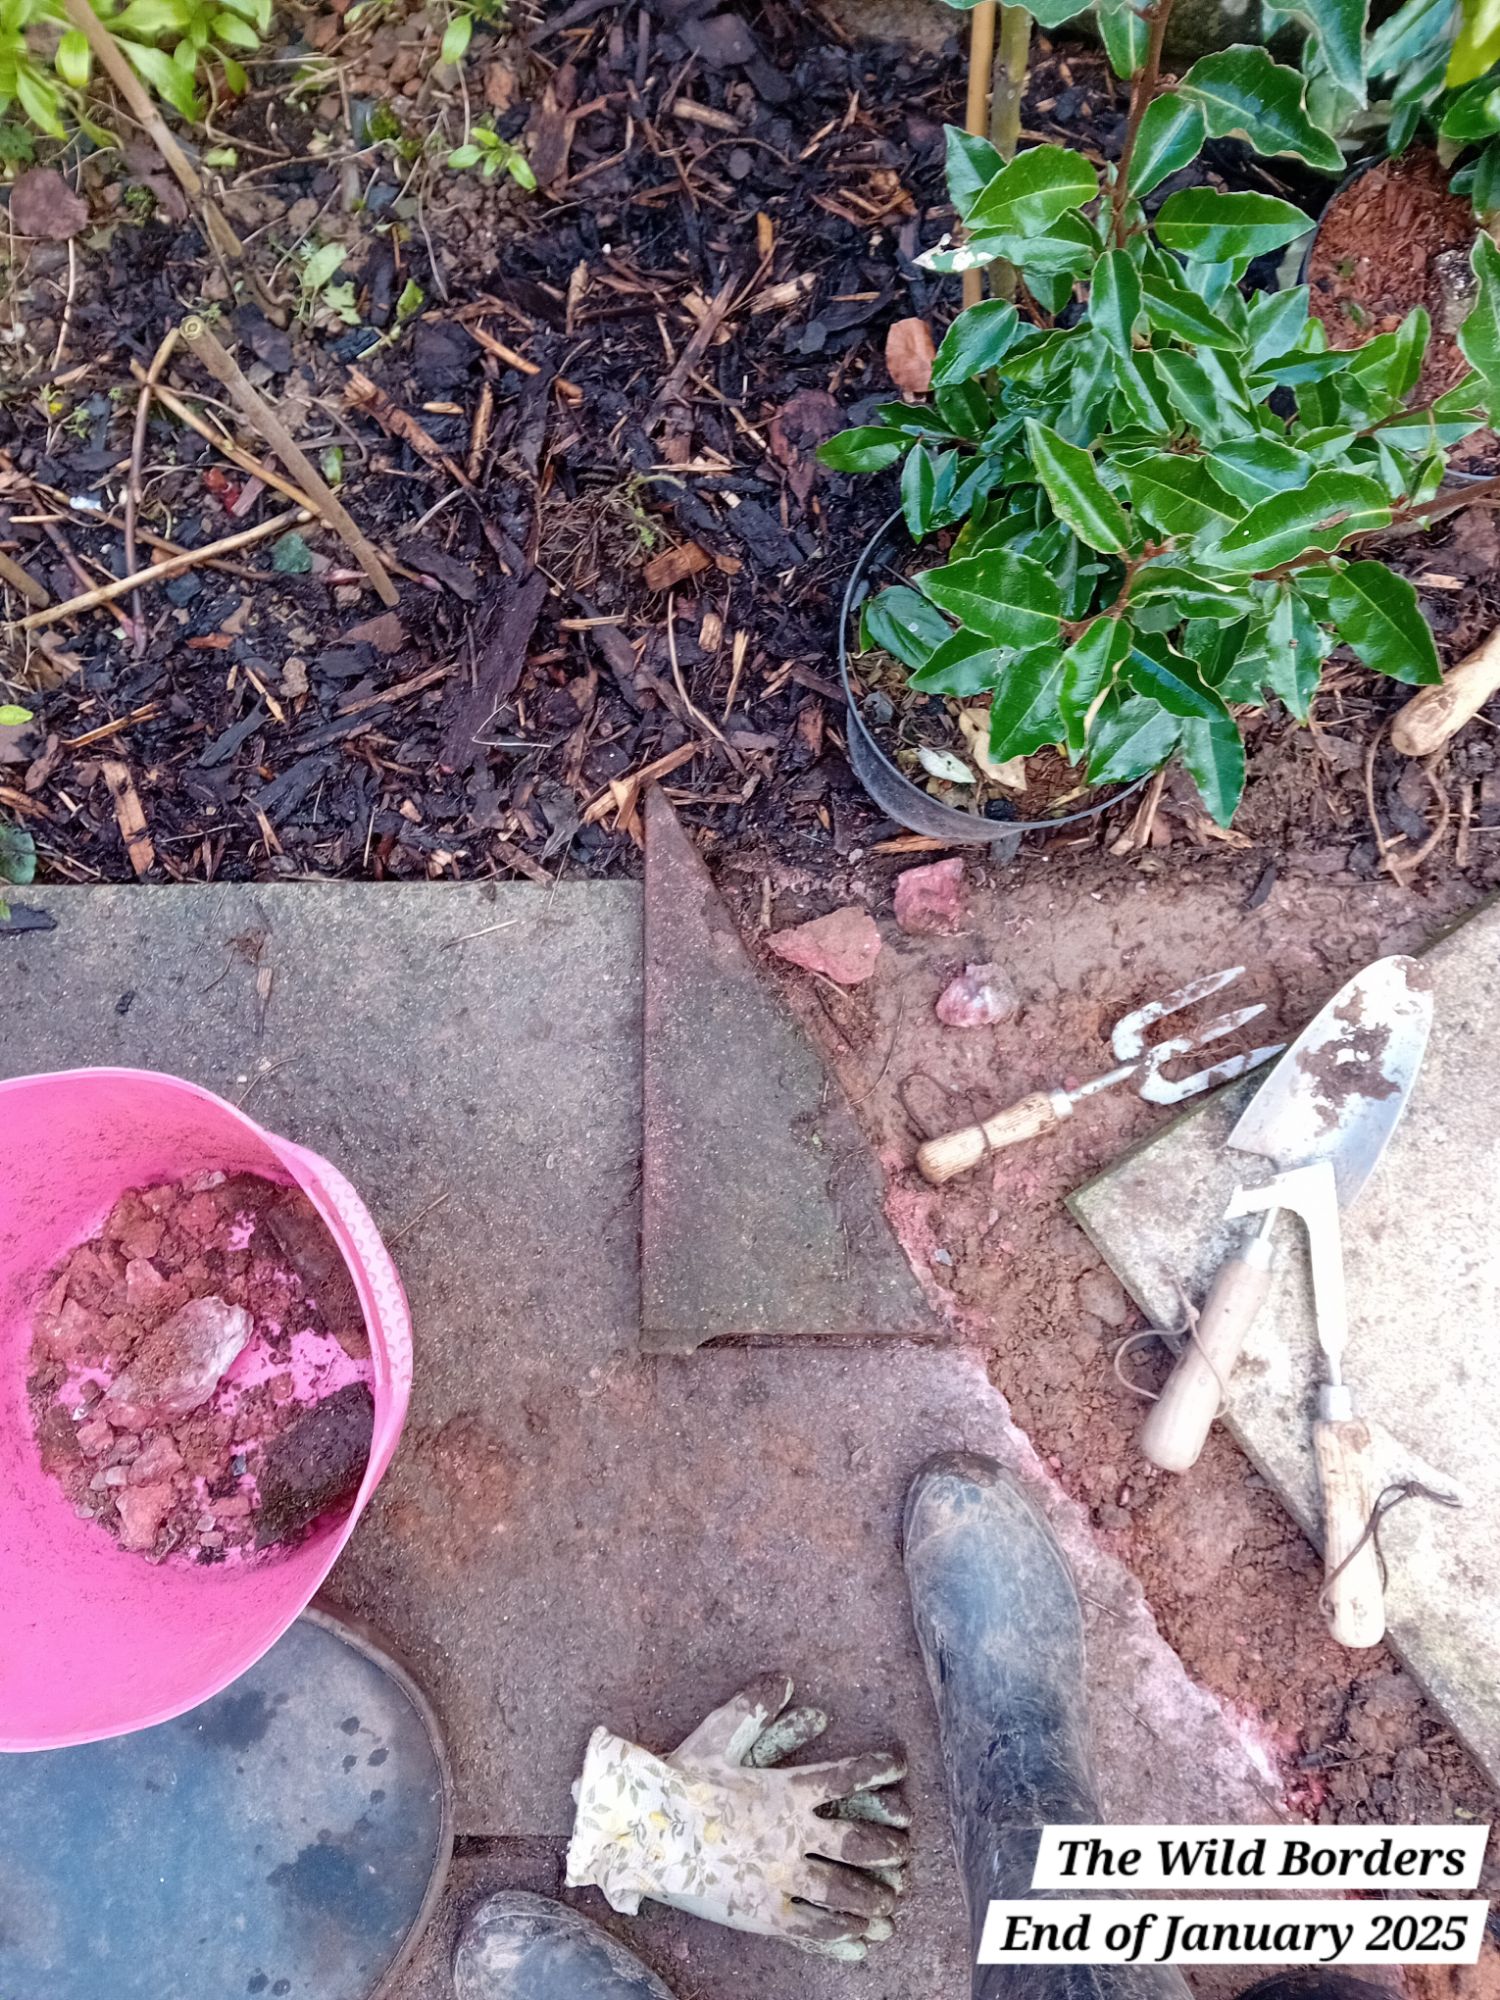
All I did was chisel off the edge of that new slab piece and it fitted right into place:
I plan to regrout all of the patio slabs in this area once the weather starts to warm up and we have a dry spell, which will help lock all of the slabs firmly into place and neaten up the pathway.
All in all, this was actually a much easier job than I thought it would be, though I was largely assisted by the power drill doing all the work!
All of the slabs taken up will be reused to create retaining walls in my new compost bay area in The Woodland Garden, which I posted about recently here.
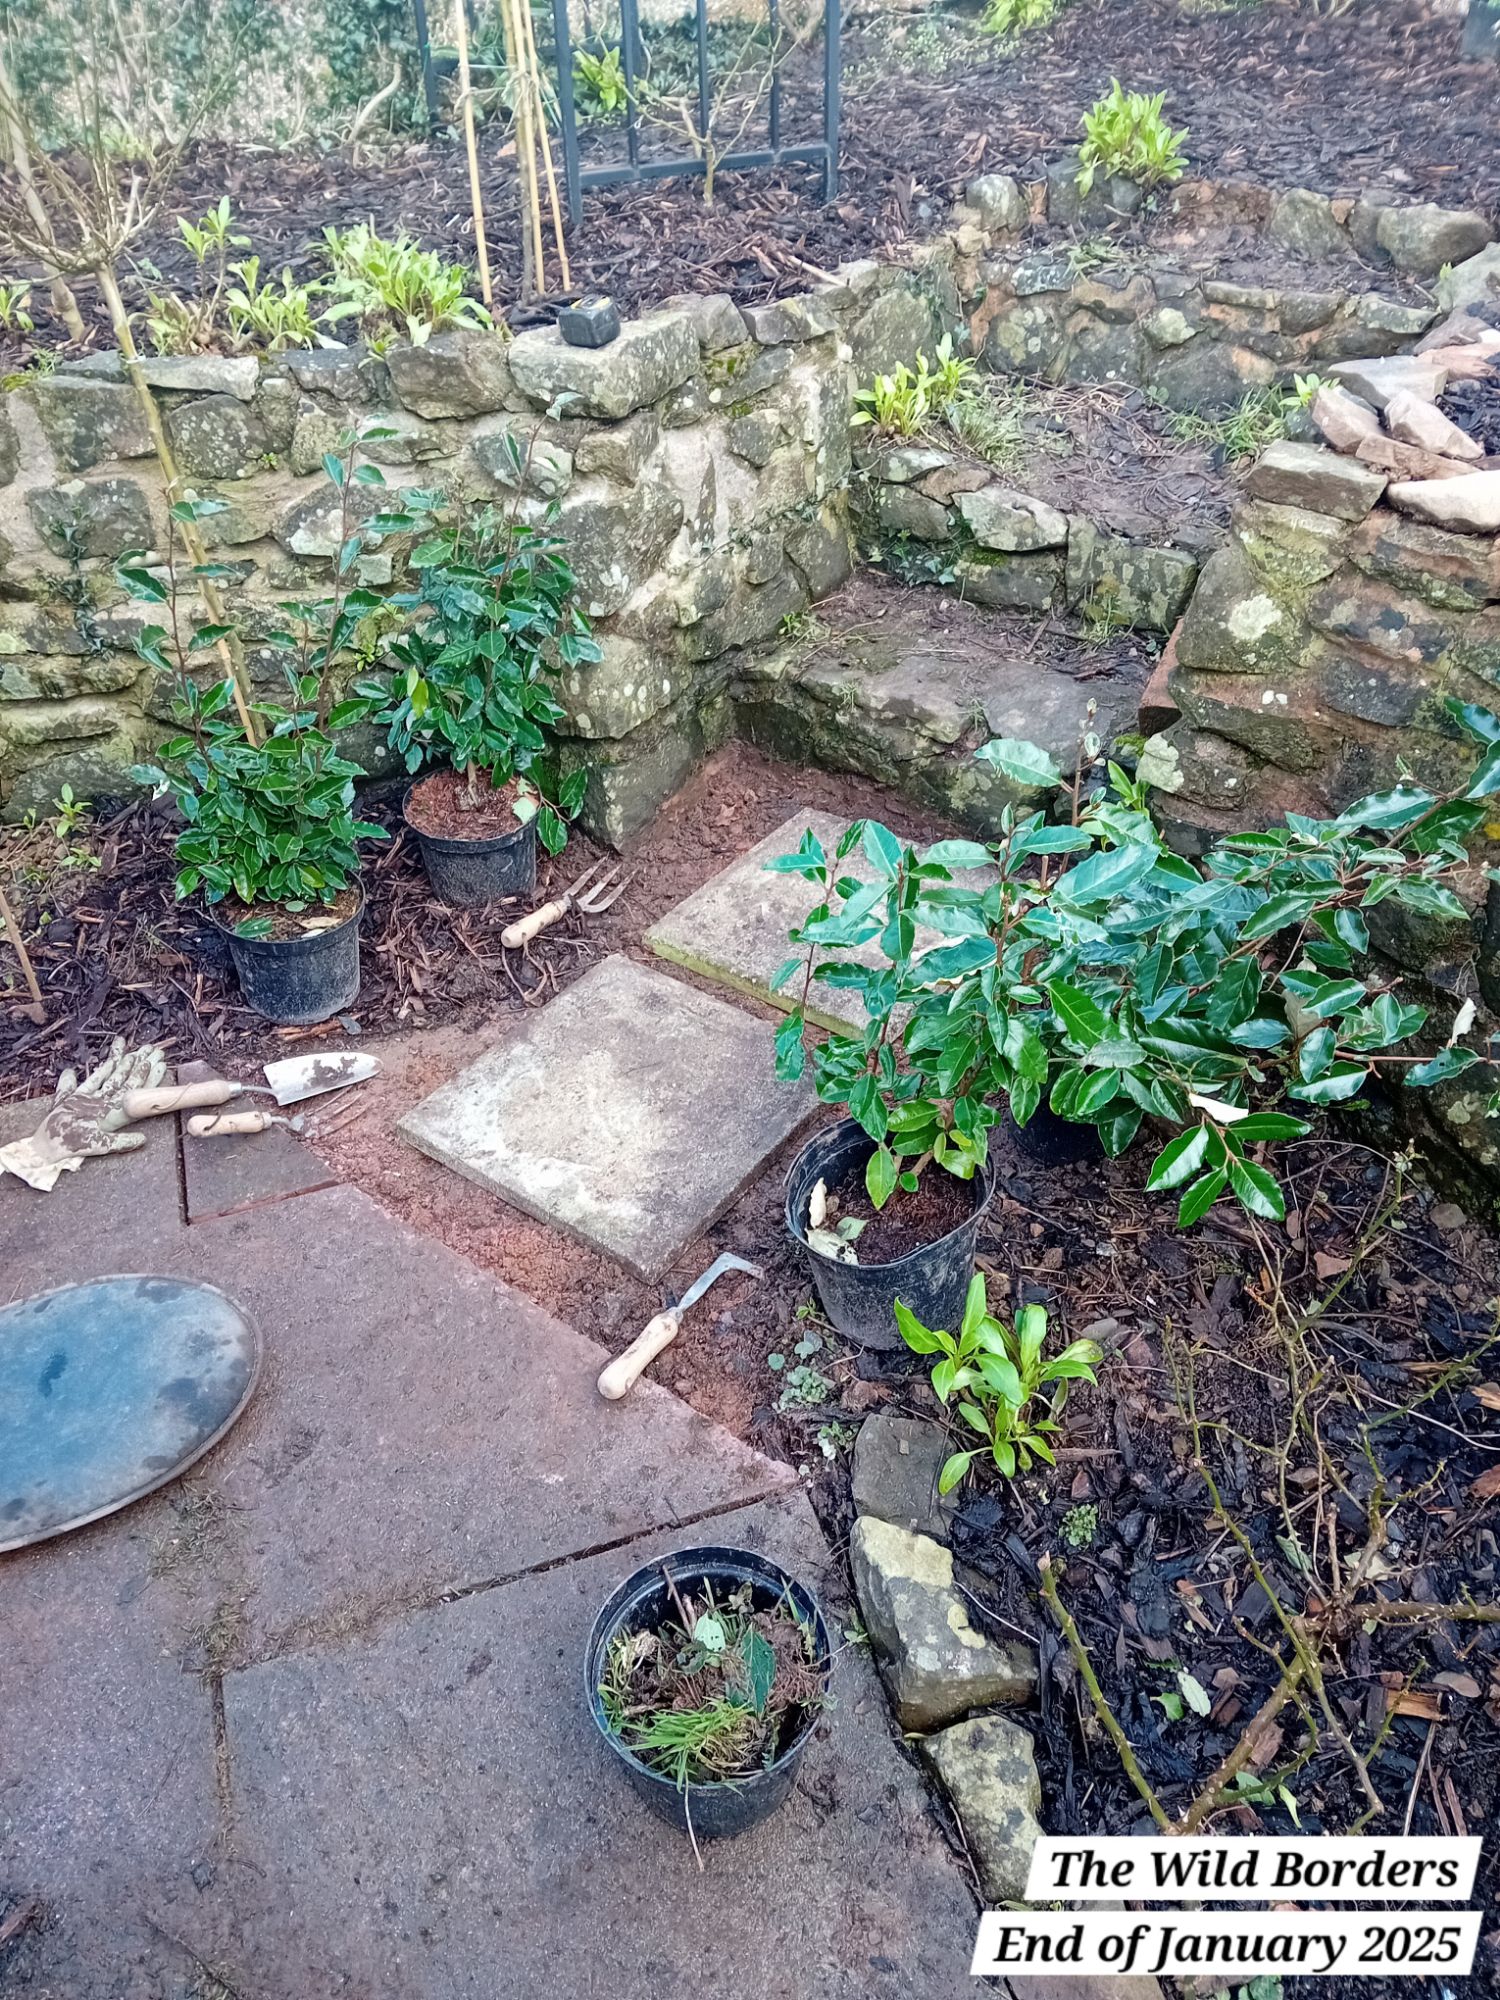
Following planting out a large amount of hedging in the front gardens, I ended up with four spare hedge plants that I knew I would be able to find a space for in the back gardens.
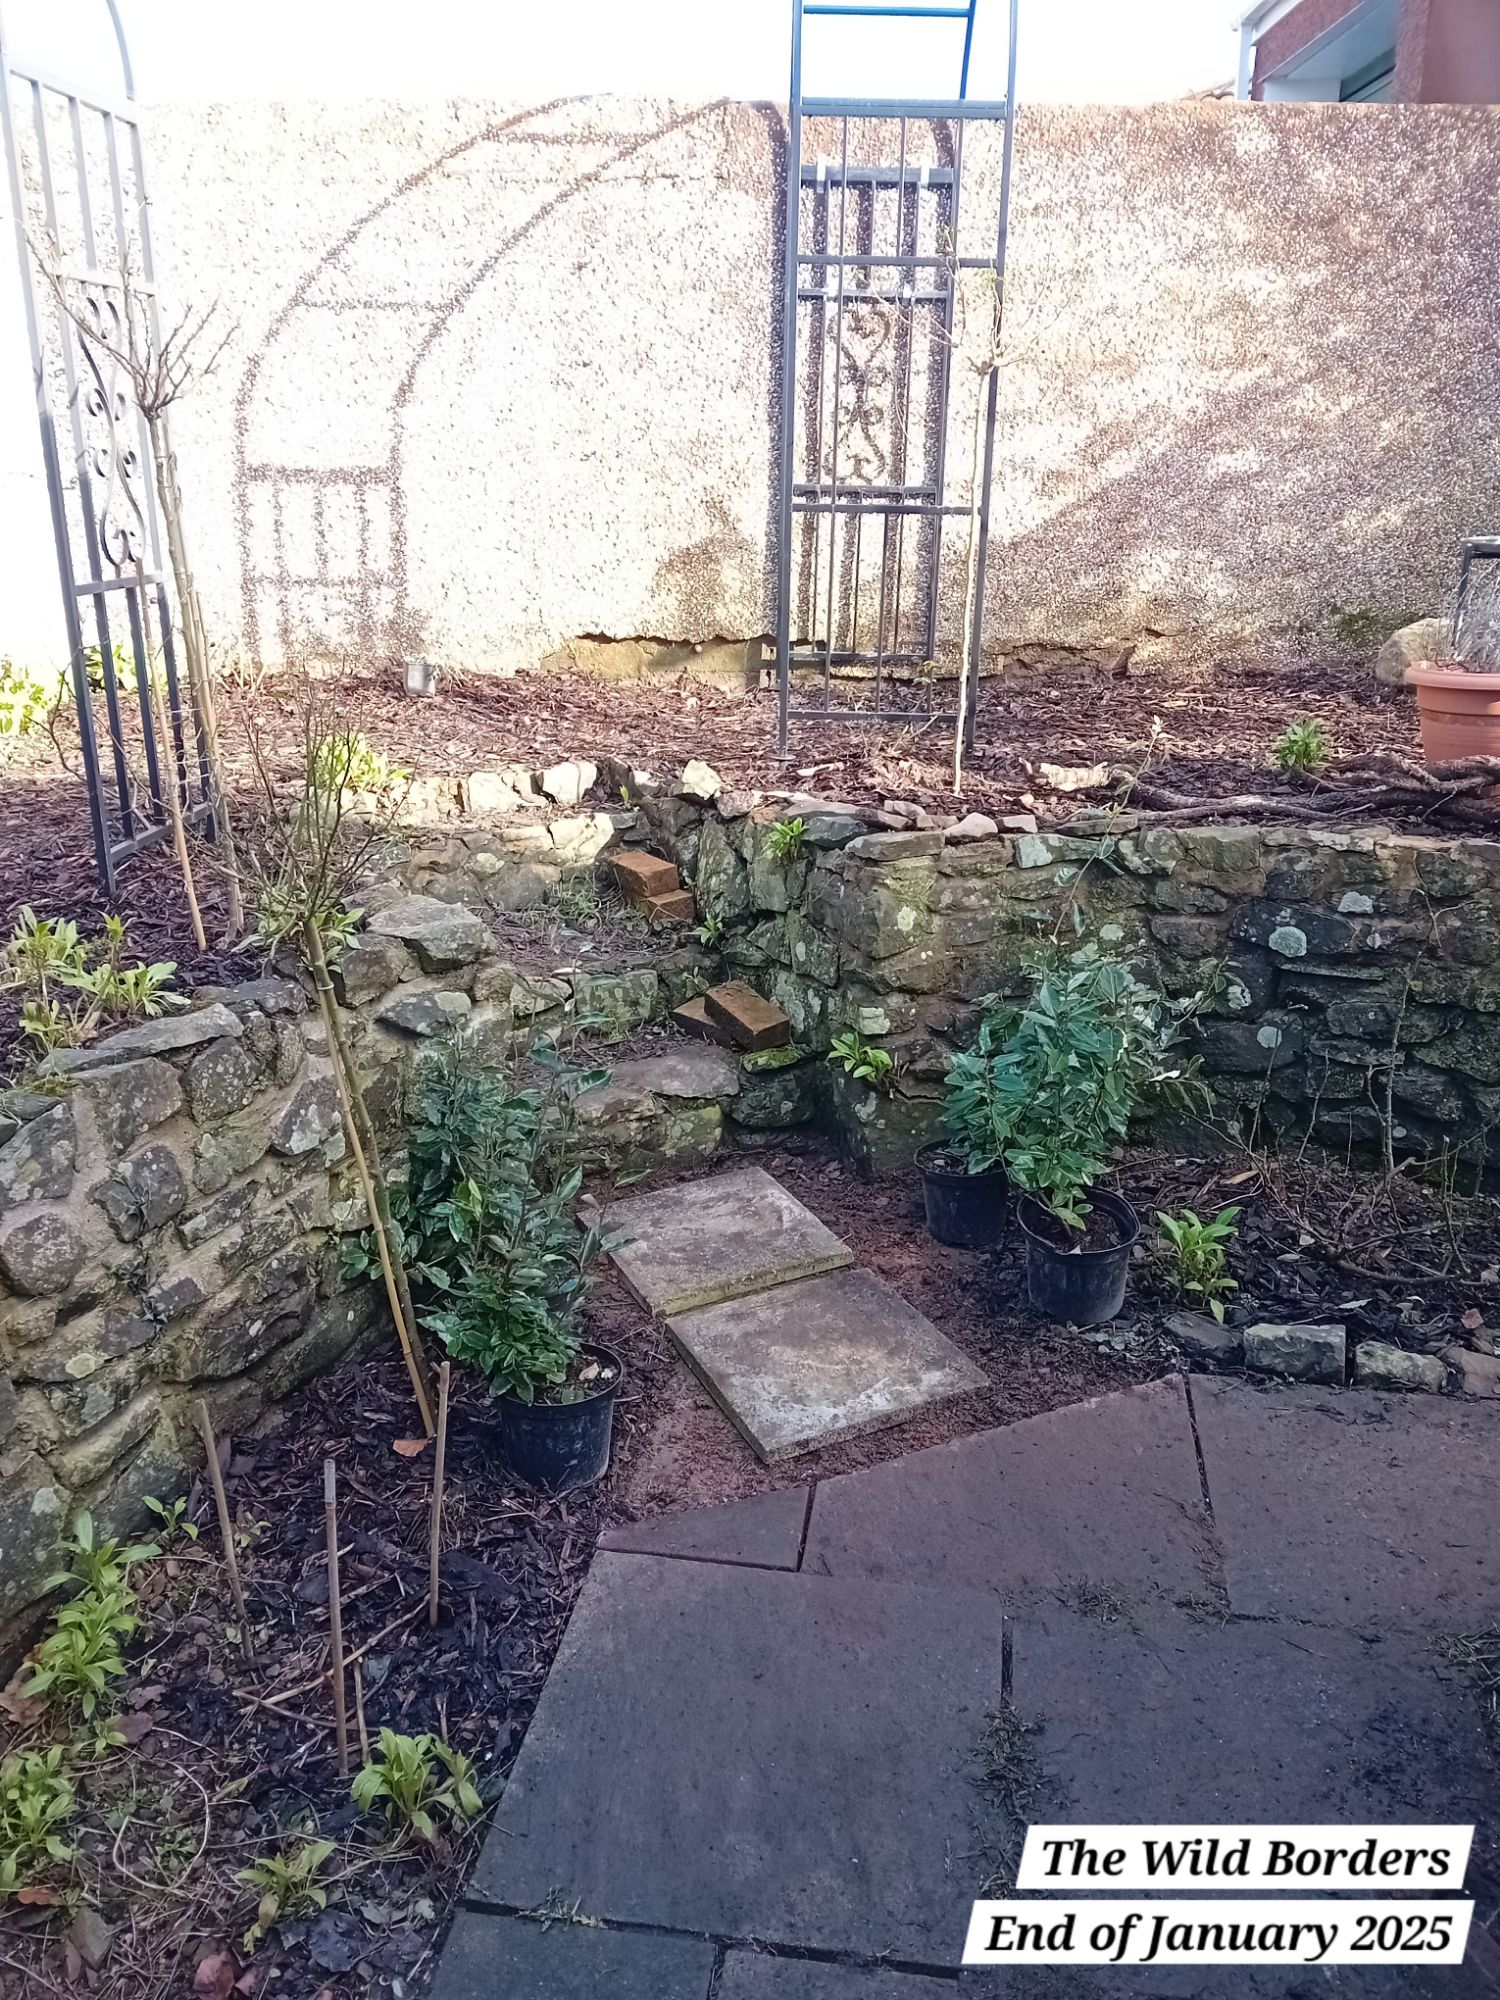
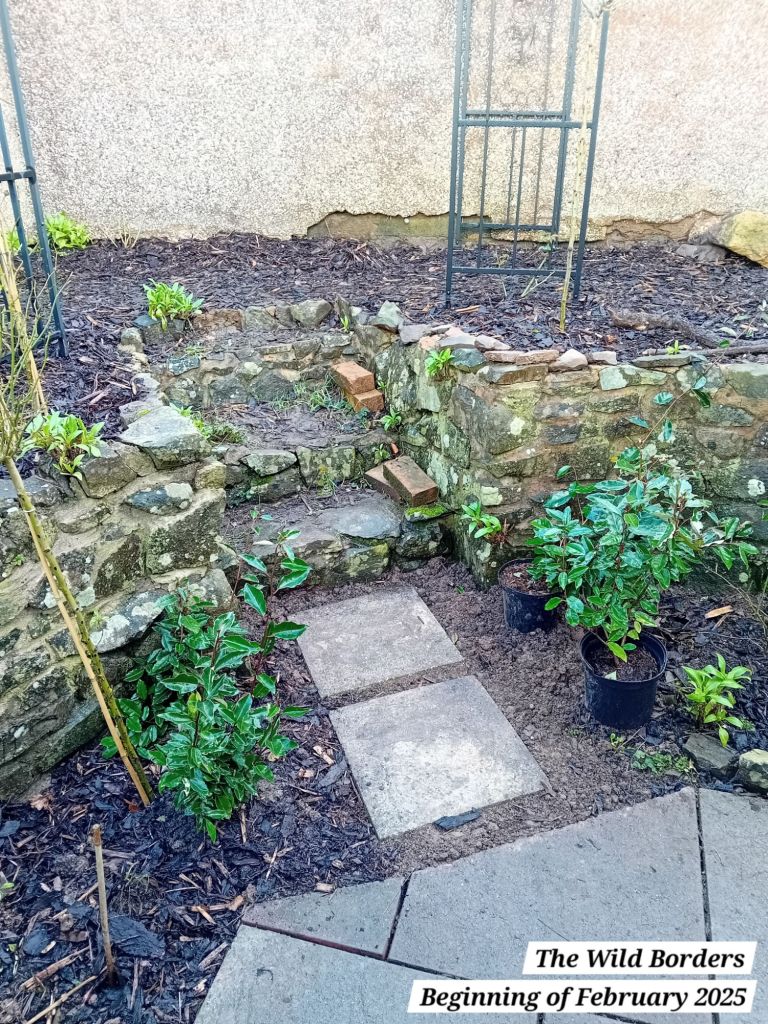
I found that these four hedge plants fit perfectly into the space, giving some evergreen structure and I also think it helps draw you into walking up the stairs. I have planted two of the four hedging plants so far and will be planting the remaining two over the coming week:

I have ordered a huge order of lavender ‘Hidcote’ plants (about 100). I have purchased these as tiny seedlings and I will be potting them on for months, until they are of a good size for planting out. I will be planting these out as dwarf hedging that will align all of the borders in The Wild Borders and other gardens such as The Honeysuckle Nook.
By repeating this planting, it will provide a sense of continuity across all of the gardens, which is important because glimpses of the gardens can be seen from each garden and each nook is close together.
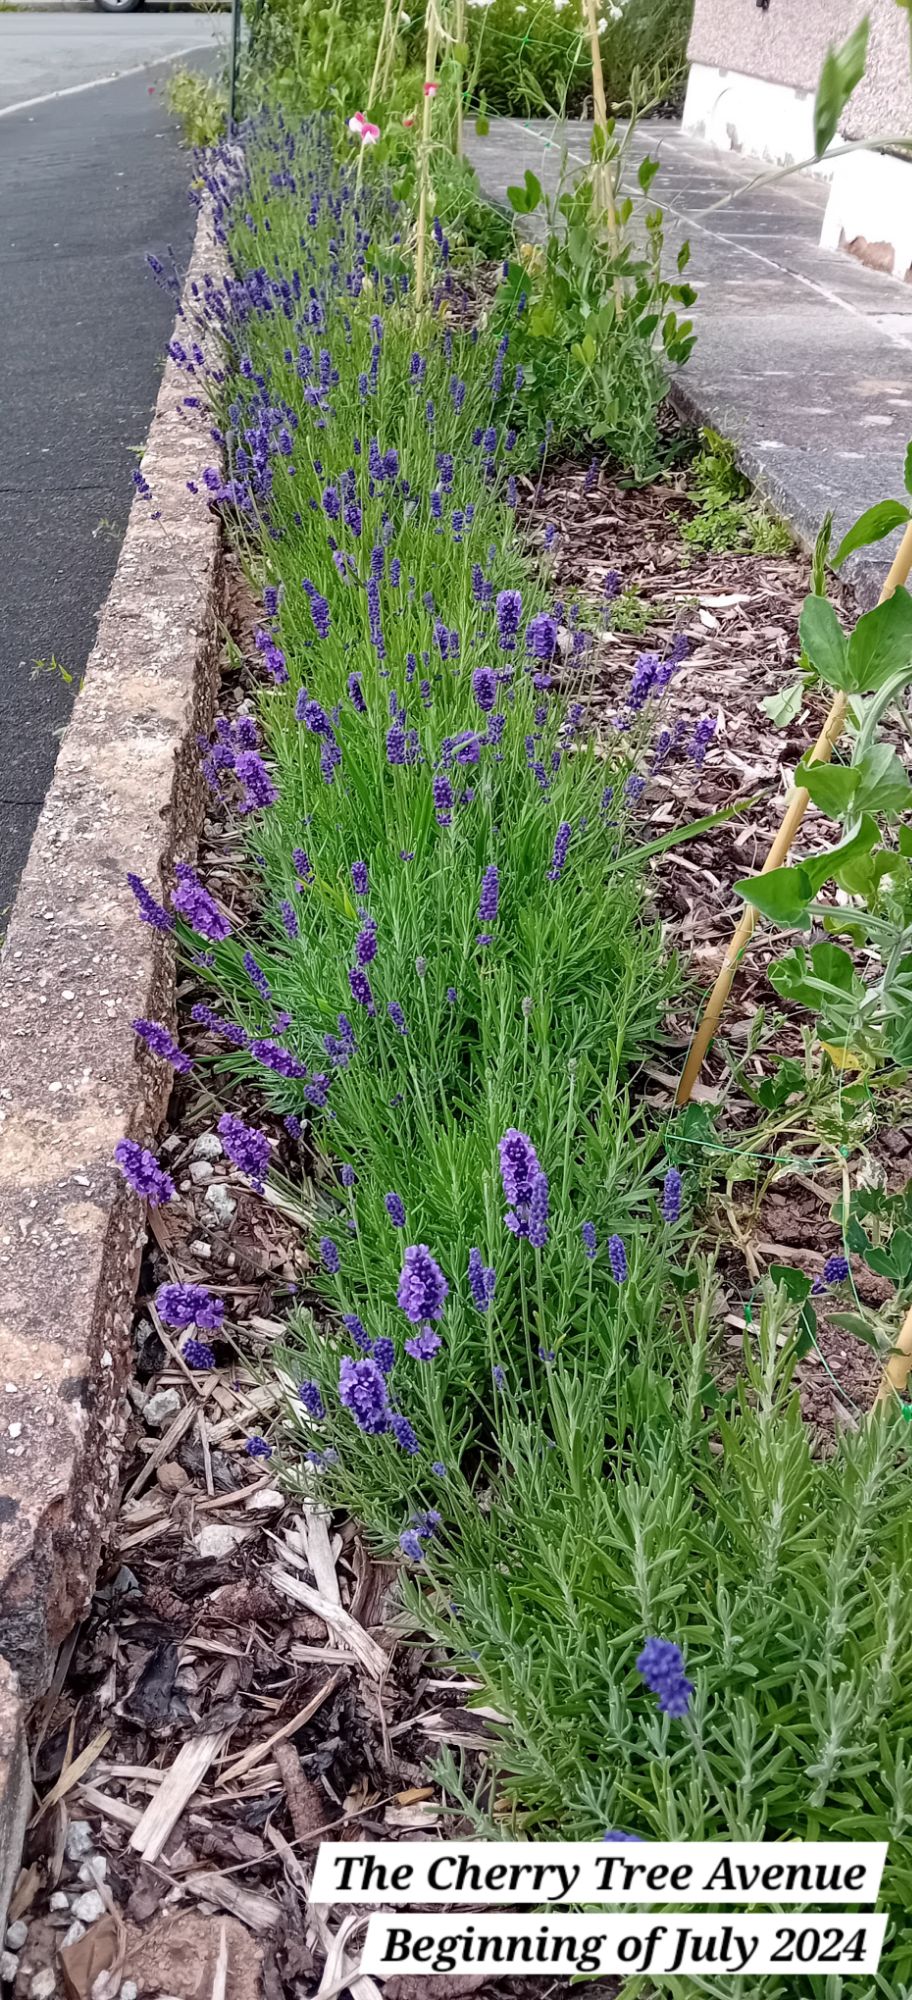
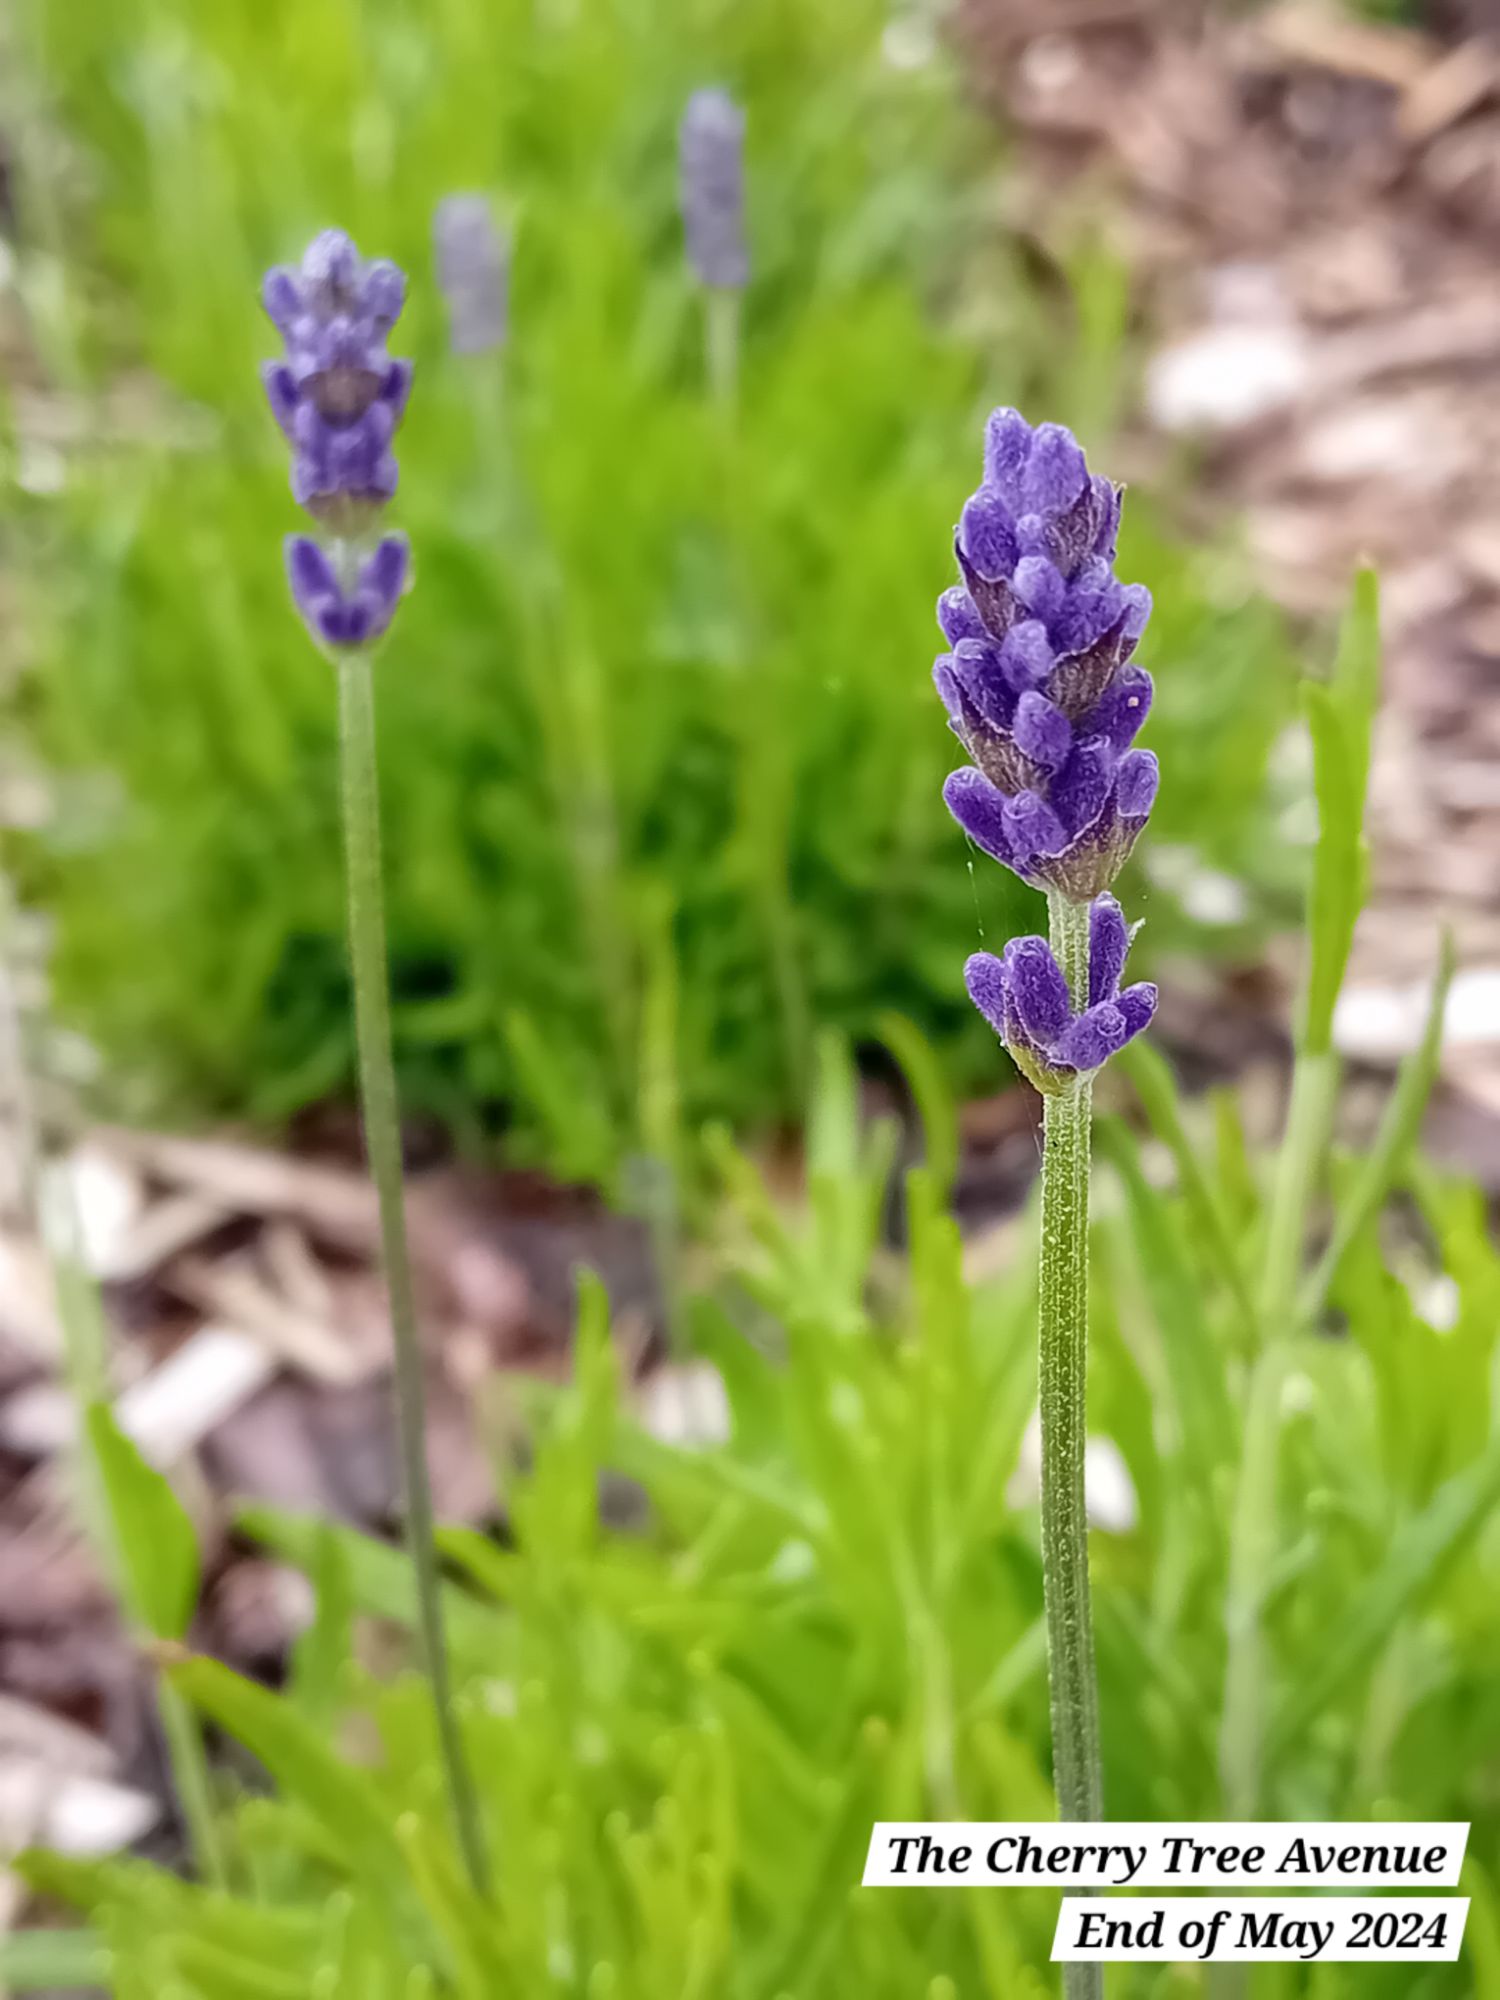
You may recall that I already planted out about 100 lavender ‘hidcote’ plants in our front gardens that I recently posted about: The Welcome Patch, The Cherry Tree Avenue and The Woodland Garden, all of which established beautifully and gave us so many flowers last year for the bees and pollinators:
I am simply going to be repeating the same potting on process with the lavender plants until they are established enough to plant out. It also won’t hurt to have a huge amount of dried lavender each year for my own use…
The Window Boxes
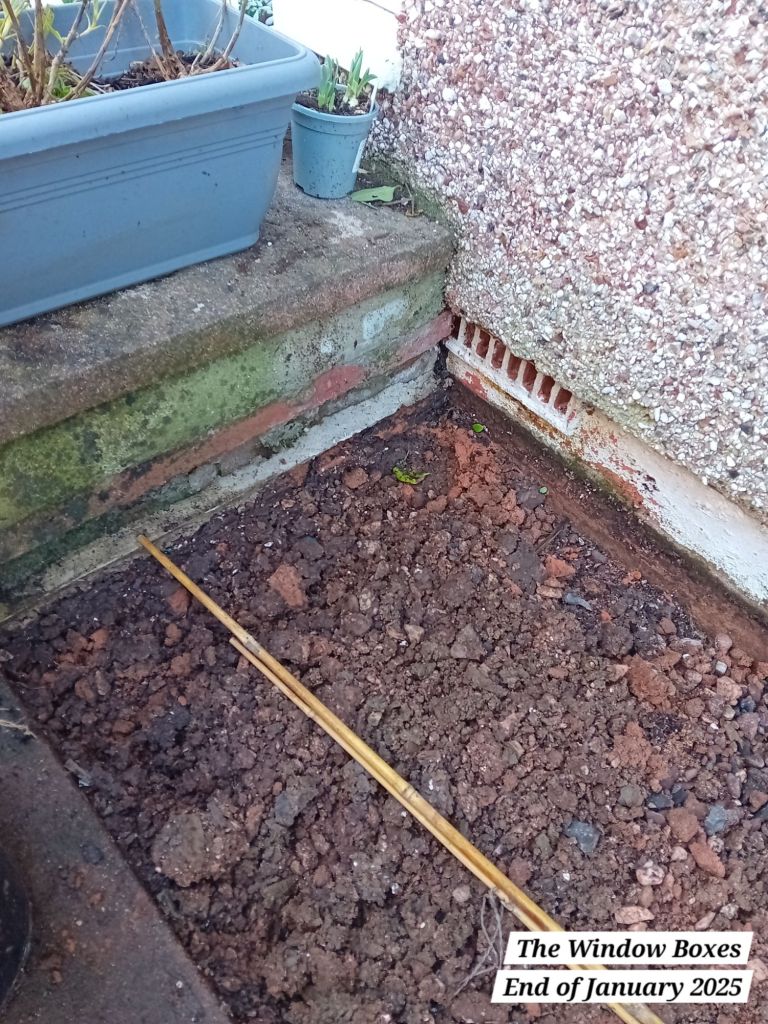
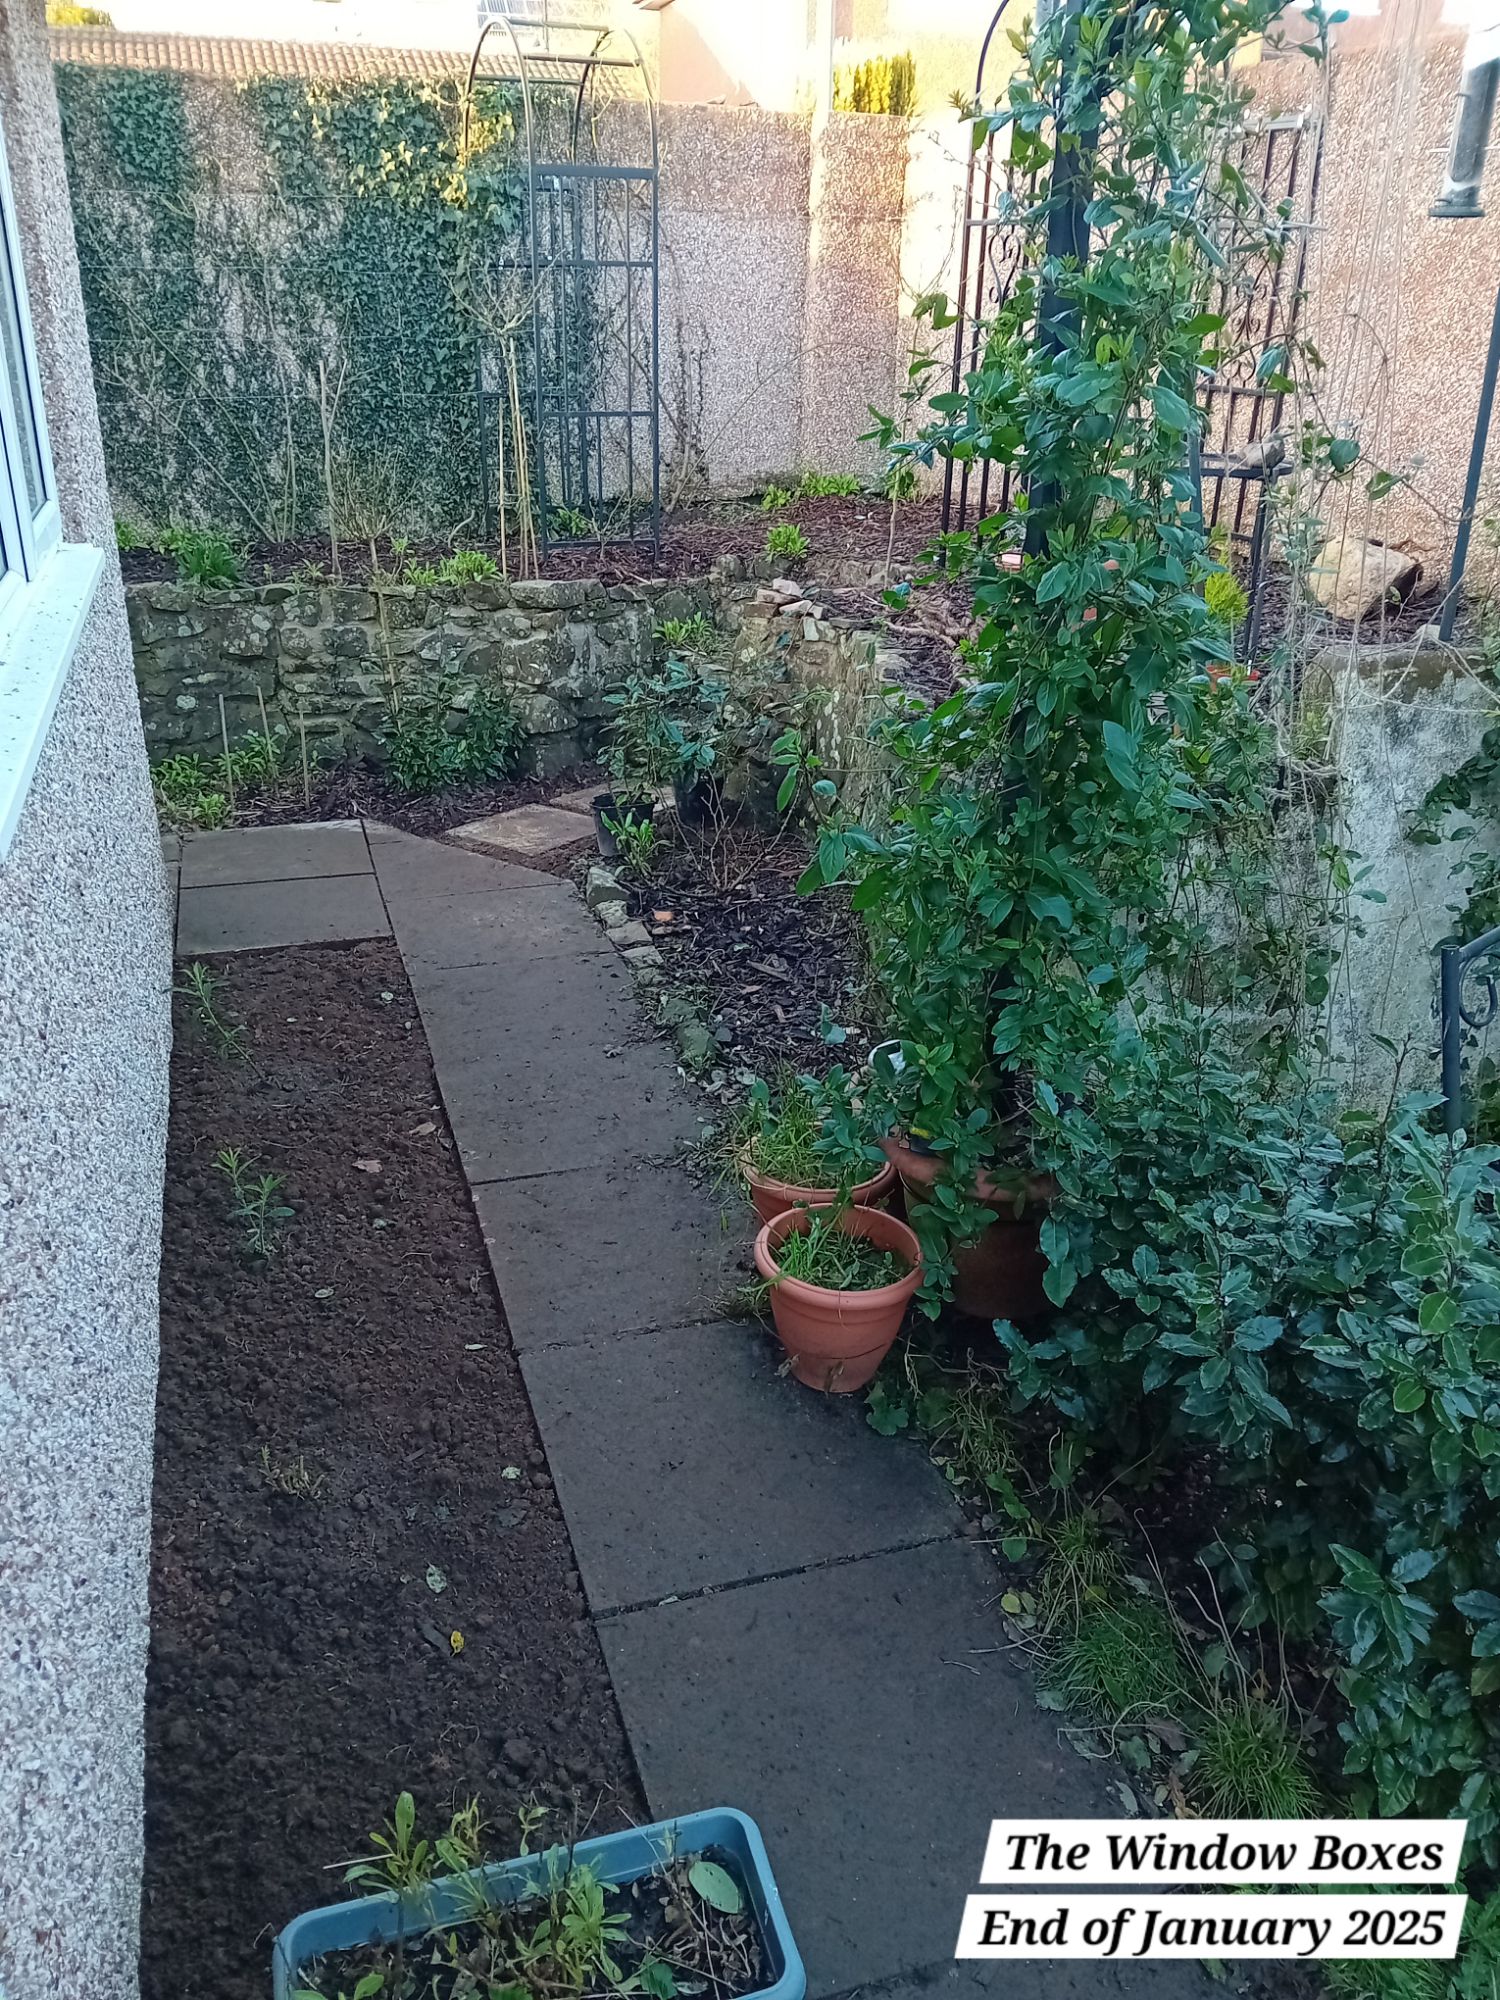
As mentioned at the start of this post, I have made a start on two new large borders that run beneath the windows at the back of our property that overlook the garden.
The area I am referring to looked like this:


The above is only the right-hand side border. It was being used to house a large amount of plants (and crocosmia corms) that were waiting to be planted. It was also very weedy and untidy. The left-side looks much the same.
Factors of consideration
Before I started any work on these borders, I had a number of things to think about.
- The look I was aiming for:
I had considered for some time building some very large and deep wooden planters to run beneath each window. I wanted to plant these up to allow the tops of the planting and the flowers to float gracefully in front of the windows, whilst still allowing you to see through them into the gardens beyond.
I also wanted to grow various climbers on the pebble dash on each wall, to disguise the pebble dash and also provide something nice to look at from The Honeysuckle Nook and other areas of the garden. I ummed and ahhed about this in my mind for some time, as I would need to ensure that whatever I planted in large troughs would also be able to cope with that…
- Air flow is necessary:
Other matters to consider included the fact that our home is also a suspended floor construction and has air bricks for the suspended floor cavity. These air bricks must not be blocked up, due to needing air flow underneath the property. This is because of the presence of radon gas across the South West, which is dangerous to health if it builds up. What this ultimately means from the gardener’s perspective, is that whatever is planted or constructed in these borders must still allow for good airflow.
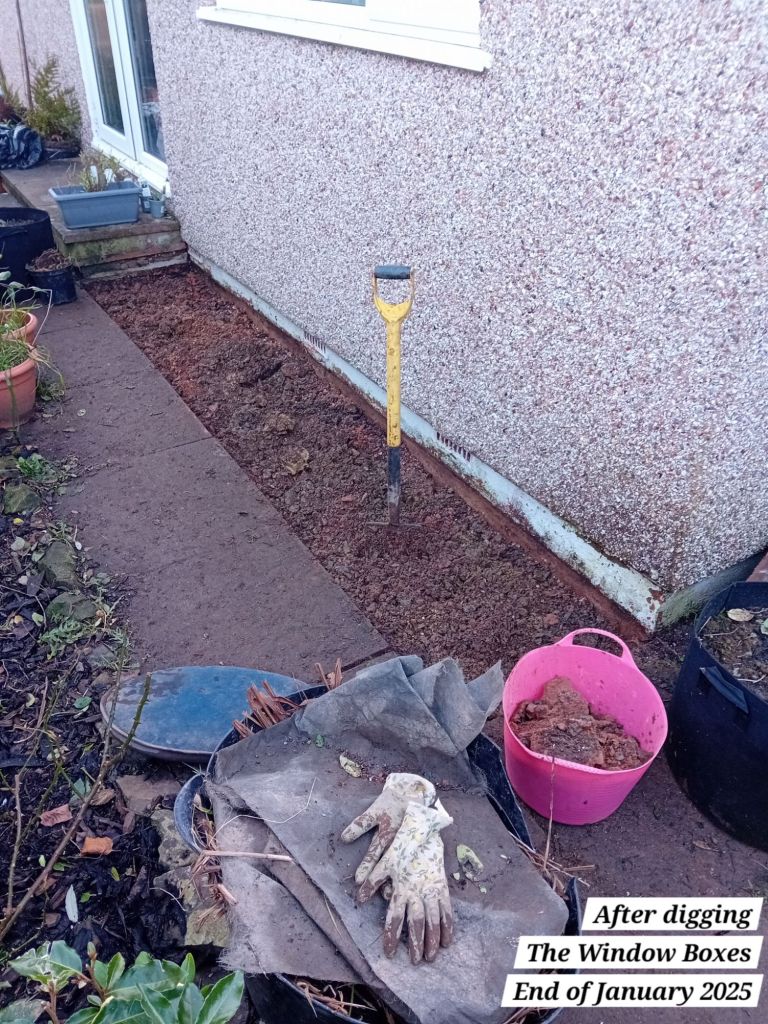
With all of the above in mind, I finally settled on keeping things simple and I decided just to lift all of the slabs running beneath the window and along the back wall, to create a really generous planting bed. I am not worried about splash back from the earth or moisture seeping in, because the roof of our property overhangs this border by about 50cm and the rain does not tend to drive into the property from this direction.
After lifting up all the paving slabs I already liked how much extra planting space had been created:

The planting should help with regulating the moisture levels in the soil and the planting I will be using will allow for airflow.
After digging, the first border looked like this:
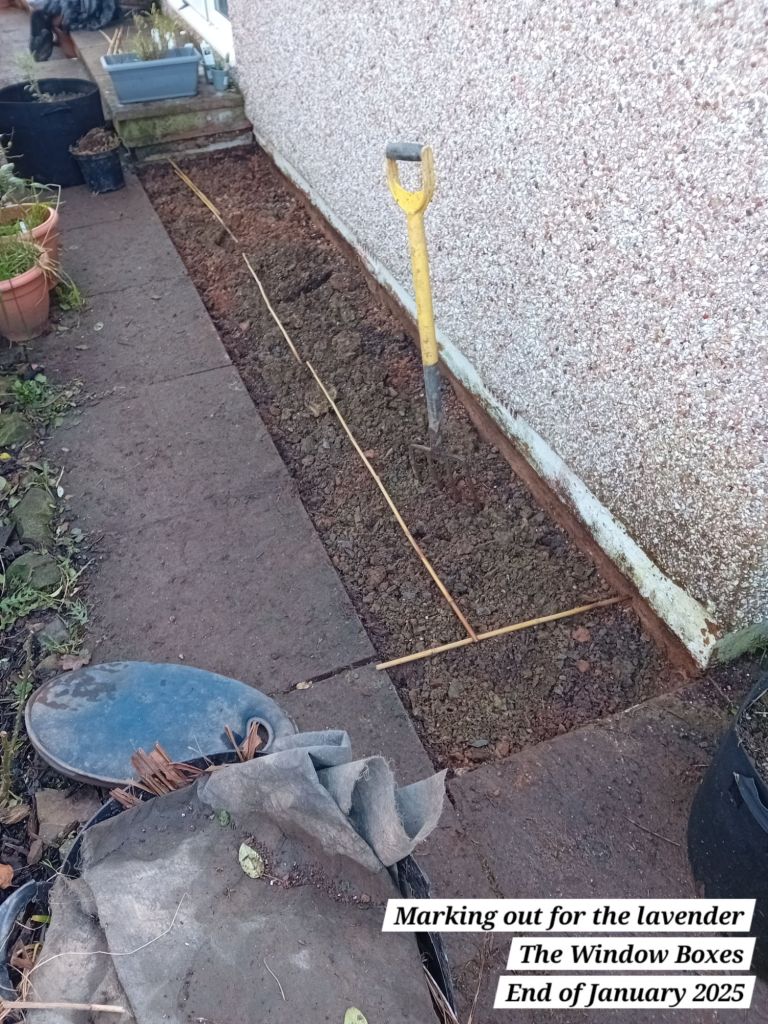
The planting
I will planting a mixture of verbena bonariensis ‘bueono aires’, intermingled with cosmos, star jasmine growing up the walls, along with lavender to edge both beds:
All of these plants combined will be very beneficial to bees and pollinating insects, and also the local birds, as the birds enjoy eating the seed from the verbena seed heads in Winter. That should mean that we should be able to watch that up close from inside our home.
I will be growing the cosmos from seed this Spring – stay tuned for that post and further updates! Both the verbena and the cosmos combined will create a very soft planting effect, that should float in front of the back windows. That should create interest from both inside and outside the property 🙂
As the cosmos is an annual, I have the option to try out different annuals in these borders each year if I decide that I don’t like the cosmos. All of the other plants are perennials and will only need their usual annual pruning to keeping looking at their best.
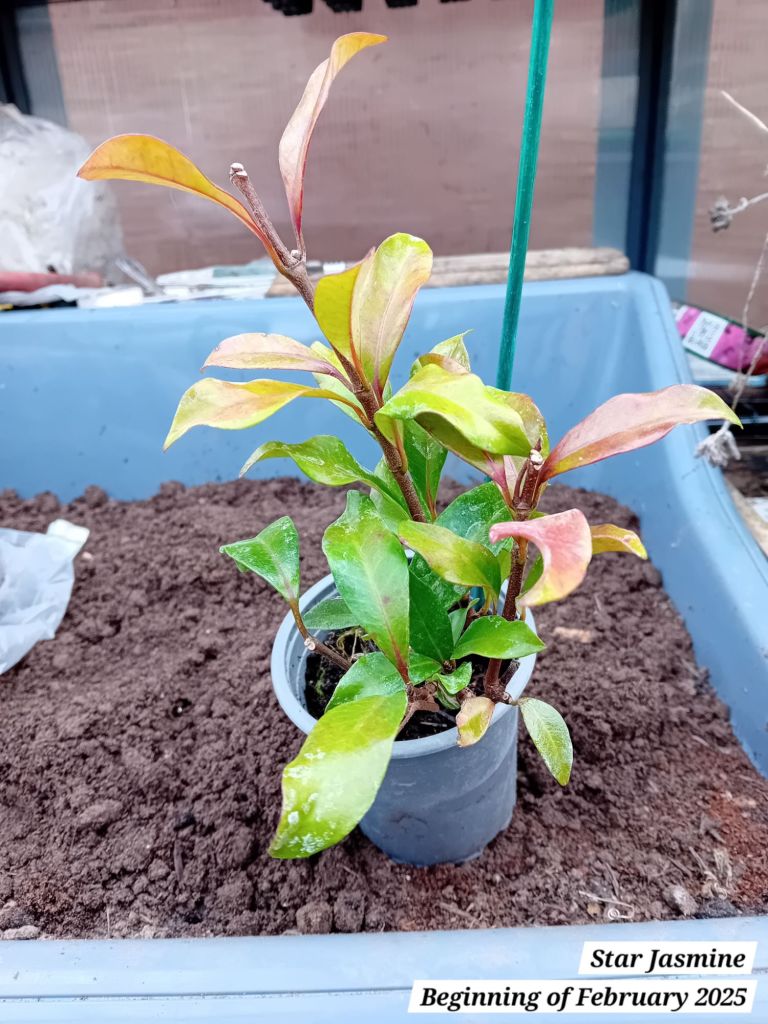
The star jasmine is the first pink evergreen variety to be grown in the UK and it will provide a beautiful scent as you wander through the gardens and from the back door of the property. I am definitely biased though, because jasmine is one of my favourite scents! I will be planting four star jasmines out in these borders in Spring and they will be trained up the walls. The first of the jasmines has already arrived and I will be potting them on for now, so that they can establish more before planting out in the Spring:
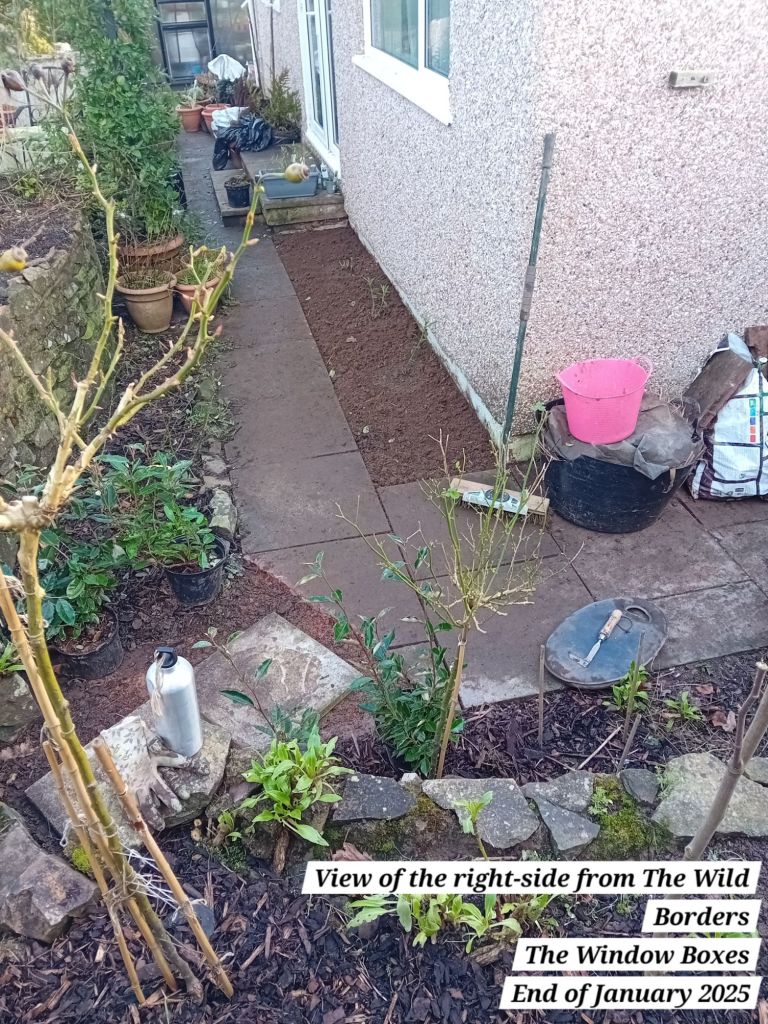
So far, I have planted out of the first three of the verbena plants in the right-side border:


I plan on repeating the same on the left-side border in the coming weeks.
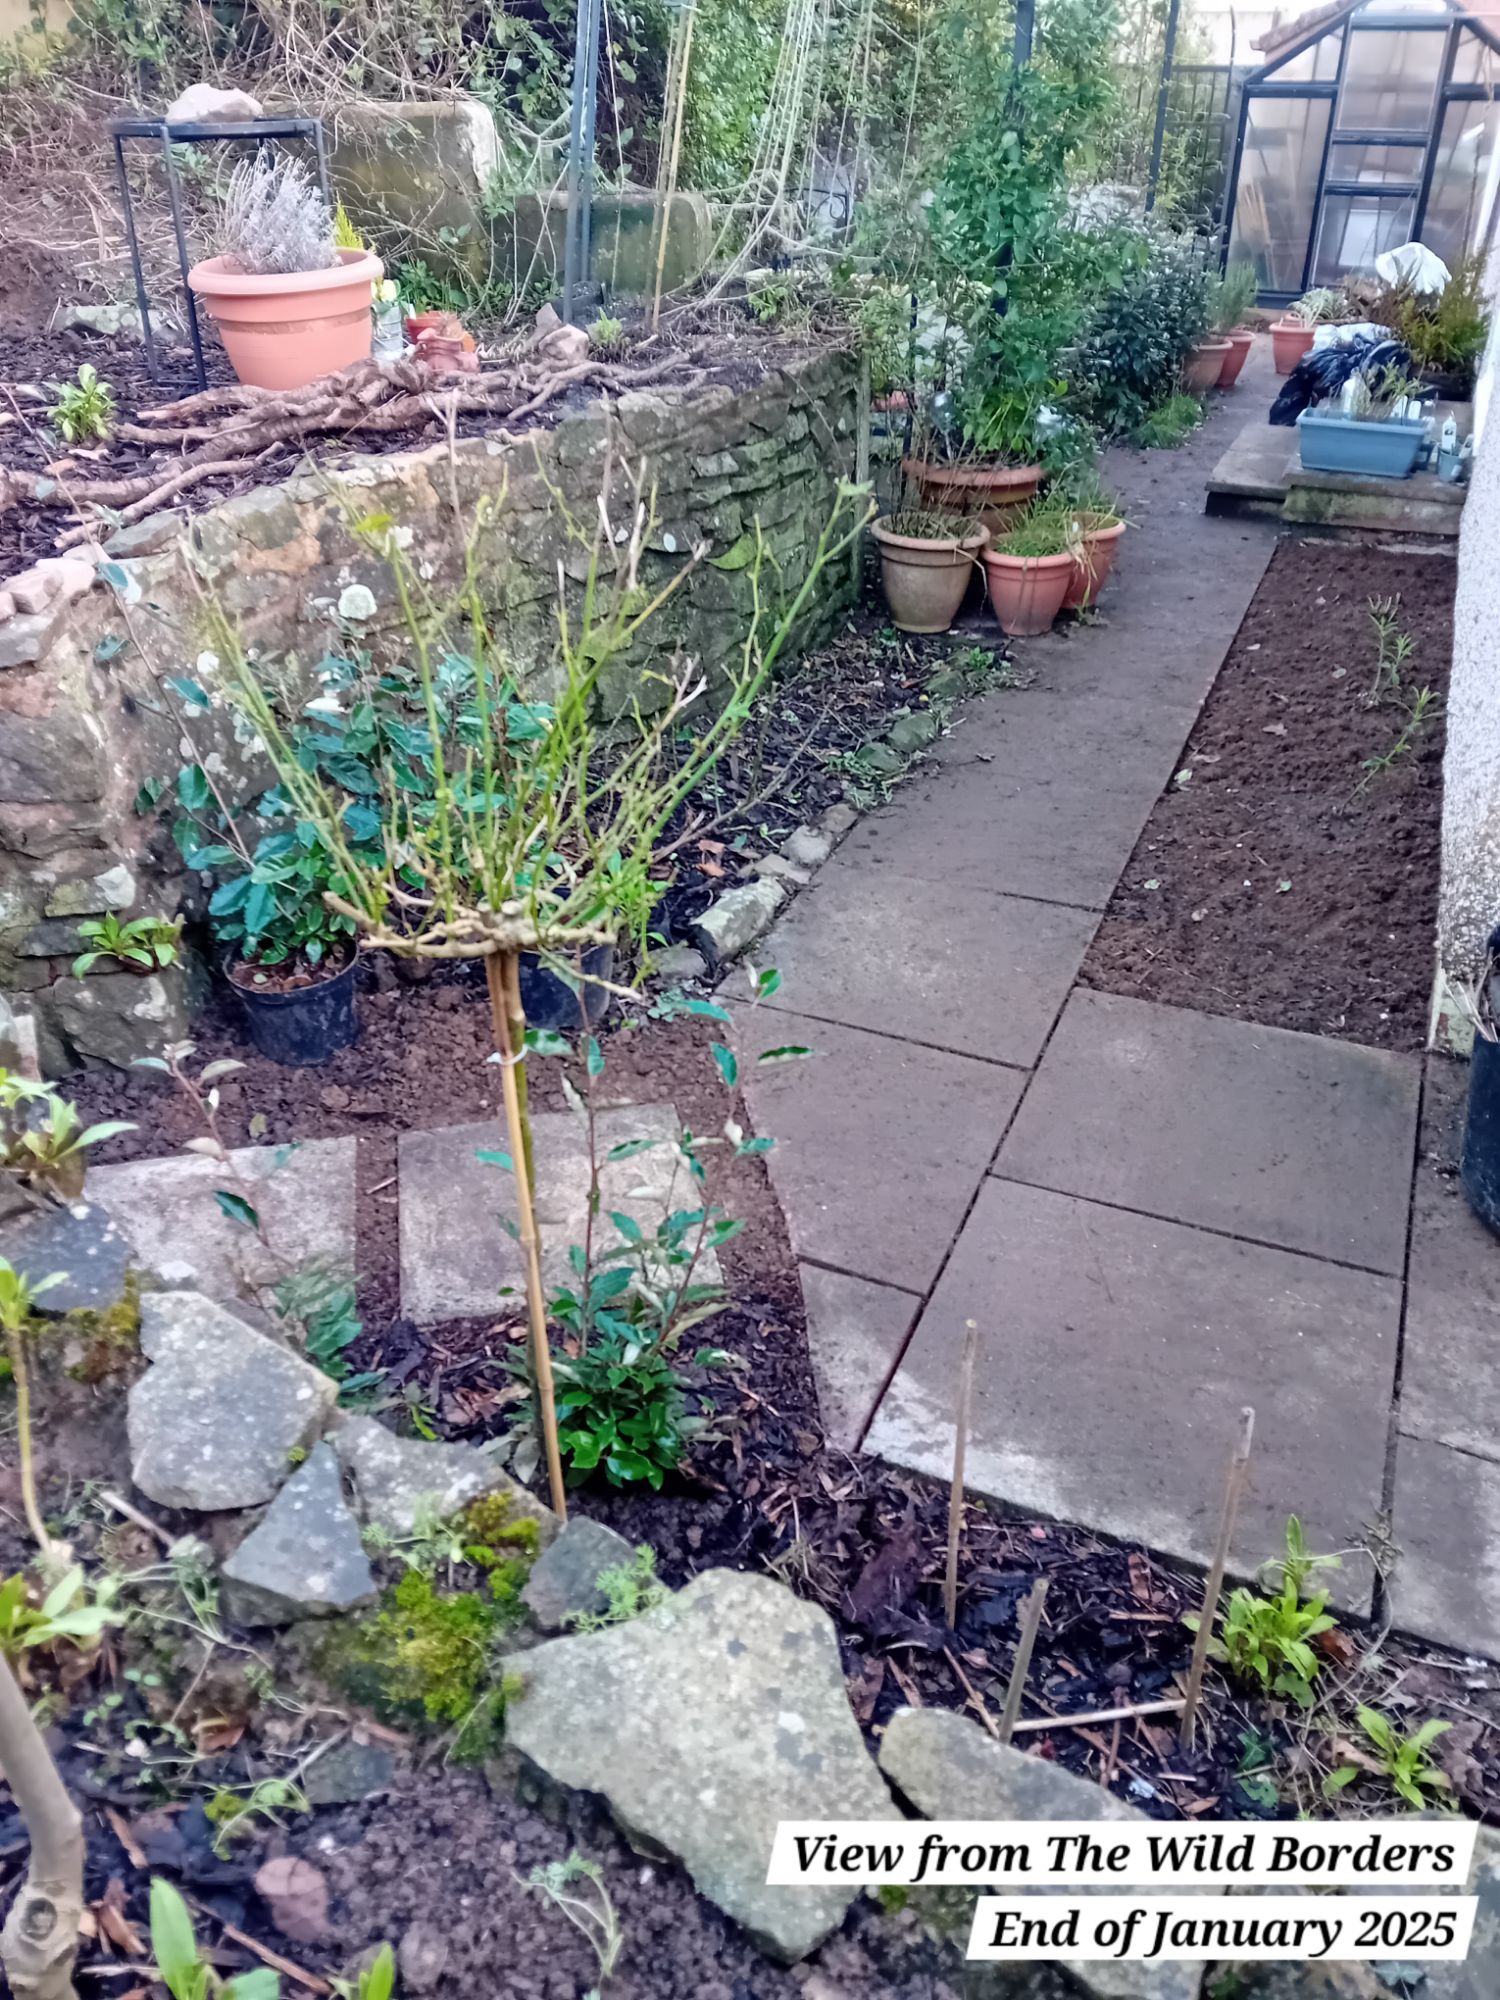
I already really love the different views of the first border when viewed from different areas of the garden:
Conclusion
I hope you enjoyed seeing what I have been getting up. There is, as always, much more to come – especially now it feels like Spring is well on its way! Until next time, happy gardening 🙂


Leave a reply to Introducing The Window Boxes and tending the roses in The Wild Borders – The Charming Nook Cancel reply